
If your yard stays soggy for days after a rain, grading is usually the real problem – not the grass. A lawn can only look good if water has somewhere to go, which is why homeowners searching for how to grade lawn for drainage are usually dealing with puddles, muddy spots, thinning turf, or water creeping a little too close to the house.
The good news is that lawn grading is not mysterious. It is basic physics, some careful measuring, and a bit of muscle. The catch is that getting it slightly wrong can create a brand-new headache. Shift too much soil toward the house and you risk foundation trouble. Grade too flat and the water sits there like it pays rent. Grade too steep and you end up with erosion, washouts, and a lawn that is frustrating to mow.
What proper lawn grading actually does
A properly graded lawn moves water away from your home and across the property in a controlled way. That does not mean turning the yard into a ski hill. It means creating a gentle, consistent slope so rainwater drains off instead of pooling in low spots.
For most homes, the most important area is the first 10 feet around the foundation. That zone should slope away from the house enough to keep water from collecting against the walls. Farther out, the grading should continue to guide water toward a safe outlet, such as a swale, drainage area, or edge of the property where runoff can disperse properly.
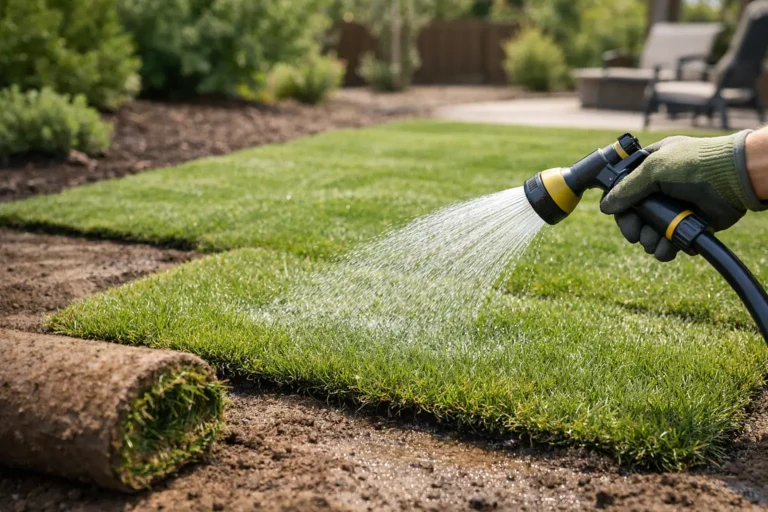
If you plan to install sod, grading matters even more. Fresh sod needs contact with smooth, firm soil. Low spots hold too much moisture and can lead to rot, weak rooting, or uneven growth. High spots dry out fast and scalp when mowed. Good grading gives you a lawn that drains, roots, and looks level when the job is done.
How to grade lawn for drainage without making it worse
Before you move a single shovel of soil, figure out where the water starts, where it collects, and where it should go. That sounds obvious, but plenty of grading jobs go sideways because someone starts fixing the puddle instead of fixing the slope that caused it.
Walk the yard after a heavy rain. Watch the downspouts, fence lines, patio edges, and the spots where grass struggles. If water stands in one corner, the problem might actually begin 20 feet uphill. Drainage issues love to play tricks like that.
The basic goal is a gradual fall away from the house. A common rule of thumb is about 6 inches of drop over the first 10 feet. After that, the slope can be gentler, but it still needs to be continuous. Flat sounds nice on paper, but flat is often where drainage problems go to hang out.
Start with a simple slope check
You do not need fancy equipment to get a decent read on the yard. Stakes, string, and a line level can tell you a lot. Set one stake near the house and another farther out in the direction the water should travel. Run a string between them, level the string, and measure from the string down to the ground at both points.
That measurement tells you whether the lawn is sloping enough, too much, or in the wrong direction. Check several paths across the yard, not just one. Some lawns are basically a patchwork of mini-problems, especially after construction, settling, or repeated topdressing over the years.
Decide whether you need topdressing or full regrading
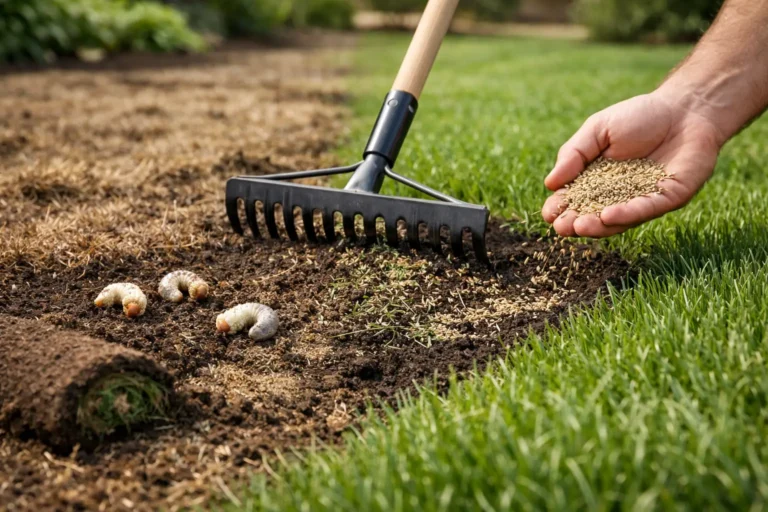
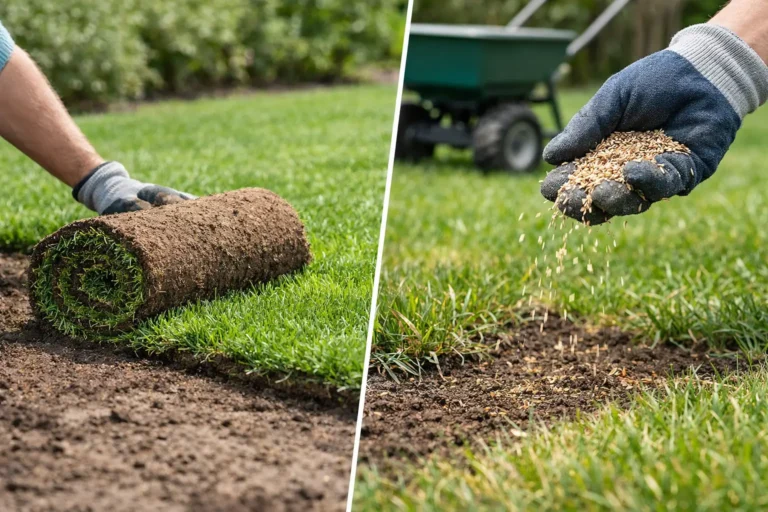
Not every drainage problem needs a full lawn rebuild. If the lawn has a few shallow birdbaths and the overall slope is decent, topdressing may be enough. That means adding small amounts of soil to low areas and smoothing the surface over time.
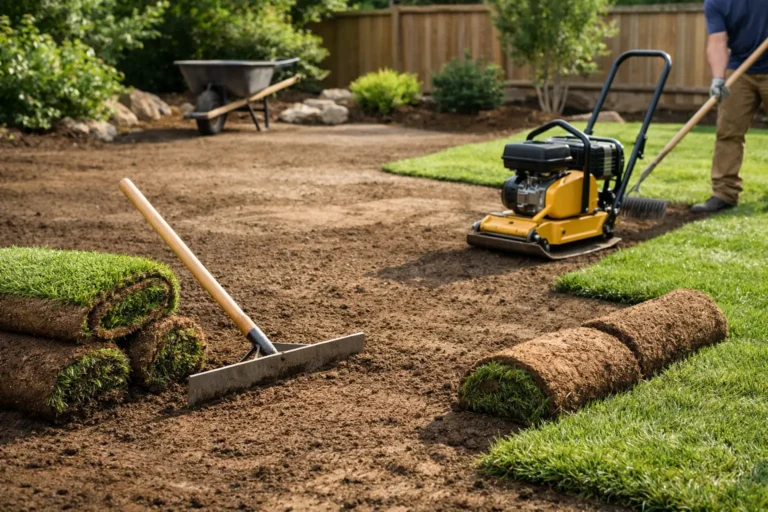
If the yard pitches toward the home, has major low spots, or looks like it was graded by guesswork and optimism, full regrading is usually the better move. That often means stripping weak turf, moving soil in larger volumes, compacting properly, and rebuilding the lawn surface before sod goes down.
The best soil setup for lawn drainage
One of the biggest mistakes in lawn grading is using the wrong fill. Heavy clay alone can compact like concrete and trap water. Fluffy topsoil alone can settle too much and leave dips later. What you want is stable, workable soil that can be shaped, compacted lightly, and finished with a quality top layer for grass growth.
In many Ontario-area yards, native soil already leans clay-heavy, so adding material is often about improving structure as much as changing elevation. For final lawn prep, the surface should be smooth and firm but not packed so hard that roots struggle. That balance matters.
For sod installation, the top few inches are where the magic happens. That is the rooting zone. If the base grade is right but the finish soil is lumpy, loose, or inconsistent, the final lawn will show it.
Step-by-step: grading the lawn
First, remove obstacles and identify utilities, irrigation lines, and shallow cables. Grading without knowing what is underground is a great way to turn a yard project into an expensive phone call.
Next, cut down high spots and use that soil to build up low areas where possible. Moving existing soil is usually more efficient than bringing in truckloads right away, although some yards absolutely need imported material. Spread fill in layers rather than dumping it all at once. Thick piles settle unevenly, especially after rain.
As you shape the yard, keep checking slope with your string line or level. Eyeballing works for baking. It is not great for drainage. The surface should transition smoothly, with no sudden depressions, ridges, or bowls.
Once the rough grade is in place, lightly compact the soil. You are not building a highway, so do not overdo it, but the soil should be firm enough that you are not leaving deep footprints everywhere. After compacting, add and smooth the finish soil layer. This is where the lawn gets its final shape, so take your time.
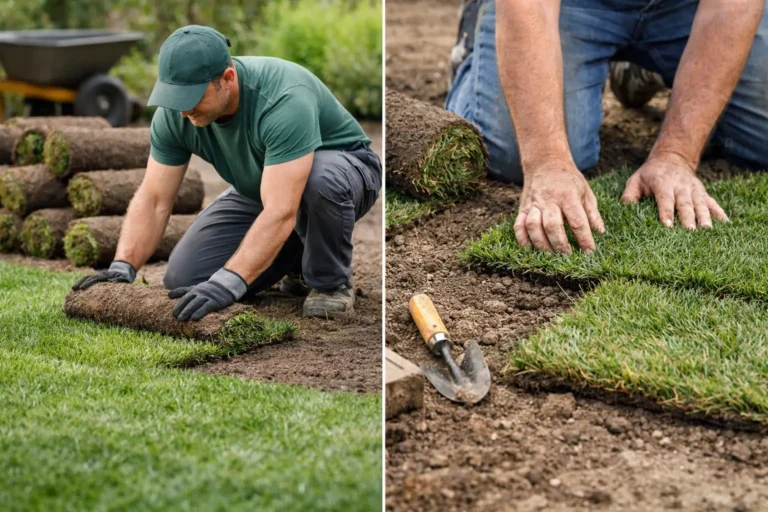
If sod is going down, rake out stones, break up clods, and make sure the finished grade sits below sidewalks, patios, and driveways by enough height to accommodate the sod itself. That helps prevent the lawn from ending up awkwardly higher than surrounding hard surfaces.
Where DIY grading goes wrong
A lot of homeowners can handle minor grading. A lot of homeowners also accidentally create a swamp with better curb appeal for about two weeks.
The most common mistake is fixing the symptom, not the water path. Filling a puddle without correcting the surrounding slope just moves the puddle somewhere else. Another common issue is creating drainage toward a neighbor’s property or back toward the house. That tends to cause problems nobody enjoys discussing over the fence.
There is also the finish problem. A yard can technically drain better and still look rough if the final surface is uneven. That matters more than people think. When sod is installed on a poorly finished base, every hump and dip shows up fast.
When a drainage solution needs more than grading
Sometimes grading is only part of the answer. If the property is very flat, boxed in, or dealing with heavy roof runoff, you may also need extensions on downspouts, a swale, or a drain system. Grading helps surface water move, but it cannot perform miracles if there is no reasonable outlet.
This is especially true on newer lots where builders leave compacted subsoil and minimal topsoil. The lawn may look finished, but underneath it can drain terribly. In those cases, proper prep before sod installation is what separates a lawn that thrives from one that stays patchy and wet.
Should you hire this out?
If the issue is small and you are comfortable measuring slope, moving soil, and fine-tuning the finish, DIY can work. If the lawn is large, the drainage is affecting the foundation, or you are planning new sod, professional grading is usually money well spent.
That is where a sod specialist has an advantage over a general contractor. Grading for drainage is one job. Grading for drainage and a clean, healthy finished lawn is another. The second one takes more precision, especially when the goal is a fast transformation instead of a long experiment.
For homeowners who want the yard fixed once and fixed properly, companies like Right On Sod handle the grading, soil prep, and sod installation as one system. That usually leads to a better result than solving the drainage now and dealing with the lawn quality later.
A good lawn should not squish when you walk on it three days after rain. It should shed water, root deeply, and make the whole property look finished. If your yard is holding water, the answer is usually under your feet, not in a bag of seed or a stronger fertilizer. Get the grade right, and the grass has a fighting chance.