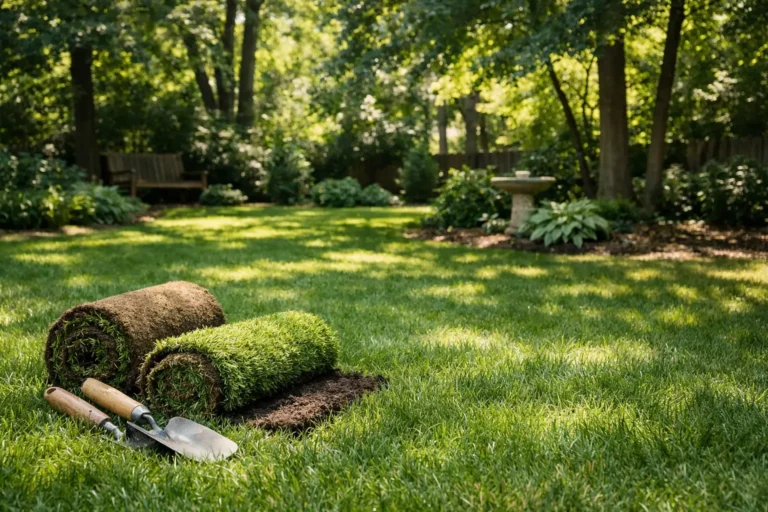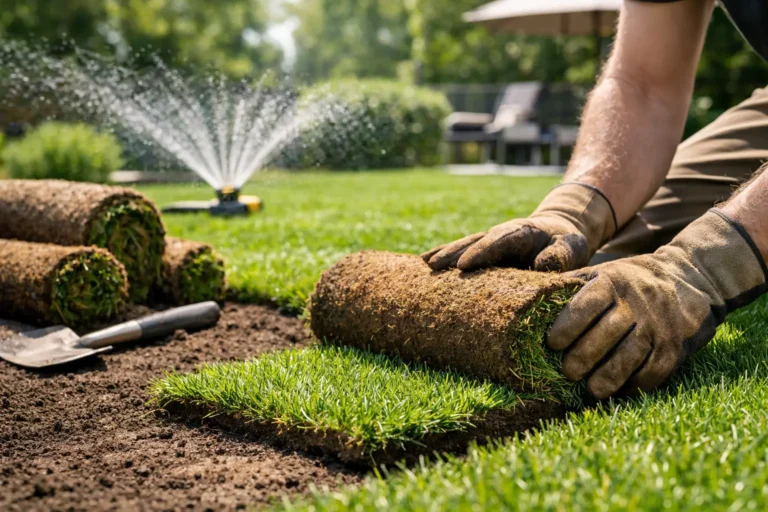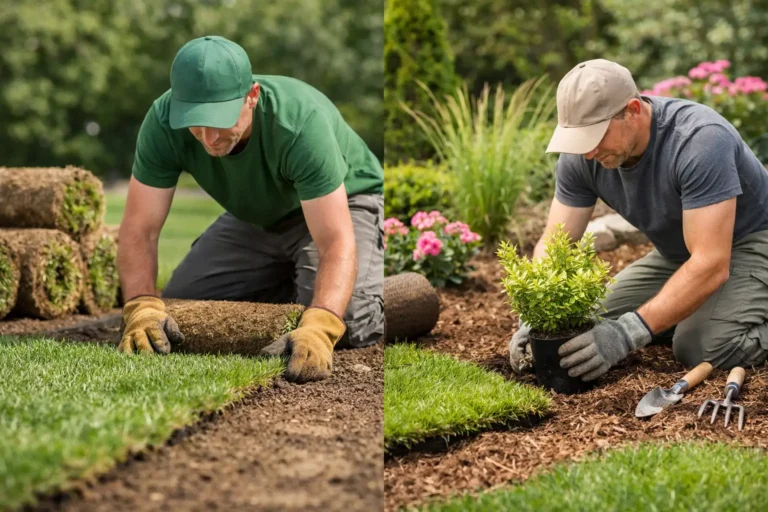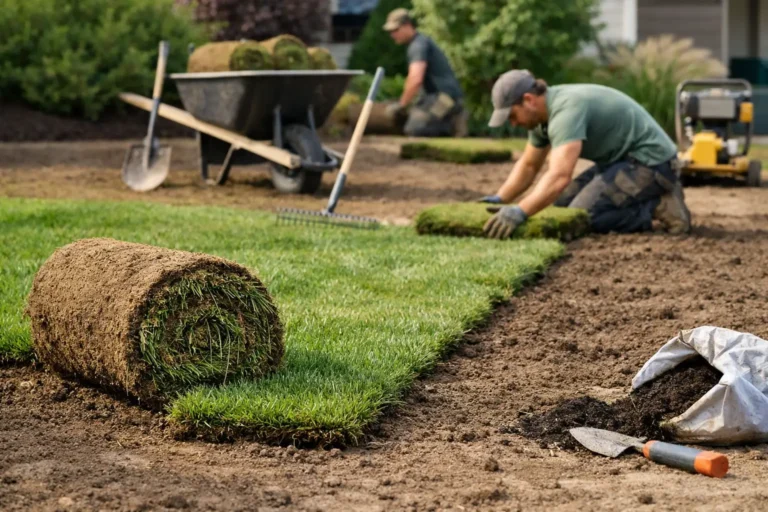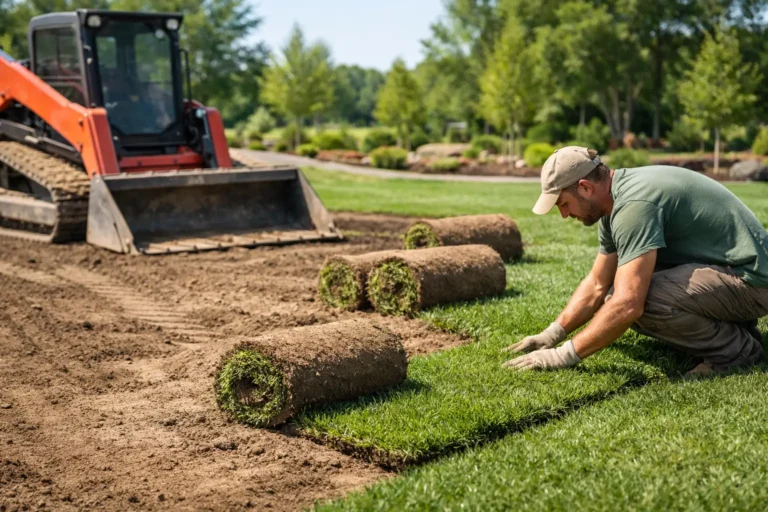

A fresh sod install can make a rough backyard look finished in a day, but if the ground underneath is off, the results usually are too. When homeowners ask how to level backyard for new sod, they’re usually trying to avoid the same headaches – puddles near the patio, soft spots that sink later, mower scalping, and seams that never quite disappear.
Leveling is not about making the yard perfectly flat. Most backyards should not be flat. They need a controlled slope that moves water away from the house while still giving you a smooth, usable lawn. That’s the difference between a yard that looks sharp for a few weeks and one that still looks sharp after a full season of rain, heat, and foot traffic.
Why leveling matters before sod goes down
New sod is only as good as the base under it. Premium sod can be farm-fresh, green, and healthy, but it still needs proper support. If the grade is uneven, the sod will follow those bumps and dips. If the soil is loose in some areas and compacted in others, the lawn can settle unevenly after installation.
This is where a lot of DIY jobs go sideways. People focus on the grass because that’s the part you see. The real work is in the prep. Good leveling helps with drainage, makes mowing easier, reduces trip hazards, and gives the roots a better shot at establishing evenly.
For newer homes, this step matters even more. Backyards around new builds often have leftover construction settlement, buried debris, or rough grading that looks fine from the deck but causes trouble after the first heavy rain.
What “level” should actually mean
If you want to level backyard for new sod, think smooth and properly sloped, not pool-table flat. A backyard needs subtle pitch so water moves away from the foundation instead of hanging around where it shouldn’t. That slope should feel natural when you walk it, not dramatic.
The exact grade depends on the yard, the home, the drainage pattern, and what already exists around the property. A low area in the middle of the lawn may need to be built up. A swale along the fence may need to stay, because it serves a drainage purpose. This is where experience matters. A yard can look uneven for the right reason, and a yard can look flat while still draining badly.
Start by finding the real problem spots
Before adding soil or dragging anything around, walk the backyard with a practical eye. Look for birdbaths, low corners, soft areas, high ridges, and any spots where water already collects. Check around window wells, walkouts, patios, sheds, and fence lines. Those transition areas often tell you where the grade is working and where it isn’t.
It also helps to think about how the backyard is used. If kids run through one side every day or if a mower has to cross a steep bump each week, that should influence the final finish. A technically acceptable grade can still be annoying if it leaves you with a lumpy lawn that feels half-finished.
One quick reality check: if you have standing water close to the house, or deep low spots that return every season, you may be dealing with more than basic leveling. In those cases, proper grading and drainage correction should come first. Sod is not a fix for drainage problems. It just makes them greener for a while.
How to prepare the soil before leveling
The best finish starts with the worst-looking part of the job. Existing dead grass, weeds, rocks, roots, and construction debris need to come out. If you spread topsoil over junk and call it prep, the yard usually settles, the sod struggles, and you end up paying twice.
Once the area is cleared, the soil should be loosened enough to work with but not fluffed into a sponge. That balance matters. Soil that is too compacted can block root growth. Soil that is too loose can sink after watering. The goal is a stable base with enough workable depth to shape the final grade and support rooting.
In many backyards, adding quality topsoil is part of the leveling process. Not all soil is equal, and this is not the place for random fill. Good sod prep soil should be clean, workable, and suitable for root establishment. Cheap material often contains clumps, stones, and inconsistency that show up later in the lawn surface.
How to level backyard for new sod the right way
Once the base is clean and workable, the leveling begins. High spots are cut down. Low spots are filled. Then the surface is blended until the yard feels smooth underfoot and the grade makes sense for drainage.
This step sounds simple, but the details matter. If you only fill low spots without reducing high areas, the final grade can creep too high against patios, walkways, or siding. If you overwork wet soil, it can smear and compact. If you rush the finish, the sod will mirror every dip and ridge like a fitted sheet over a bad mattress.
A proper finish usually involves repeated passes to spread, rake, and refine the soil. Some areas need more attention than others. Along hard edges, the grade has to tie in cleanly. Around the home, it needs to direct water away without leaving the lawn looking sloped and awkward. In open areas, it should be smooth enough that sod lays tight and mowing later feels easy.
This is also the point where irrigation coverage, downspouts, and drainage paths should be considered. There’s no prize for a perfectly smooth yard if the downspout dumps straight into your new lawn and turns one section into a swamp.
Don’t ignore compaction and settling
One of the biggest mistakes in sod prep is making the yard look level for one day instead of building it to stay level. Freshly moved soil often looks great before watering. Then it settles. That’s why the prep has to account for compaction and moisture, not just appearance.
If the backyard has been heavily trafficked by equipment or affected by construction, some areas may be hard as concrete while others are loose and freshly filled. That difference can lead to uneven rooting and uneven settlement. A consistent base helps the whole lawn establish at the same pace.
It depends on the site, but yards with major regrading often benefit from a more deliberate prep process rather than a fast cosmetic skim. That can feel slower on install day, but it usually saves frustration later.
The finish matters more than most people think
Right before sod goes down, the surface should be smooth, firm, and ready to receive it. Not muddy. Not powder dry. Not full of footprints and rake grooves. This final condition affects how tightly the sod sits on the soil and how quickly roots knit in.
If the finish is rough, the sod bridges over low spots and leaves air gaps underneath. That can slow rooting, dry out sections, and create a lawn that feels bumpy from the start. A well-finished base gives the install a cleaner look right away and a better chance of staying that way.
This is one reason specialized sod crews usually outperform general landscape crews on lawn replacement jobs. Sod work is not just rolling out grass. The grading and prep underneath are where the long-term result is decided.
When a backyard needs more than simple leveling
Some yards need a straightforward surface correction. Others need actual grading work. If the lawn slopes back toward the house, if water sits after every storm, or if the grade was never properly established after construction, the project is bigger than filling a few dips.
The same goes for backyards with grub damage, full lawn failure, or years of patchwork repairs. At that point, tearing out the old lawn, correcting the base, and installing fresh sod is usually the faster and cleaner path. It costs more upfront than spot-fixing, but the result is more predictable.
For homeowners in places like Kitchener, Waterloo, and Cambridge, that local soil and drainage reality matters. Freeze-thaw cycles, heavy spring rain, and builder-grade backyard prep can expose every shortcut. A lawn that looks good for a month is easy. A lawn that handles Ontario conditions is a different standard.
Should you do it yourself or hire it out?
That depends on the size of the yard, the severity of the grading issues, and how exact you want the result to be. A small backyard with minor unevenness may be manageable if you have the time, equipment, and patience. A larger yard, a new build lot, or any property with drainage concerns is usually better handled by a crew that does this every week.
The trade-off is simple. DIY can save money on paper, but mistakes in grading are expensive to correct after sod is installed. Professional prep costs more upfront, but it gives you a smoother finish, faster install, and fewer surprises after the first hard rain.
At Right On Sod, that prep-first approach is the whole point. Good sod should look impressive on day one. Better grading and soil preparation are what make it keep looking that way.
If you’re planning to level backyard for new sod, treat the grass as the final step, not the main event. The real win is a backyard that drains properly, feels smooth underfoot, and still looks even after the new-lawn excitement wears off.