

A lawn can look perfect on installation day and still fail a few weeks later if the ground underneath was never shaped properly. That is why grading before sod installation is not an extra step. It is the foundation that decides whether your new lawn drains well, roots evenly, and stays healthy through rain, heat, and regular use.
For homeowners, builders, and property managers, the problem usually shows up the same way. Water sits near the house, puddles form in low spots, the lawn feels bumpy underfoot, and sections of sod dry out faster than others. Fresh sod cannot fix bad grade. It only covers it for a short time.
What grading before sod installation actually does
Grading is the process of shaping the soil so water moves away from structures, the lawn surface feels smooth, and the sod has the right base to establish roots. It is not just about making the yard look flat. In many cases, a perfectly flat yard is exactly the wrong goal.
A good grade creates controlled slope. That slope helps rainwater move where it should instead of collecting where it should not. It also removes dips, ridges, and uneven transitions that make mowing harder and leave a lawn looking unfinished.
For a new build, grading often corrects the rough work left after excavation and construction traffic. For an existing property, it usually means addressing settling, old drainage problems, worn-out lawns, or years of patchwork repairs that left the surface uneven.
Why sod fails on poorly graded ground
Sod needs direct contact with loose, prepared soil to root properly. When the grade is off, that rooting process becomes inconsistent. Water may pool in one area and run off too quickly in another. Some sections stay soggy, while others dry out and pull apart at the seams.
That creates a chain reaction. Wet spots can lead to weak roots, disease pressure, and soft ground. High spots often struggle because they shed water too fast and dry out before roots establish. Even if the sod itself is premium quality, the results will be uneven because the base was uneven.
This is one of the biggest reasons a lawn can look great for the first week and then start showing stress. The sod was never the real issue. The prep underneath was.
The drainage side of grading matters most
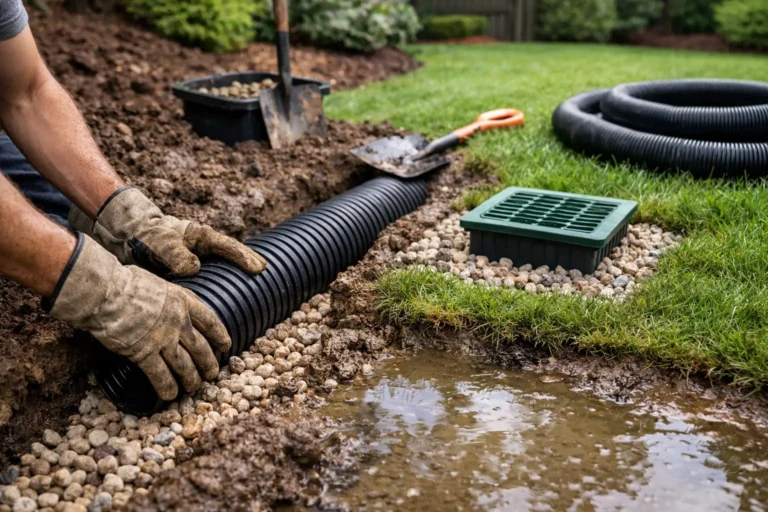
If there is one reason grading should never be rushed, it is drainage. Water has to go somewhere. If the lawn is pitched toward the house, garage, patio, or walkway, every heavy rain becomes a risk.
Proper grading before sod installation helps direct water away from the foundation and prevents the kind of standing water that damages both turf and property. That does not always mean dramatic reshaping. Sometimes the fix is subtle – raising a low area, smoothing a swale, or correcting the pitch along the edge of the home.
The right solution depends on the site. A backyard with heavy clay soil may need more attention to slope and surface movement than a sandy lot. A property with neighboring runoff may need grading that accounts for water entering from outside the yard. That is why experienced sod installers look beyond the grass itself and assess how the whole area handles water.
Smooth lawns start below the surface
People often think of grading as a drainage job, but it also has a big impact on how the finished lawn looks and feels. A properly graded yard gives you a smooth, even surface that cuts cleanly and looks consistent from every angle.
Without that prep, the lawn may end up with humps, depressions, tire ruts, and soft spots hidden under the sod. Those flaws tend to become more noticeable after the first few mowings. Once the sod has rooted, correcting them becomes harder, more expensive, and more disruptive.
This matters even more on front lawns where curb appeal is the whole point. A fast lawn transformation only pays off when the finished result looks clean and intentional, not rushed.
What a proper grading process should include
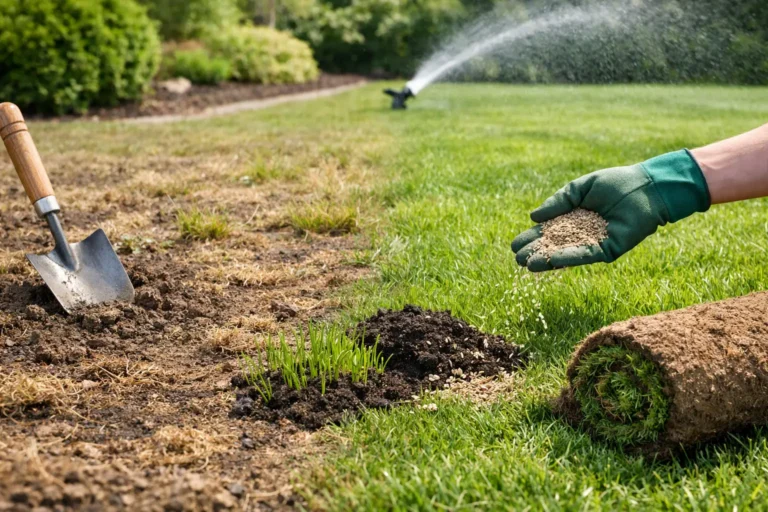
Not every yard needs full regrading, but every sod project needs the base checked and corrected before installation. The process usually starts with stripping out dead turf, weeds, debris, and construction material. From there, the soil is shaped to establish the right flow and remove visible irregularities.
In many cases, additional topsoil is brought in to build up weak areas and create a better root zone. The final surface should be smooth, properly compacted, and loose enough at the top for sod roots to knit into the soil below. If the ground is too hard, roots struggle. If it is too fluffy or uneven, the lawn can settle after installation.
That balance matters. Good grading is not just moving dirt around. It is controlled preparation with the finished lawn in mind.
Grading before sod installation on new construction lots
New construction is one of the most common places where grading gets overlooked. The lot may appear ready because the house is done and the yard is cleared, but the soil has often been compacted by heavy equipment and left uneven by trades.
That type of ground is rarely ideal for sod without reworking it first. It may contain rocks, buried debris, poor topsoil depth, or surface pitches that send water in the wrong direction. In these cases, grading is what turns a rough lot into a lawn-ready surface.
For builders and new homeowners, this is where working with a dedicated sod specialist makes a difference. The goal is not just to finish the exterior quickly. It is to make sure the lawn establishes properly and does not become a callback issue after move-in.
Older lawns usually hide grading problems
On established properties, grading problems often show up over time. Soil settles. Tree removal changes the surface. Old garden beds get removed. Drainage patterns shift. Homeowners may add patchy topdressing over the years without solving the underlying shape of the yard.
When a lawn is being replaced, that is the right time to correct those issues. Installing new sod over an old low spot or drainage path usually means the same problem comes back, just with fresh grass on top. A better approach is to fix the base once and let the new lawn start clean.
When full grading is needed and when spot grading is enough
It depends on the condition of the property. Some lawns need complete regrading because the slope is wrong across a large area or drainage problems affect the whole yard. Others only need targeted grading in a few sections where water collects or the surface has settled.
That is why honest site assessment matters. Overselling a full regrade wastes money. Skipping needed grading creates bigger costs later. A dependable contractor should be able to explain what needs correction, what can stay, and how that affects the final result.
For many properties, the smartest plan is practical rather than extreme. Correct the problem areas, create proper flow, add quality soil where needed, and install sod on a surface built for rooting.
Timing matters more than most people think
Grading should happen immediately before final soil prep and sod installation, not weeks earlier if the site will still be disturbed. Once the grade is set, you do not want foot traffic, equipment, or weather undoing the work.
That is one reason turnkey installation matters. When grading, prep, and sod installation are handled as one coordinated process, the lawn goes down on the surface it was designed for. That reduces delays, avoids rework, and helps the sod establish faster.
In areas like Kitchener, Waterloo, and Cambridge, where spring rain and summer heat can both test a lawn quickly, that timing becomes even more important. The better the grade at install, the better the lawn handles real conditions from the start.
The cheapest place to fix a lawn problem is before the sod goes down
Once sod is installed, every correction becomes more complicated. Regrading means lifting sections, adding or removing soil, resetting the surface, and often replacing damaged turf. What could have been handled during prep becomes a repair job.
That is why grading before sod installation saves money even when it adds work up front. It protects the investment in the sod itself, improves drainage, supports healthier rooting, and delivers a finished lawn that actually looks premium.
Right On Sod approaches grading the same way a serious lawn installer should – as part of the result, not an optional add-on. If the ground is not ready, the lawn is not ready.
A new lawn should solve problems, not hide them for a month. If you want sod that looks sharp and lasts, start with the grade and let everything else follow from there.
19 Comments