
A lawn can look finished from the street and still be failing underneath. If your grass is thinning, holding water, overrun with weeds, or refusing to recover year after year, lawn tear out replacement is often the smarter fix than throwing more seed, fertilizer, and time at a surface problem.
For many property owners, the real issue is below the grass line. Compacted soil, poor grading, shallow topsoil, grub damage, and construction debris can all keep a lawn from establishing properly. In those cases, replacing the lawn is not about cosmetics alone. It is about rebuilding the surface so the new grass has a fair chance to root, drain, and stay healthy.
When lawn tear out replacement makes sense
Not every bad lawn needs to be removed. A few isolated dead spots, light pet damage, a worn path from kids or dogs, or small areas thinned out by shade can often be repaired with overseeding, targeted patching, grub treatment, and better watering habits. But there is a point where patching becomes expensive, slow, and frustrating, and it makes more sense to tear out the old turf and start fresh.
A full lawn tear out usually makes sense when the lawn has several of these problems at once:
- Weeds have taken over large sections of the yard.
- More than a third of the lawn is thin, bare, uneven, or constantly struggling despite regular care.
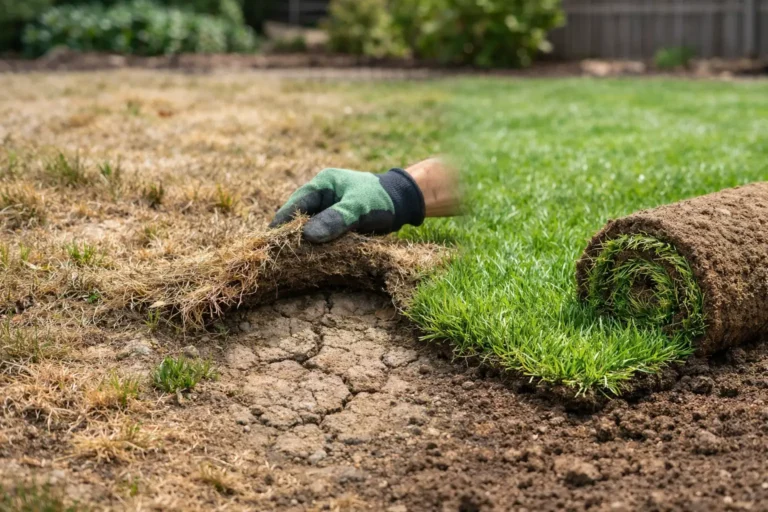
- Grub damage has left loose, dead patches that animals can peel back easily.
- Water pools after rain or runs toward the home instead of away from it.
- Construction, heavy equipment, or repeated landscaping work has damaged the grade and soil.
- The existing lawn is full of ruts or sitting on poor-quality fill.
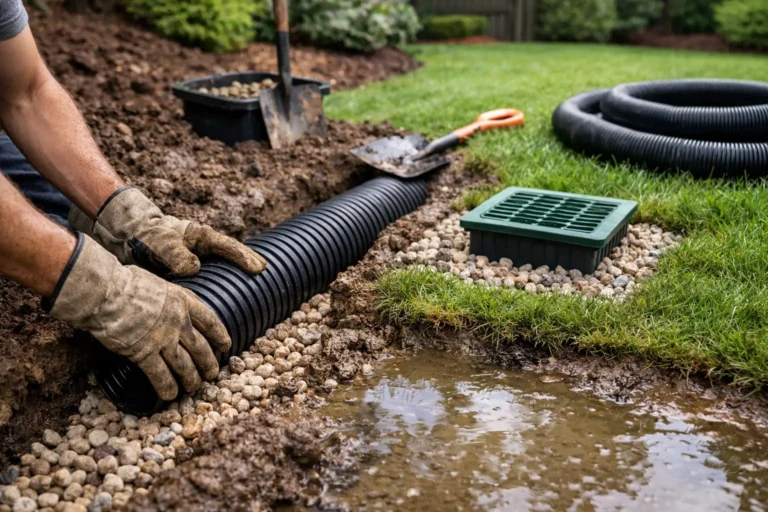
Drainage deserves a closer look. Puddles that linger, muddy low spots, and water running toward the foundation usually point to grading issues. Sod cannot fix a yard that sends water in the wrong direction; if anything, new sod makes the problem more obvious because the surface looks so clean and level at first. If drainage leaves standing water across much of the yard, that is a tear-out signal, not a reseeding job.
A tear out also makes sense after construction, major landscaping, pool work, or driveway and utility repairs. Heavy equipment leaves rough, uneven ground behind, and even when grass eventually grows on it, it tends to be weak, bumpy, and difficult to mow.
The biggest clue is repetition. If the same areas fail every spring or turn brown every summer, and you have already reseeded, fertilized, treated weeds, and watered faithfully, the issue is not your effort. It is the lawn’s foundation. Builders and property managers reach the same conclusion faster, because they need a clean, reliable finish on a schedule.
Is a full lawn tear out worth the cost?
Lawn repair is usually less expensive up front, and it is the smarter option when damage is limited. It becomes poor value when the underlying issues cover most of the property. Repeated overseeding, topdressing, weed control, and patch sod add up quickly, and none of it corrects an uneven grade, shallow soil, or a persistent drainage problem. You may spend less this month and more every season afterward, chasing symptoms section by section.
A full replacement costs more because it includes removal, disposal, soil work, grading, sod, installation, and cleanup. In return it gives you a predictable result: one consistent lawn, one corrected surface, and one clear care plan. For homeowners who are tired of explaining their lawn to every visitor, that certainty has real value.
The size of the lawn is only one part of the estimate. Access for equipment, the amount of old material to remove, soil depth, grading needs, drainage corrections, and the shape of the yard all affect the final price. A clean, accessible rectangular lawn is faster to replace than a backyard with narrow gates, heavy slopes, tree roots, multiple garden beds, and poor soil. That is why honest pricing starts with seeing the site, and a detailed estimate should spell out exactly what is included and any extras needed to get the result right.
What a proper lawn tear out replacement includes
A proper lawn replacement is more than removing old grass and rolling out new sod. Any honest residential lawn replacement guide spends most of its time on the steps below, because a finished-lawn photo never shows them.
Assessing the site
Every job starts with a walk of the property. Slope, drainage, access, sun exposure, soil compaction, pest history, and obvious trouble spots are checked, and the area is measured so the scope and material needs are clear. A flat backyard that stays soggy needs a different approach than a newly built front yard with hard-packed subsoil and a steep grade toward the sidewalk. Shade gets an honest answer at this stage too: premium sod can establish in partial shade, but dense shade from mature trees or buildings limits how much turf can thrive long term, and selective pruning, adjusted mowing, or a different landscape solution may be more realistic in those spots.
The assessment also flags anything that could slow the work or get damaged: underground utilities, irrigation heads, landscape lighting, buried pet fences, tree roots, narrow gates, and garden edges or hardscaping that need protection. Existing concrete and driveway elevations matter too, because new soil and sod add height.
Removing the old turf
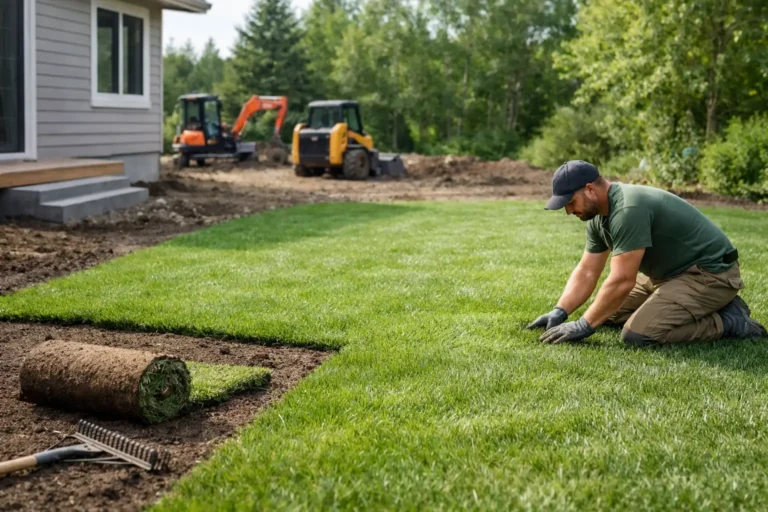
Knowing how to remove a lawn properly, rather than simply covering it over, is where the real work starts. The old grass, weeds, thatch, and compromised root zone are cut out, along with a layer of depleted soil where needed, and any stones, construction debris, or buried roots that would interfere with grading are cleared. Spreading topsoil over struggling grass and dropping sod on top leaves old turf competing with the new lawn, and buried material shows up later as dips, bumps, or dead strips.
Tearing out the old lawn also gives the installer a clear look at what is underneath. Hidden low spots, buried rubble, and hard-packed areas are common, especially on newer lots and recently renovated properties. This is the time to identify grub damage or disease pressure. If grubs caused the original lawn to peel back like loose carpet, replacing the sod without addressing the pest problem invites a repeat performance, and the right treatment timing depends on the type of grub and the season.
Grading and soil preparation
This is where the job is won or lost. Fresh sod can look great on day one almost anywhere. The difference shows up a few weeks later, when shallow roots, uneven soil, and poor drainage start to reveal themselves. A good result depends far more on the preparation than on the sod itself, and skipping this stage to save a little on installation day usually costs more when the lawn has to be repaired again later.
Once the old lawn is out, the ground is graded to move water away from the home and to correct low spots, where water would otherwise collect and drown roots. Proper grading also smooths uneven ground and creates the right base for mowing and everyday use. The goal is not a perfectly flat yard but one intentionally shaped so water moves where it should, without a slope steep enough to cause erosion or make mowing awkward, while still looking natural and working with patios, walkways, gardens, and neighbouring properties.
In Kitchener, Waterloo, and Cambridge, soil conditions vary from one neighbourhood to the next. Clay-heavy ground may hold water longer, while disturbed new-construction lots are often left with very little usable topsoil. Sometimes a yard needs only light regrading and soil amendments; other times it needs imported topsoil, reshaping, or correction around hardscape edges. Ontario’s freeze-thaw cycles and spring moisture will expose every shortcut, which is why grading before sod installation matters more than a level-looking lawn suggests.
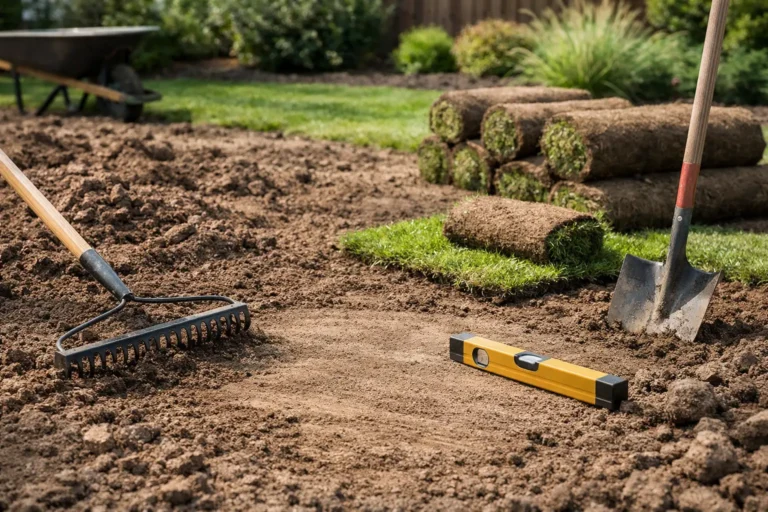
Soil preparation comes next. New sod needs loose, clean soil with enough depth for roots to establish, so quality screened topsoil is added where needed, then levelled, worked to remove clumps, and raked smooth. Too little topsoil is a common mistake; thin soil dries quickly, roots poorly, and exposes every grade issue. Compacted soil does the opposite kind of damage: with the air squeezed out of it, roots stay shallow, the lawn dries out faster in hot weather, and it stalls in summer heat. That is why the finished surface is compacted only lightly, stable enough to hold the sod but loose enough that roots still have oxygen and room. A good crew leaves the finished grade slightly below walkways and driveways so the sod does not sit too high or look shoved into place.
There are limits to what grading can do. Major drainage issues involving downspouts, retaining walls, or neighbouring properties may need work beyond standard lawn grading. A reliable sod specialist should explain that up front rather than promising that a few rolls of grass will solve every water problem.
Installing the fresh sod
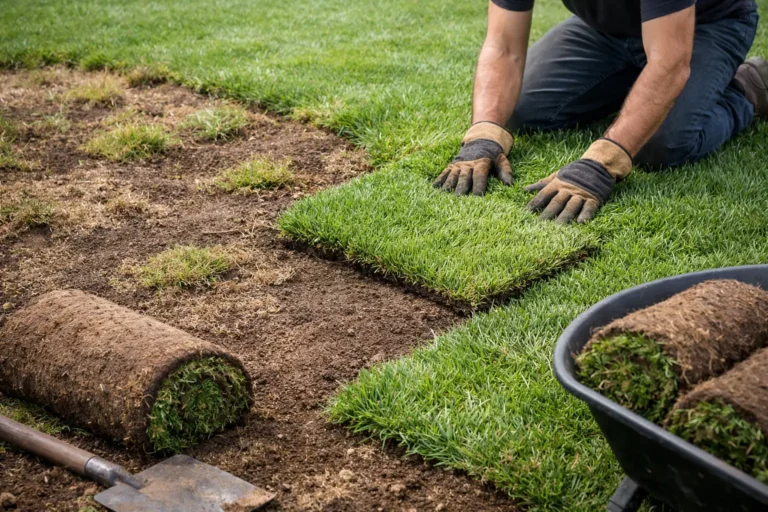
Once the base is ready, the sod goes down the same day if possible. Sod is a living product, not flooring, and delays between cutting, delivery, and placement affect how well it roots. Farm-fresh sod is laid tightly with staggered seams, trimmed cleanly around walkways, gardens, trees, driveways, and curbs, then rolled so the roots make solid contact with the prepared soil. Without that contact, sod dries out quickly and struggles to establish. The lawn is watered immediately. Good installation is fast, but it is not rushed; those edge details are what separate a finished lawn from a green carpet rolled out in a hurry.
Sod or seed after a tear-out?
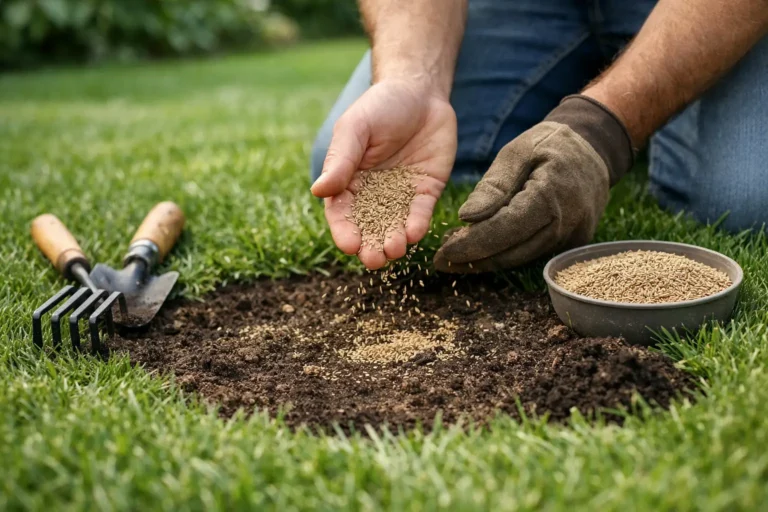
Seeding has its place. It costs less up front and can work well on large areas where time is not a concern. But it is vulnerable to washout, uneven germination, weed pressure, and weather; it needs protection from foot traffic; and a seeded lawn can take months to fill in evenly. It also grows into whatever conditions are underneath it, so on a yard with grading or soil problems it simply repeats the first failure.
Sod costs more because it delivers an immediate finished surface and removes most of the uncertainty. Once it is installed correctly and watered properly, you have a real lawn right away rather than a yard covered in straw and hope. That speed matters for homeowners preparing to sell, moving into a new build, or repairing a damaged yard, and for builders working toward turnover dates. The trade-off is that sod is not magic. It still needs disciplined watering while the roots knit into the base.
How quickly can you replace a front lawn?
If you need to replace a front lawn quickly, usually because it has become a curb-appeal problem that another bag of fertilizer will not fix, sod is the fastest path to a finished-looking yard. For many average front lawns, the work can be completed in one day once materials, access, and weather cooperate. Larger properties, a combination of front and backyard work, and the same site conditions that push up the price all add time. The fastest replacements are the ones with no surprises, which is what the site assessment is for; speed should not mean rushing the diagnosis.
Weather can change the schedule. Light rain is generally not a problem and can even help. Saturated soil, extreme heat, or a yard that has turned into mud can delay the job for good reason, because working wet ground compacts it and makes a mess.
The best time of year to tear out old turf
Spring and fall are excellent seasons for sod because cooler temperatures and regular rainfall reduce stress while roots establish. In the Waterloo Region, fall installation is often a strong option because the soil stays warm while cooler air eases the load on the grass. Summer installation is also possible with the right watering plan. Sod cares less about the month than about whether its roots stay moist long enough to establish.
Waiting for the perfect season is not always necessary. If drainage, weeds, or construction damage are making the yard miserable now, a professional assessment can tell you whether conditions are right to move ahead or whether a short delay would produce a better result. The one timing mistake to avoid is waiting until the lawn is completely gone before planning. If you are coordinating a fence, patio, driveway, or construction project, book the lawn work after the heavy equipment is finished. There is no sense installing premium sod just before someone drives a skid steer across it.
Caring for new sod in the first few weeks
A new sod lawn looks finished immediately, but it is still in its establishment phase, and the first few weeks set the tone for its future. Water deeply and consistently so moisture reaches the soil beneath the sod, not just the blades. Water early in the morning, and adjust to the weather: hot or windy days call for more frequent watering, cool rainy stretches for less. The lawn should be moist during establishment, not floating. Too little water causes shrinkage and stress; too much creates soft ground, invites disease, and encourages shallow rooting.
Lift a corner after several days. If you see new white roots reaching into the soil, the lawn is starting to settle in. If the sod is dry underneath or pulls up easily, it needs more consistent water. After roughly two weeks, gently tug on a sod edge; if it resists lifting, roots are beginning to establish, and you can transition toward deeper, less frequent watering to build a stronger root system. Do not stop watering cold turkey because the lawn looks great from the sidewalk.
Keep traffic light until the sod is rooted. Kids, pets, furniture, and lawn games can wait. Mow only when the grass has reached a healthy height and the ground is firm enough to walk on without leaving footprints, usually around two weeks depending on conditions. Use a sharp blade, keep the first cut high, never remove more than one-third of the grass height in a single cut, and avoid aggressive turns on the new turf.
Fertilizer timing depends on the soil condition and the installation plan. More is not automatically better, and a panic application because the grass looks slightly stressed during establishment tends to create stress instead of strength.
Choosing the right contractor for lawn tear out replacement
Lawn replacement looks simple from the curb because the final product is clean and straightforward. The hard part happens before the sod arrives, which is why it pays to work with a company that specializes in lawn installation rather than treating it as a side service. Many homeowners in Kitchener, Waterloo, and Cambridge choose a dedicated sod specialist over a general landscaper for that reason: the work is more focused and the prep is usually better. A specialist looks at drainage, soil structure, and root conditions first, and can tell you honestly whether a targeted repair will do the job or whether a full reset is the better investment.
Ask how the contractor handles tear-out, grading, soil prep, and drainage concerns. Ask whether debris removal is part of the job. Ask what kind of sod they use and how quickly it is installed after delivery. Ask whether they inspect for underlying causes like grubs, compaction, or poor runoff. Straight answers matter, and a specialist should be able to explain the process in plain language and tell you where the site conditions call for more work, not less.
Price should be clear, but cheap numbers can hide skipped prep. Two quotes can look similar on paper while including very different levels of work, so if one sounds unusually low, there is a fair question behind it: what is being left out?
There is a place for DIY projects, but a full replacement with grading concerns is often not the one to learn on. The common headaches are underestimating soil needs, ordering too little sod, installing it too slowly, or realizing too late that the lawn now sends water toward the foundation. A crew with the right equipment, enough labour, and a system for sequencing removal, soil, grading, and sod delivery reduces those headaches. Right On Sod approaches lawn replacement as a complete system, not a green product drop-off, which means identifying why the old lawn failed before the new one goes in.
For property owners who want a fast, clean reset, a properly planned replacement is often the shortest path to a lawn that finally works the way it should. A lawn built on the right base is the one that keeps looking good after the first few rains, the first hot stretch, and the first full season of use.
5 Comments