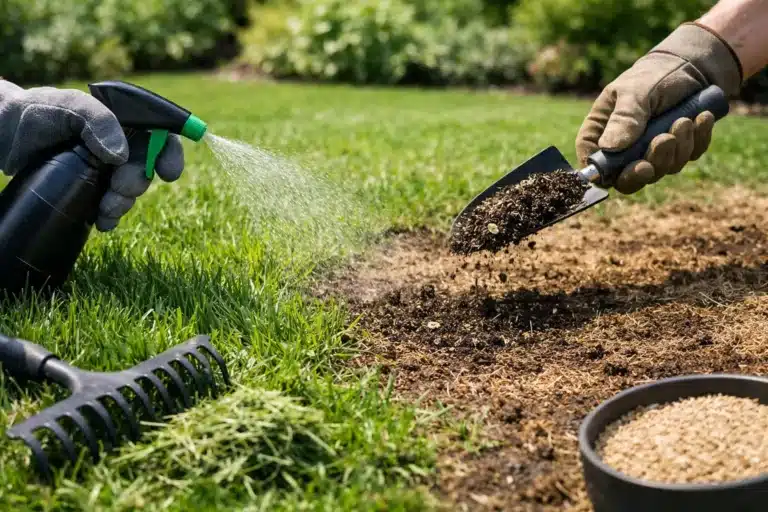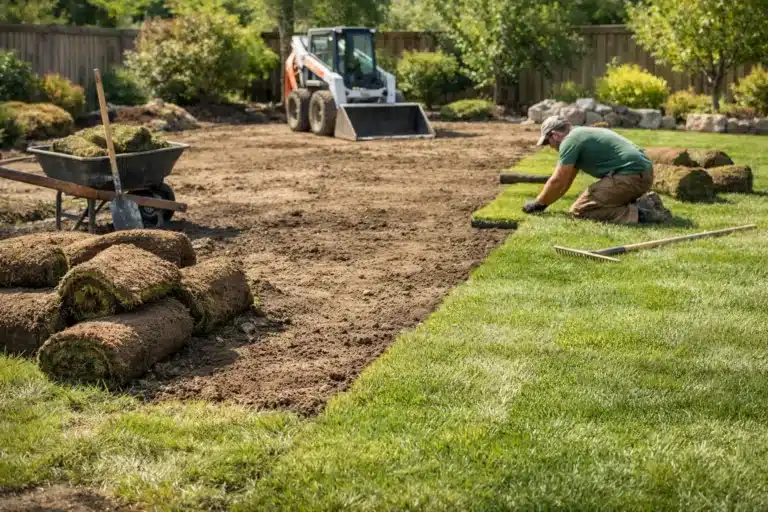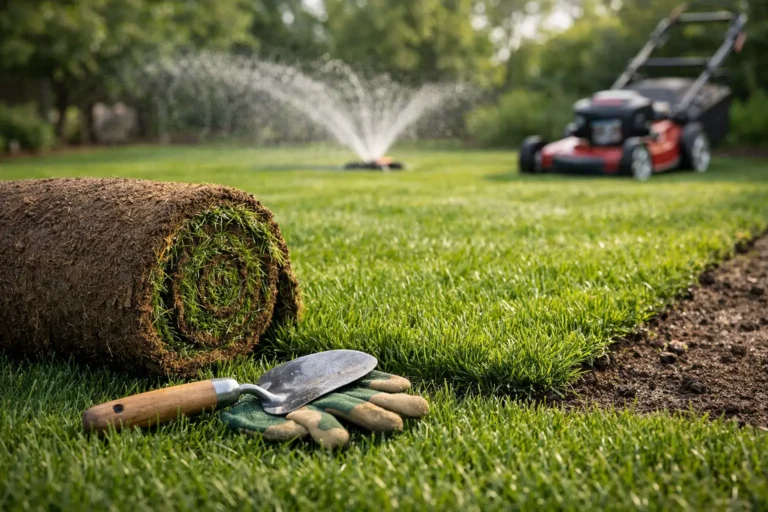

A builder lot can look finished from the street while the lawn tells a different story. Thin grass, hard-packed soil, low spots, rocks, and drainage trouble are common after construction. Proper builder lot lawn restoration deals with what is under the grass, not just what is visible on top. Fresh sod is the finish line, but grading and soil preparation are what keep that finish from falling apart.
That applies whether the front lawn is thin and patchy or you need to fix a bare builder backyard that was never finished at all: construction-packed dirt, tire tracks, puddles, and a whole lot of brown. The ground has to be prepared to support a lawn that roots, drains, and holds up when the kids, the dog, the patio furniture, and the first big rainstorm arrive. Get the base right, and the yard can go from construction zone to usable green space in a matter of days.
Why Builder Lots Need More Than a Quick Patch
Construction is tough on soil. Heavy equipment compresses it, crews move fill around, and topsoil often gets spread thinly at the end of the project. Builders are focused on getting the home completed and ready for possession, so backyard grading and lawn installation may be included, limited, or left entirely to the homeowner. Even where basic grading is done, the ground underneath is often hard as a driveway and stripped of organic material. The result may look level enough for a quick seed-and-straw job, but it often lacks the depth, drainage, and loose soil structure grass needs to establish strong roots.
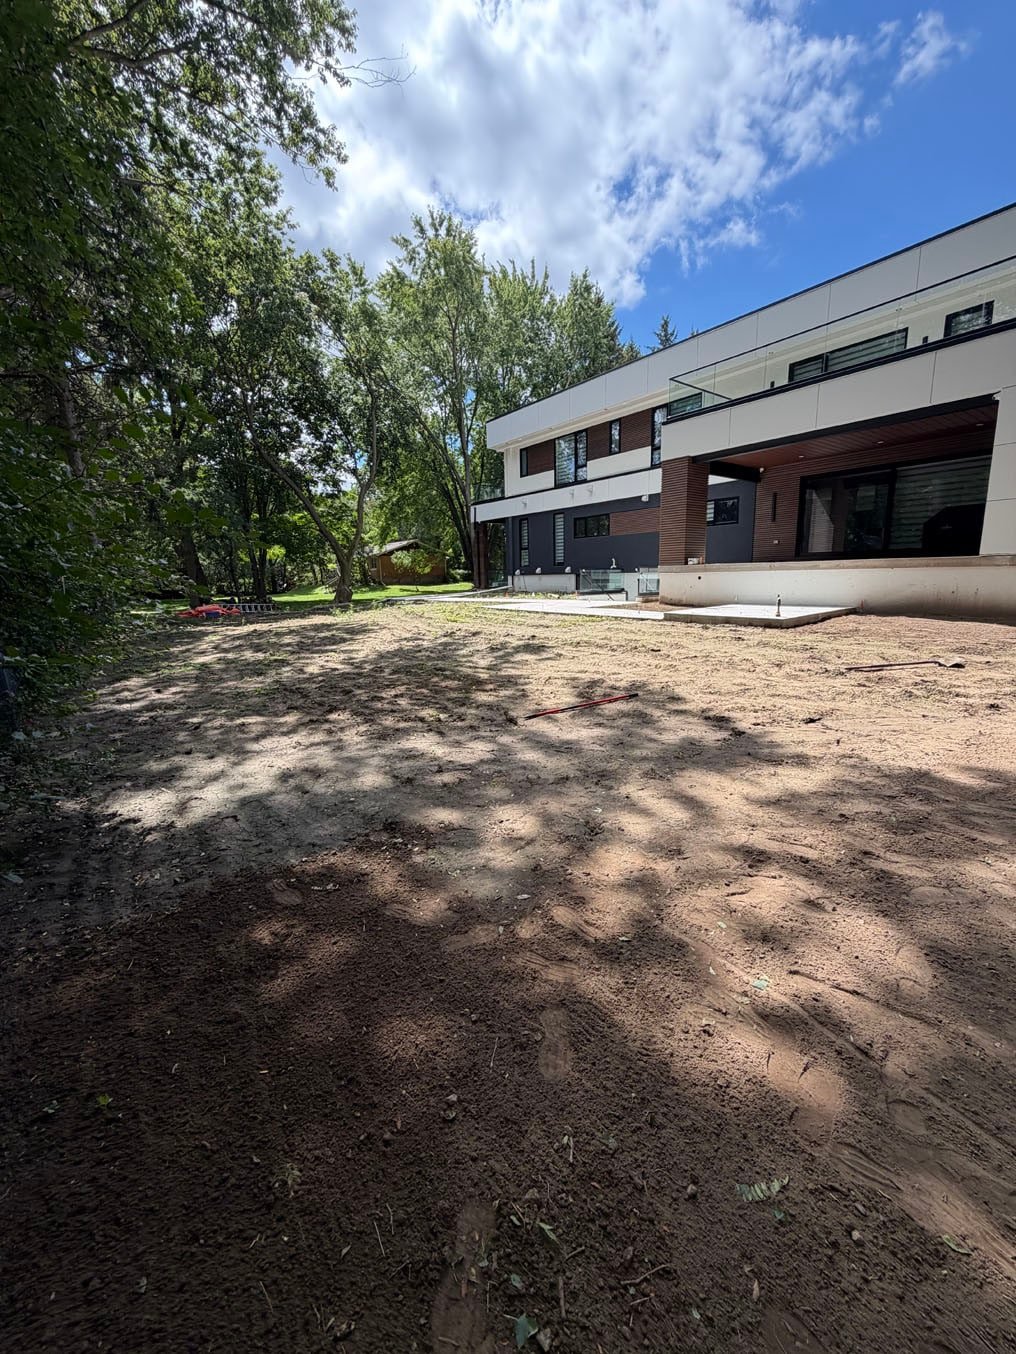
That is why a new home’s original lawn can struggle within its first season. Some problems are obvious. Others hide under a thin layer of grass until the first hard rain or dry stretch: persistent puddles, water running toward the home, uneven lawn height, exposed rocks, sod that dries out in isolated areas, and turf that lifts or pulls up easily because the roots never found healthy soil below. Add foot traffic, pets, and a hot summer, and the lawn starts looking rough before the boxes are even unpacked.
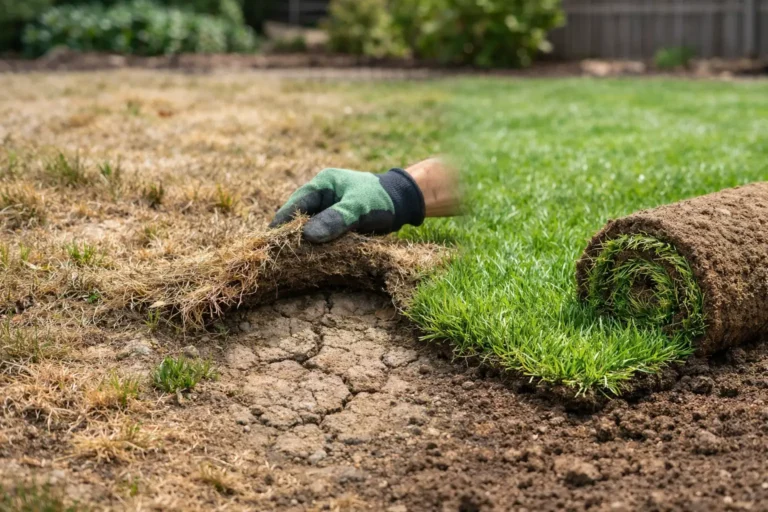
Grub damage can also complicate a newer lawn. If sections peel back like loose carpet, the cause may be grubs feeding on roots, animals digging for them, or both. Replacing sod without addressing active pests can turn a new installation into another repair job.
A restoration plan should start with an honest look at the lot. A small low spot may need soil, regrading, and a targeted sod patch. A yard with poor soil across the whole property is usually better served by a full restoration: tear-out, a new grade, better topsoil, and complete sod replacement. The right answer depends on the condition of the site, not on which option sounds cheapest on day one. The useful question is not, “Can this be made green?” It is, “Will this lawn still perform next summer?”
Builder Lot Lawn Restoration Starts Below the Surface
The work below the surface comes in three parts: the grade, the debris, and the topsoil.
Fix the Grade Before It Becomes a Water Problem
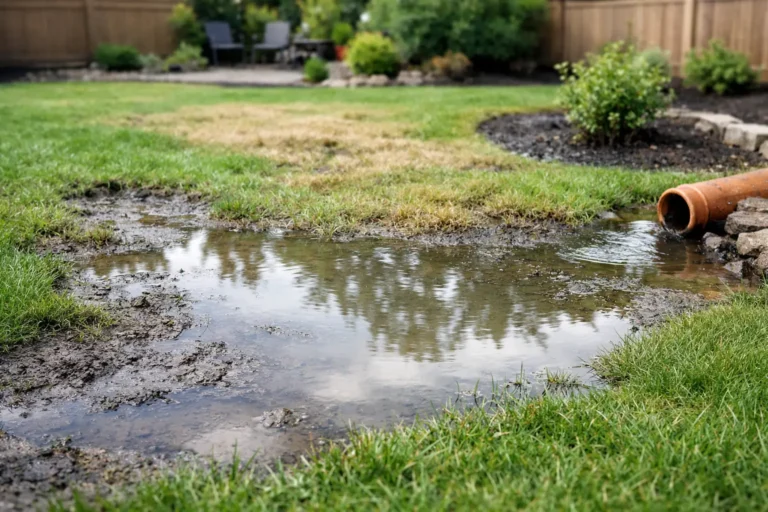
Grading is the part nobody posts on social media, but it is the part that saves you from soggy corners and expensive fixes later. The finished grade should carry water away from the home without creating steep, awkward slopes that are hard to mow. It should also account for swales, window wells, fence gates, future landscaping, and the existing drainage pattern of the lot.
Grading is not about making every yard perfectly flat. It is about creating subtle, intentional movement for water. A gentle slope can be exactly right. A billiard-table-flat lawn that holds rainwater is not. If you can see a major slope from your kitchen window, the solution may be too aggressive. If water sits for hours after a normal rain, it is not aggressive enough, or there is a low spot that needs attention.
These common builder-yard trouble spots are where water problems usually show up first:
- Low areas beside the home, where water can collect near the foundation
- The area below downspouts or splash pads
- Low spots in side yards and along walkways
- Depressions along fence lines, especially where neighbouring lots meet
- Compacted access routes where equipment entered the backyard
- Patio and deck edges, where final grades are often difficult to blend
In Kitchener, Waterloo, and Cambridge, clay-heavy soils can make drainage problems more obvious. Clay holds moisture, compacts easily, and can stay slick long after a storm. That does not mean a good lawn is impossible, only that the grade has to be right.
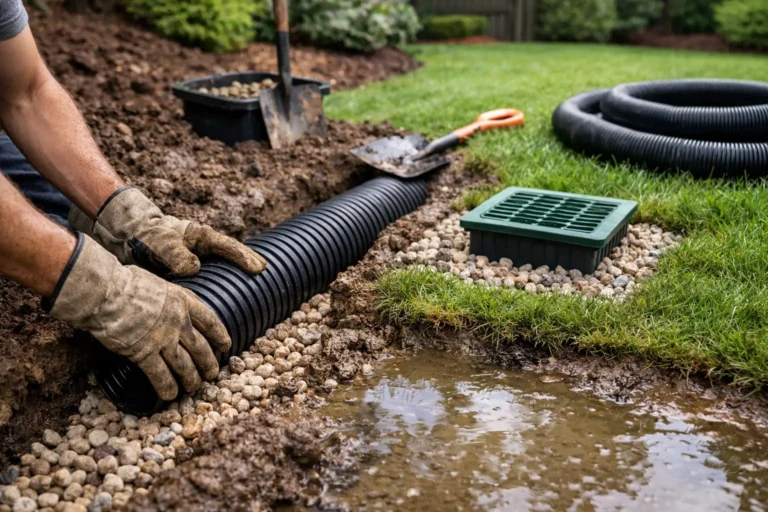
Know When Drainage Needs a Bigger Fix
If runoff is consistently directed toward the house, a neighbour’s property, or a finished patio, simply adding sod will not solve it, and the drainage plan may need adjustment first. On many builder lots, soil also settles after the first winter, which can expose drainage issues that were not obvious at closing and are far easier to rework before the sod goes down.
Remove Construction Debris and Compacted Material
Rocks, wood scraps, excess gravel, buried concrete, compacted subsoil, and hard clay are not lawn soil. They restrict rooting, make mowing miserable, and create dry or thin patches that never quite catch up.
Compacted ground also has to be loosened before topsoil is added, so roots can knit in quickly instead of sitting in a shallow layer over a hard base.
A proper crew checks the surface, removes debris where needed, and works the soil so the top layer and existing ground can function together. It also looks for hidden dips and high spots before the sod arrives.
Add Enough Quality Topsoil
Topsoil is not all the same. Good lawn soil should be screened, workable, and able to hold moisture without staying soggy, with enough depth to support roots through dry spells and seasonal temperature swings. Once it is spread and raked smooth, the finished surface should be firm enough that it will not settle badly, but loose enough for roots and water to move through it.
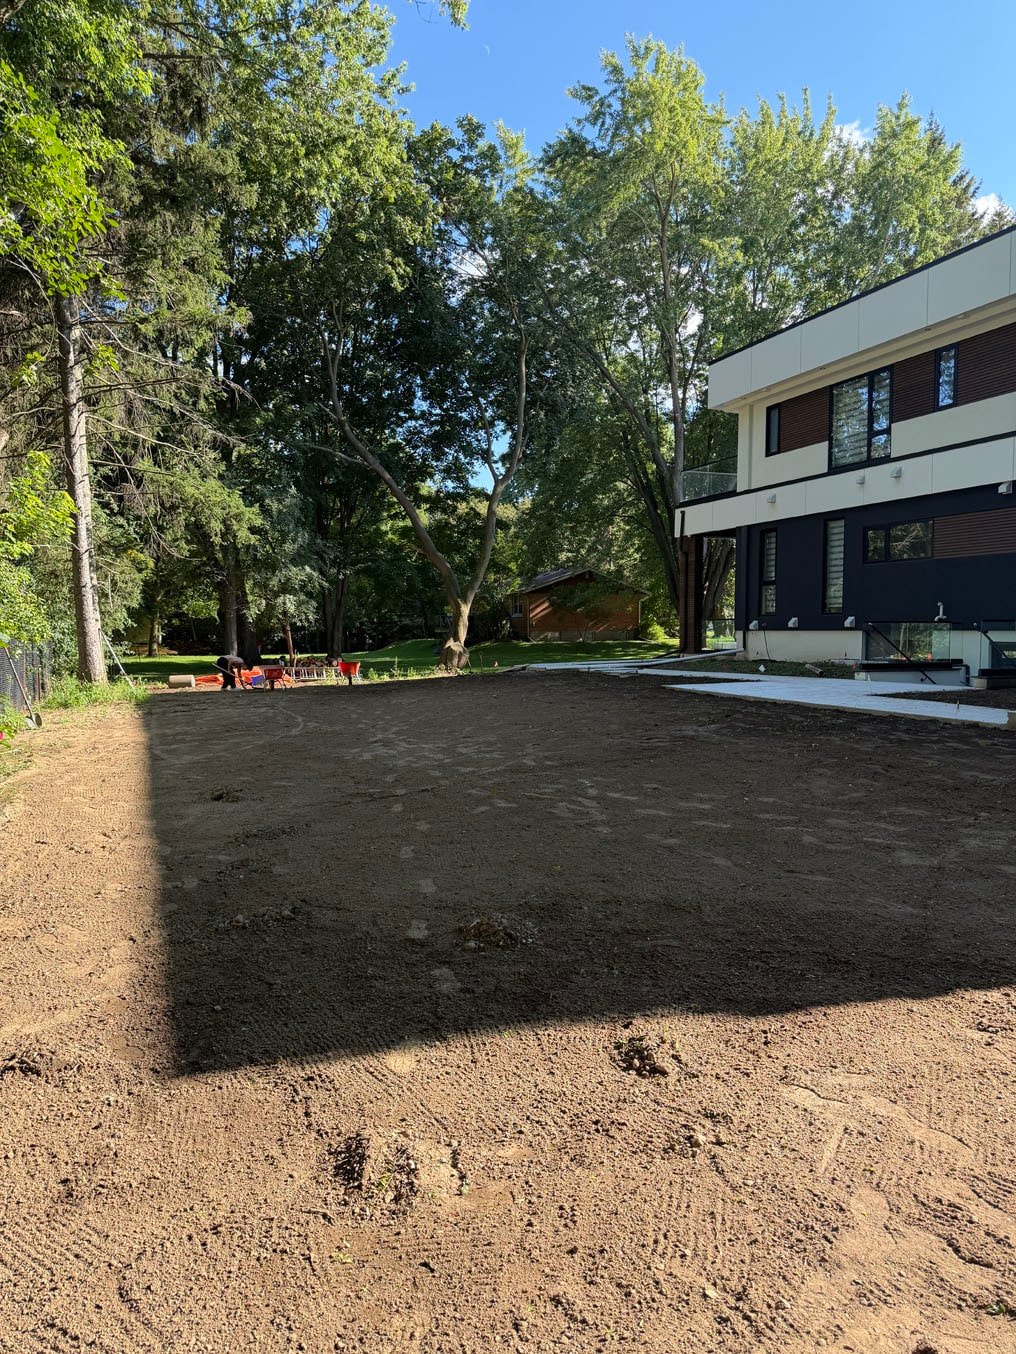
The required amount varies by lot. A relatively clean site with decent existing soil may only need a fresh layer and final levelling. A heavily compacted or poorly finished lot may need substantially more soil before sod installation makes sense. Too little topsoil leaves sod sitting on poor fill, with uneven growth and weak colour to follow. Too much soil against a fence, deck, siding, or masonry creates its own headaches. Finished soil elevations need to respect the home, the drainage points, and any required clearance around structures.
Avoid the Cheap Fixes That Create Expensive Problems
Rain has a way of exposing shortcuts, and a thin dusting of soil over bad grades is a common one. Do not install sod over frozen ground, muddy soil, or a surface that has not been properly levelled. Do not bury downspouts, drainage covers, or utility access points under soil and grass. And do not assume every bare area needs more water. Sometimes the real issue is shade, poor drainage, compacted soil, or an elevation problem.
Why Sod Is Usually the Smart Finish for a Restored Lot
Seed has a place, especially on large areas where budgets are tight and there is time to wait. Seeding a bare builder backyard can work, but it takes patience, consistent moisture, and some luck with weather and weeds. A newly seeded yard can take weeks to look established, and thin areas are common when the soil is uneven or the watering schedule slips. Builder lots are rarely patient projects. Homeowners want a usable yard this season, builders need a clean handoff, and commercial sites need curb appeal without months of uncertainty.
Premium sod provides immediate coverage and erosion control, and it helps reduce the chance that bare soil becomes a weed bed before grass gets established. When installed on properly prepared soil and watered correctly, sod begins rooting quickly and gives the property a finished appearance almost immediately.
That said, sod is not magic carpet. It needs proper care from the day it goes down. Farm-fresh sod matters too. Sod that sits too long on a pallet can heat up and stress before it reaches the ground, which is why installation should be coordinated so the turf is delivered, laid, and watered promptly.
What a Proper Backyard Sod Installation Looks Like
A builder lot lawn restoration should look clean on installation day, but the real test comes after rain, heat, and regular use. Once the crew has confirmed the final grade, the details make the difference.
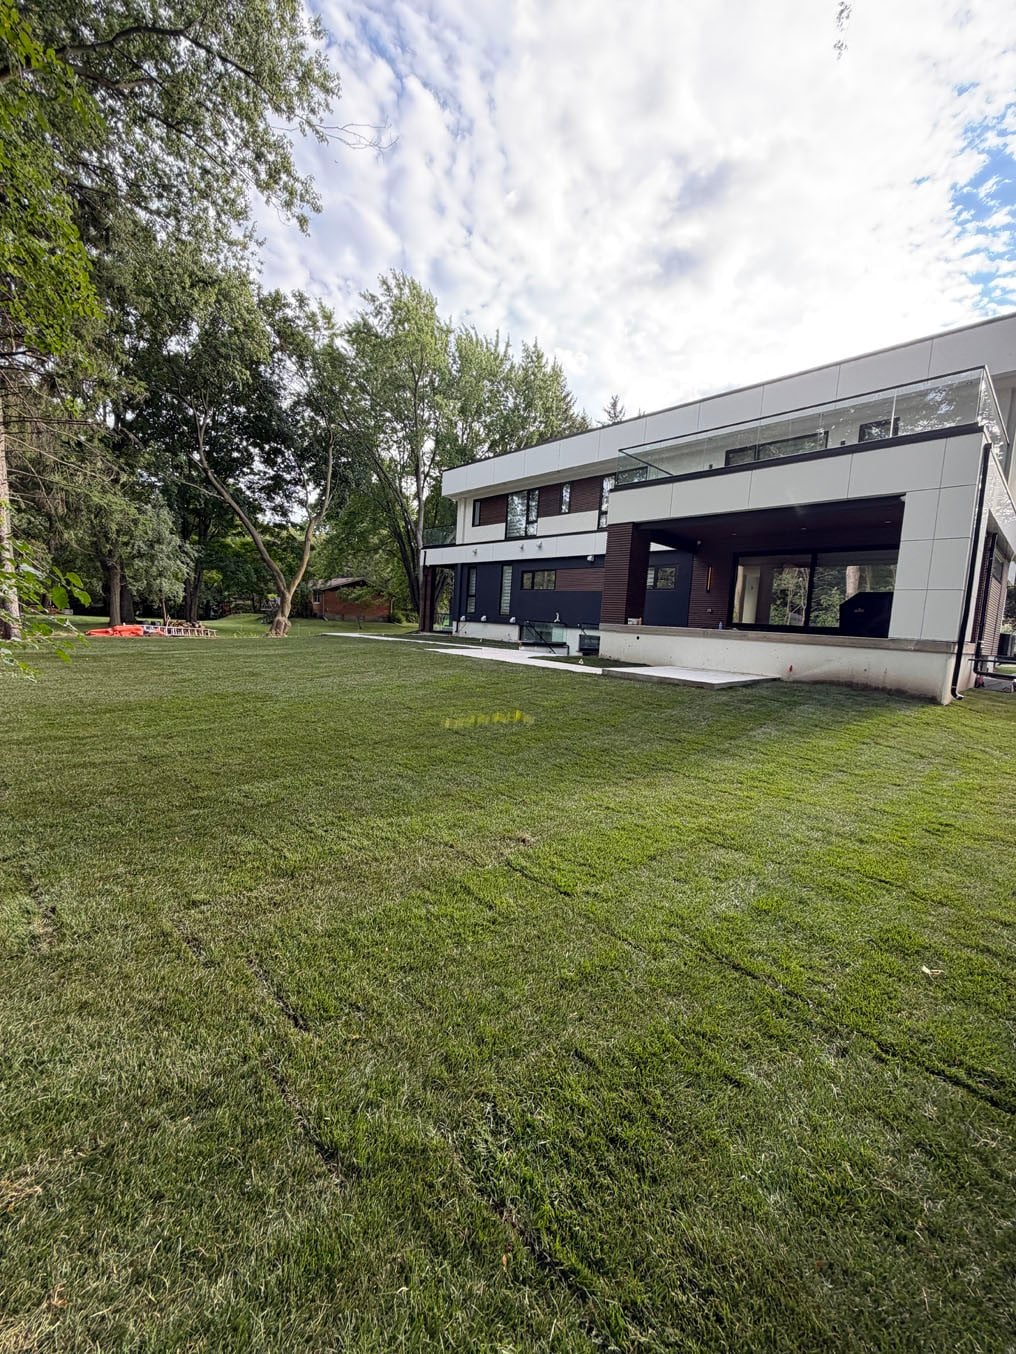
Sod seams should be tightly fitted without stretching the rolls. Gaps between pieces dry out fast and make the finished lawn look rough. Staggered seams help prevent long, obvious lines, and clean cuts around beds, curbs, walkways, patios, and fences give the lawn a finished edge; crooked borders have a special talent for making a new lawn look unfinished. Rolling after installation improves contact between the sod and the prepared soil, which helps roots move into their new home.
Water the Soil, Not Just the Grass
The first watering should happen right away, not after dinner when everyone remembers the yard exists. From there, consistent watering must be thorough rather than casual. The goal is to moisten the soil beneath the sod, not just darken the grass blades, without turning the yard into a mud pit. Early on, frequent watering is often necessary, and the timing changes with temperature, rainfall, shade, and wind.
For the first week or two, lift a corner of sod occasionally and check beneath it. If the soil is dry, the lawn needs more water. If it is soaked and squishy for days, ease back and make sure the grade is not trapping water. Once the roots begin gripping the soil, watering can gradually shift from frequent shallow cycles to deeper, less frequent applications that encourage stronger roots.
Go Easy on Mowing and Traffic
The first mowing should wait until the sod is anchored. Use a sharp blade and avoid cutting too low, because scalping a newly rooted lawn is an easy way to stress it out. Avoid sharp turns on soft turf.
Hold off on heavy foot traffic until the sod has rooted. Light use may be fine after establishment, but backyard soccer tournaments, dog zoomies, and moving patio furniture should wait a little longer. New grass is tough, but it deserves a fair start.
A Better Plan for New Homes, Builders, and Property Managers
For homeowners, restoring a builder lot is about finally being able to enjoy the property you bought, instead of living with a yard that makes a brand-new home feel like it is still under construction. For builders and property managers, it is about delivering a site that looks complete, drains properly, and does not generate avoidable callbacks.
Start early when possible. Soil work is easier before fences, sheds, gardens, and patios limit access. If the lot has already been landscaped, restoration is still possible, but the work may require more careful access planning and protection around finished features.
If your builder backyard has standing water, severe ruts, a large slope, or poor soil throughout, get a site-specific plan and a clear estimate before ordering materials. That is far more useful than guessing how many rolls you need. Right On Sod approaches these projects as sod specialists, not as a crew that happens to have grass on the truck. That means assessing the grade, soil condition, drainage, and intended use before recommending the scope of work. The goal is straightforward: a lawn that looks sharp now and has a fair chance of staying that way.
A builder lot does not need to remain the weak link on an otherwise finished property. Give the soil and grade the attention they deserve, install quality sod, and follow the early watering plan. The result is not just greener grass. It is a yard that is ready for real life, not just a listing photo, with actual grass under your feet in your first summer in the new home.