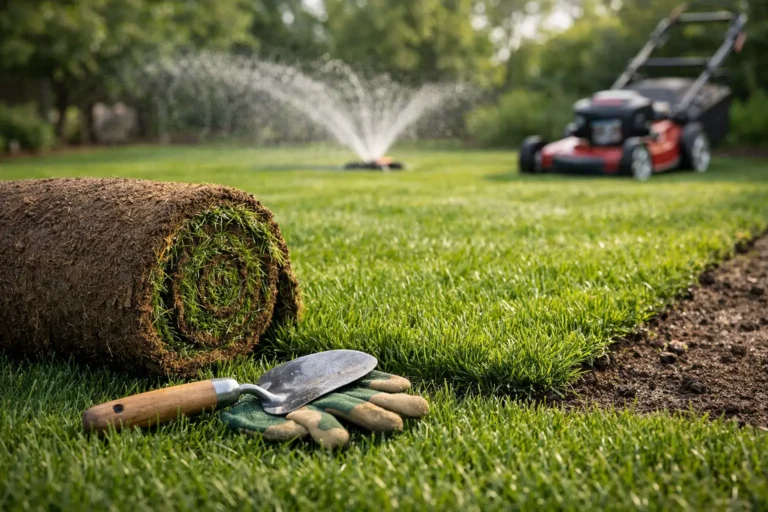

A new sod lawn can look finished before the truck leaves the driveway. Whether it still looks great a month later comes down to the work underneath it. The right residential sod installation steps create a level surface, move water away from the house, and give fresh roots the soil contact they need to take hold. Knowing how to install sod is less about rolling it out and more about everything that happens before that.
For homeowners replacing a dead lawn, repairing grub damage, or finishing a new-build lot, sod is fast. It is not magic, though. Laying premium turf over hard clay, weeds, dips, or construction debris is a quick way to buy the same problem twice.
The Best Sod Installation Tips Start Below the Grass
The first step is deciding whether the existing lawn can be repaired or needs a full tear-out. A few thin spots may only need localized repair. Broad weed pressure, major bare areas, compacted soil, persistent puddles, or a lawn that has been chewed up by grubs usually call for starting fresh.
Walk the property after a rain if possible. Look for water sitting near the foundation, low spots that stay soft, downspouts dumping onto the lawn, and slopes that direct runoff toward the home. Sod will follow the grade below it. It cannot level a yard or solve drainage problems on its own.
On a new property, do not assume bare dirt is ready for sod. Builder lots often have compacted subsoil, buried stones, and low spots that collect water. A lot may look level from the street while still having enough dips and hardpan to cause trouble after the first heavy rain.
This is also the time to identify obstacles: irrigation heads, cable lines, utility boxes, fence edges, garden beds, and trees with exposed roots. Good planning prevents a nice new lawn from being cut apart a week later for work that should have been handled first.
If the old lawn was lost to grub damage, the timing of treatment matters too. Installing new turf without addressing an active pest issue is like replacing a roof while leaving the leak above it. The plan should protect the new lawn as it gets established.
Remove Old Grass, Weeds, and Debris
For a full replacement, remove the old turf and its root layer rather than simply covering it. Old grass breaks down unevenly under new sod, leaving soft pockets and air gaps, competing for water, and bringing weeds, pests, and disease right back to the surface.
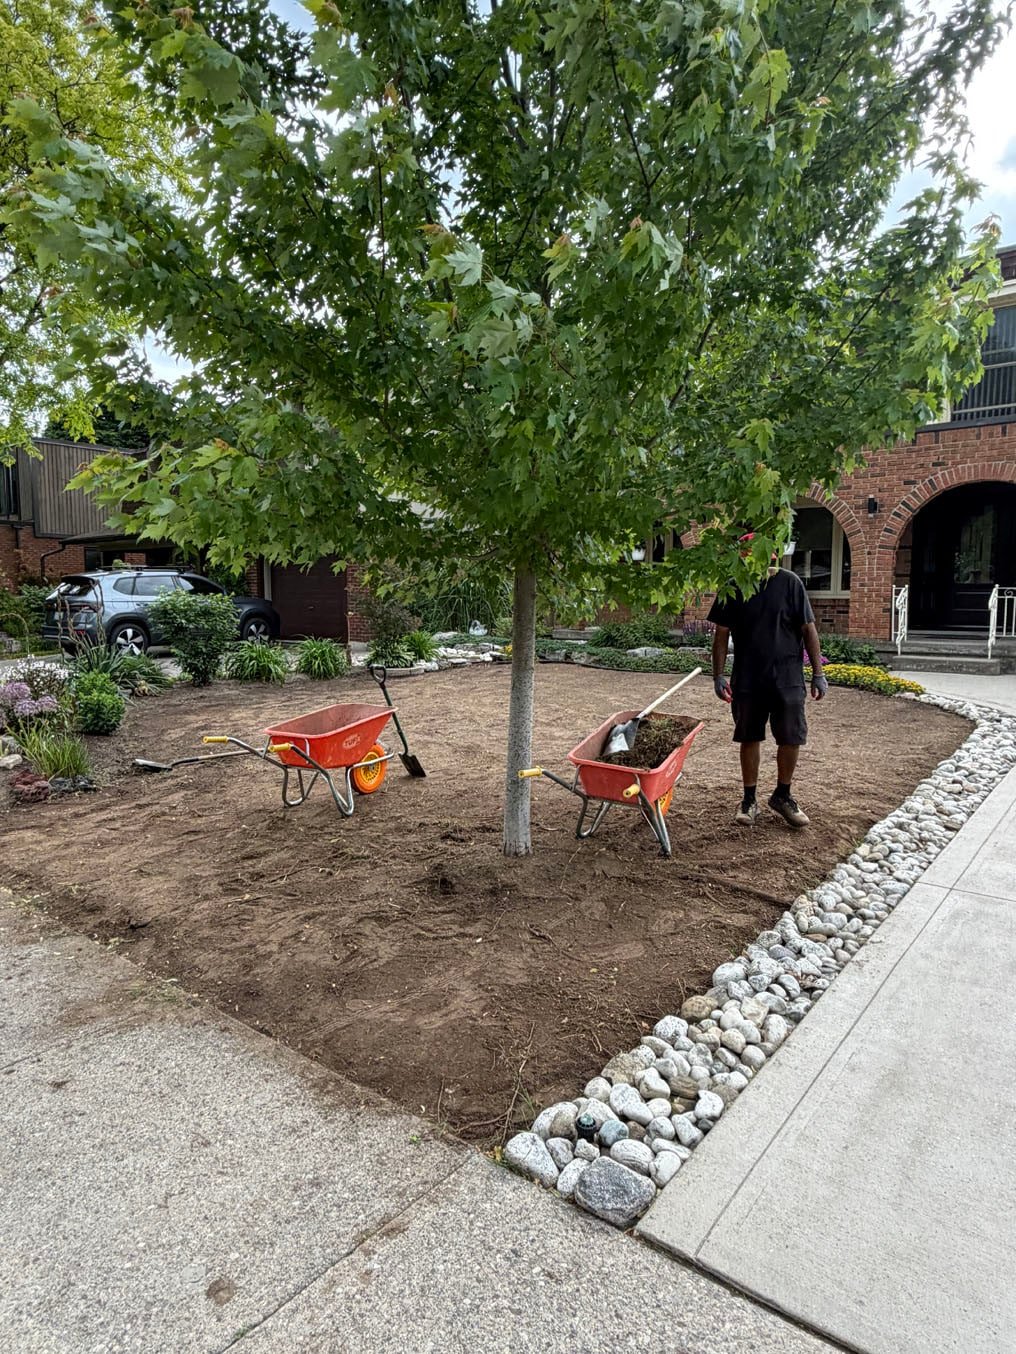
A sod cutter makes this cleaner and more consistent than hacking away with a shovel. The goal is to remove the turf layer without taking away more usable topsoil than necessary. On a construction-damaged lot, the old lawn may be the least of the problem. Whatever the walk-through turned up underneath, including any excess fill, needs to come out or be dealt with before the finish work begins.
Do not skip cleanup because the surface will be covered. Branches, stones, chunks of old sod, and construction material create bumps that show up later. Your mower will find every one of them, usually at the worst possible time.
Grade for Drainage Before Adding Sod
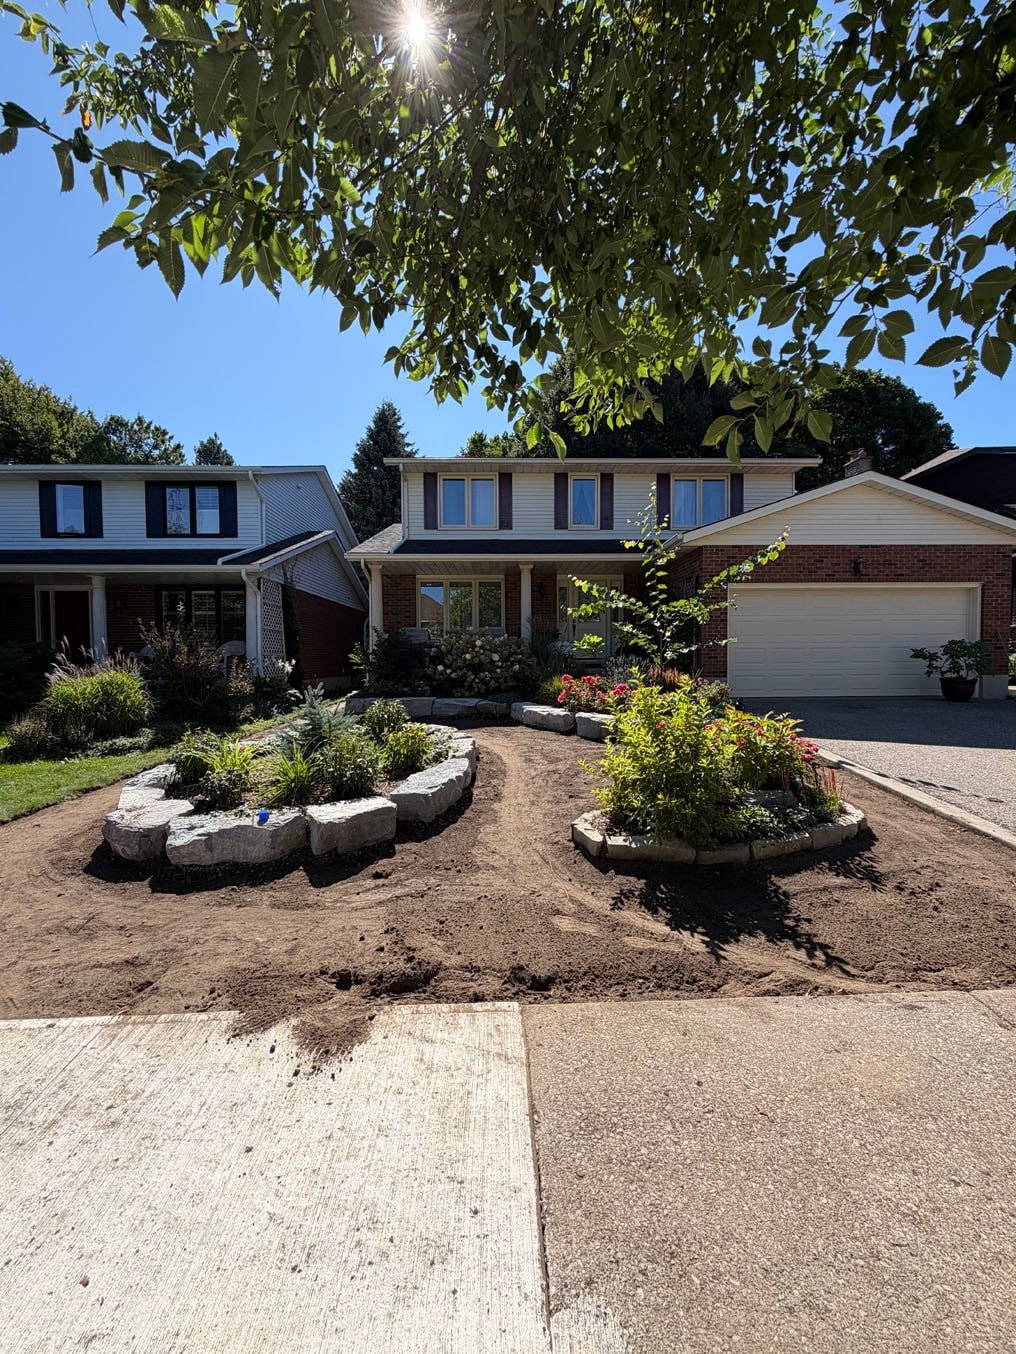
Grading is where a professional sod installation earns its keep. A flat-looking lawn is not always a properly graded lawn. The finished surface should slope away from the house, garage, and other structures, with a smooth transition into sidewalks, driveways, patios, and garden beds, and without abrupt slopes that make mowing difficult or wash out in storms. The exact slope depends on the property. A backyard with a patio, retaining wall, or neighbouring fence line needs a different approach than a wide-open front lawn. The principle is the same either way: water should have a planned route away from buildings and away from areas where it can collect.
In Kitchener, Waterloo, and Cambridge, many properties sit on dense clay. Clay holds nutrients well, but it compacts easily and drains slowly, which makes drainage faults especially obvious. If water is already pooling in the yard, this is the stage to correct it.
Add Quality Topsoil Where It Is Needed
Grading may mean bringing in screened topsoil, redistributing existing soil, or removing excess material. Good soil holds enough moisture and supplies the nutrients roots need to establish. If the existing soil is thin, compacted, rocky, or mostly fill, bring in quality screened topsoil and blend it into the upper layer. Spreading a thin coat over a packed base leaves roots sitting on top of the problem. Loosening the upper soil profile and working the topsoil in gives them a better chance to move downward instead of staying shallow.
More soil is not automatically better. Adding too much around foundations, siding, window wells, trees, walkways, or drainage routes can create other problems. The target is a stable, usable grade with a consistent, workable growing layer that supports the lawn.
Aim for a Smooth, Firm Finish
After rough grading, rake the area carefully to remove high spots, fill low spots, and pull out stones, clumps, and roots. Then firm the surface lightly with a lawn roller. The soil should be firm enough that a footprint leaves a shallow impression, not a deep boot print. Follow with another pass of the rake to correct any shallow depressions the roller reveals.
This step gets skipped more often than it should. Loose soil settles after watering, leaving low spots, uneven seams, and a lawn that feels bumpy underfoot. Rolling too aggressively is the opposite mistake: it compacts the soil and makes root growth harder. Firm and level is the target, not packed like a driveway.
Pay attention to edges. Set the final soil height slightly below sidewalks, driveways, and patios so the installed sod sits close to the hardscape instead of perched above it. A lawn that is too high can shed water onto concrete, create messy edges, and make mowing awkward.
Prepare the Root Zone, Not Just the Surface
Fresh sod is a living plant, not a green carpet. It arrives with a shallow root system that needs direct contact with moist, workable soil to grow into the ground quickly. Before installation, the top few inches should be reasonably loose, free of large clods, and evenly prepared across the entire lawn.
A starter fertilizer may be appropriate depending on soil conditions, the sod variety, and the product directions. The point is to support early rooting, not to dump on products and hope for the best. Too much fertilizer can stress new turf, encourage weak top growth before roots are established, or create unnecessary runoff. If the site has a history of poor growth, a soil test can help separate a nutrient problem from a drainage or compaction problem.
Water the prepared soil lightly if it is dry and dusty, particularly during warm weather. You want it damp, not muddy. Sod laid onto bone-dry soil can lose moisture from the bottom before its roots have a chance to knit into the ground.
Residential Sod Installation Steps on Delivery Day
This is the part most people picture when they think about how to install sod. Sod is perishable. Once it is harvested, it should be installed as soon as possible, ideally the day it arrives. Warm weather, direct sun, and stacked pallets heat up rolls quickly. If a roll feels hot or smells sour, it has been sitting too long, and that can reduce the lawn’s ability to establish.
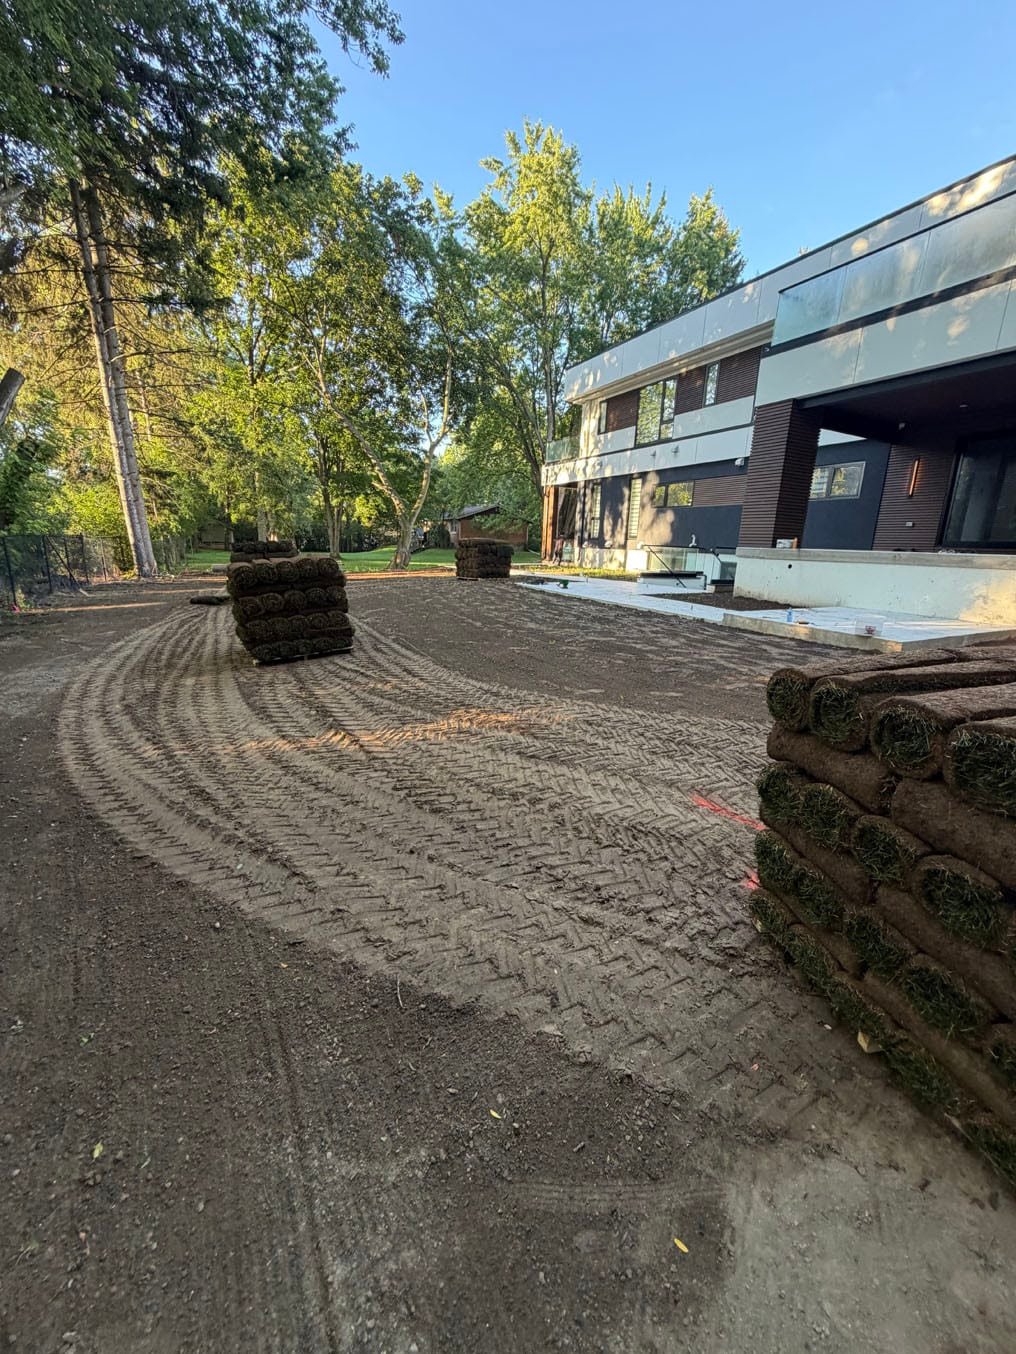
Schedule delivery for a day when the site is prepared, access is clear, and someone is ready to lay it. Leaving rolls stacked in the sun while finishing grading is not a plan. It is an expensive delay.
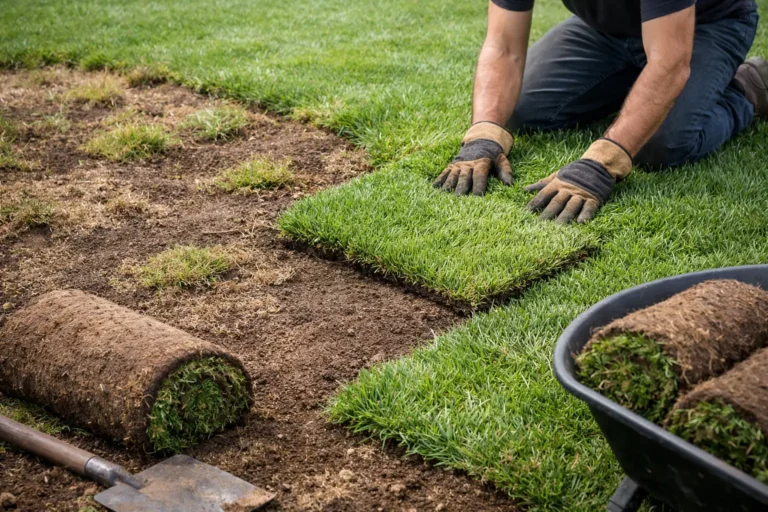
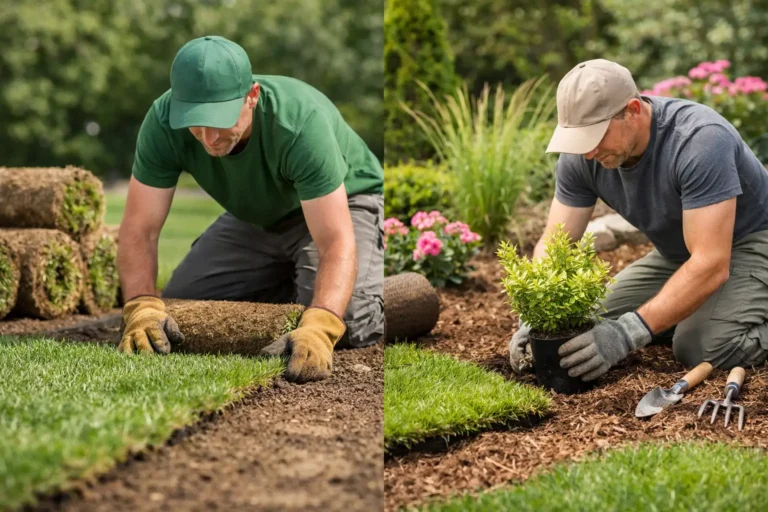
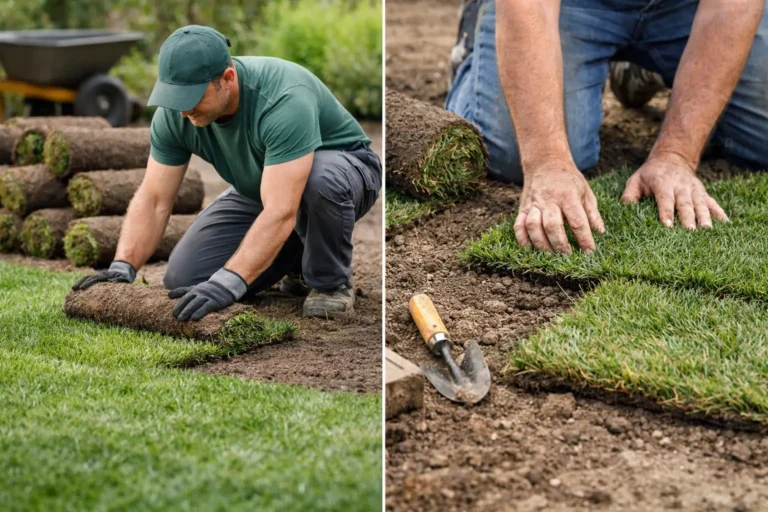
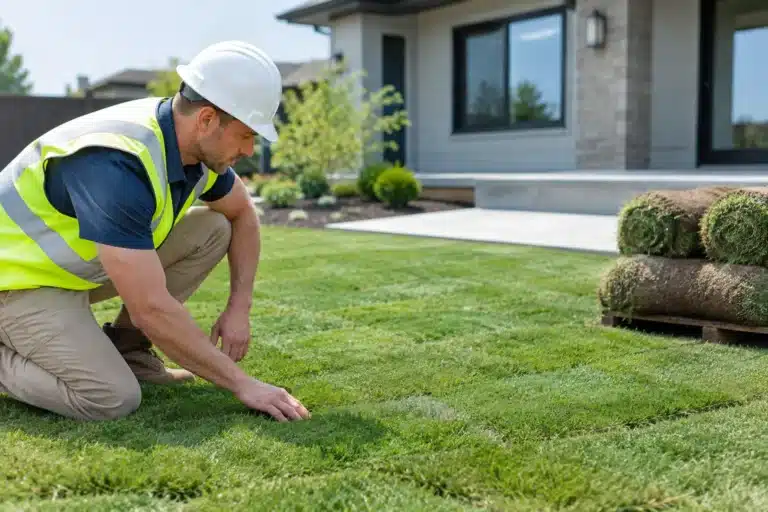
Start along the longest straight edge, such as a driveway, sidewalk, or property line. Lay the first row tightly and straight because every row after it follows that line. Unroll each piece flat against the soil, pressed against the next with no gaps and no overlaps.
Stagger the joints in a brick-like pattern rather than lining up seams across the lawn. Long continuous seams can dry out and become visible weak points; staggered ones help hold the surface together as it roots. Use full pieces where possible, then cut smaller sections neatly with a sharp knife around curves, beds, trees, sprinkler heads, and utilities. Small scraps are fine for filling tight spots, but avoid a patchwork of tiny pieces or skinny strips along edges. They dry out faster and are more likely to fail. Larger, well-fitted sections root more reliably and look cleaner when finished.
Keep foot traffic off the freshly laid sod except where needed for installation. If installers need to cross the lawn repeatedly, use boards to distribute weight rather than leaving heel marks in the soft surface.
Do Not Stretch Sod to Make It Fit
Sod shrinks as it dries. If pieces are pulled or stretched to close a gap, they often pull back later and expose soil between seams. Place each roll naturally, press the edges together, and trim the final piece to fit. A few extra minutes with a knife beats a lawn full of cracks a week later.
Roll It Once for Good Contact
Once the sod is down, a light roller presses the roots into the soil and eliminates air pockets. It is especially useful on slightly uneven ground. This is not about compacting the new lawn. It is about making sure the underside of each piece is touching the prepared root zone.
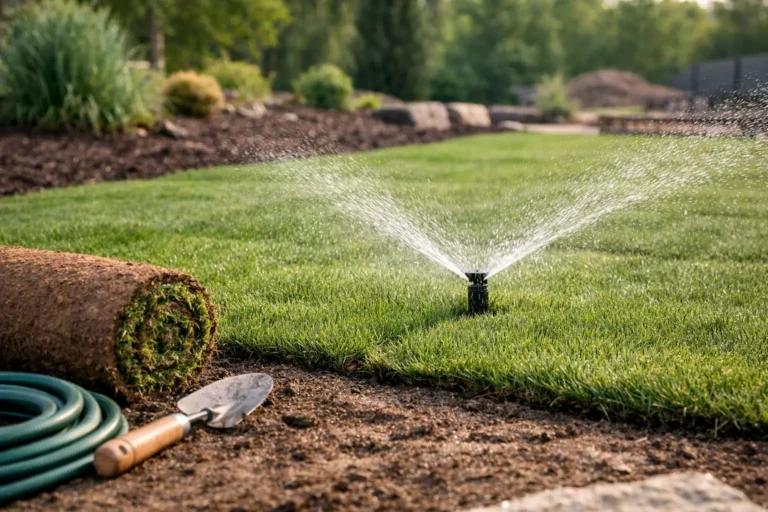
Water immediately after rolling, thoroughly enough to moisten both the sod and the soil beneath it. Then lift a corner of a piece in a few areas. The underlying soil should be damp, not dusty and not muddy. Wet blades alone do not mean the root zone has been watered.
Water Deeply During the First Two Weeks
Watering is the homeowner’s biggest job after installation, and it is where many otherwise solid installations go sideways. For the first 10 to 14 days, the sod and the soil beneath it need to stay consistently moist.
The exact schedule depends on temperature, sun exposure, wind, rainfall, soil type, and whether the lawn sits on a slope. Hot, windy weather may call for several shorter watering cycles in a day. Cool weather or steady rain calls for less. A shaded side yard stays damp longer than a sunny front lawn, so do not treat every area the same. The lawn sets the schedule, not the calendar.
The goal is deep moisture without standing water. Overwatering is not a sign of care. Constantly saturated soil can weaken roots, limit the oxygen around them, invite disease, wash soil from seams, and make the lawn feel spongy. Check beneath the sod instead of guessing. If the soil below is drying out, water longer or adjust the timing.
As roots begin to hold, gradually reduce how often you water and increase the depth of each watering. This encourages roots to grow down into the soil. Constant shallow watering trains turf to stay shallow, which makes it less resilient when summer heat arrives.
Keep Traffic and Mowing Under Control
A fresh lawn is tempting. It looks finished, so people want to use it. Give it time. Keep children, lawn games, parked equipment, and repeated foot traffic off the sod while it establishes, and do not let pets wear a track through the same route every day. Walking across it occasionally to adjust a sprinkler is fine. Hosting a backyard football game is not.
Do not mow until the sod has started rooting and the grass reaches roughly 3 to 4 inches. A simple check is to gently tug on a corner. If it resists lifting, roots are taking hold. Use a sharp mower blade, keep turns gentle for the first few cuts, and remove no more than one-third of the grass height in a single mowing.
For most cool-season lawns, keeping the grass a little taller helps shade the soil, hold moisture, and build stronger roots. Do not scalp a brand-new lawn because you want that golf-course look. It is still on probation.
Watch for Problems Early
Drying or shrinking seams, curled edges, yellowing or grey-blue blades, footprints that stay visible after watering, and areas that feel light underfoot are signs that water is not reaching the root zone evenly, the grade is uneven, or a piece is not making full contact with the soil. Adjust sprinkler coverage or hand-water the affected area right away. Do not wait for the entire lawn to look stressed.
Runoff on slopes, puddling in low spots, and sod that will not root after several weeks are a different category. Those usually point to a grading, soil, or drainage problem rather than a watering mistake, and the sooner it is diagnosed, the easier it is to correct.
A great lawn is not built by throwing green rolls over a rough yard. It is built by correcting the ground first, installing fresh sod promptly, and giving it disciplined care while it roots. If your property needs more than a cosmetic cover-up, a proper review of the soil, grading, and installation needs before a single roll is laid can save you from paying for a second installation next season.