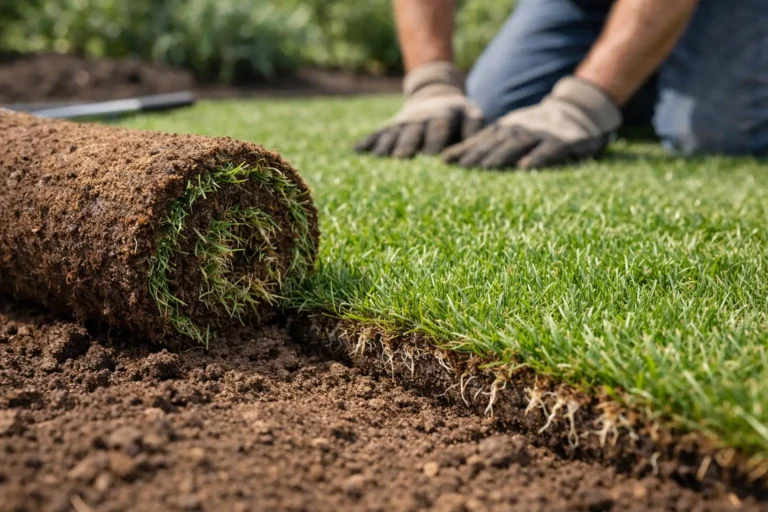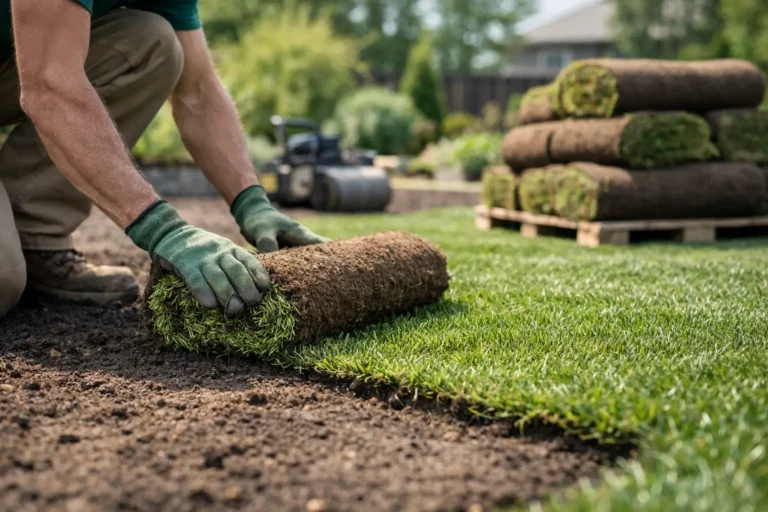

A new sod lawn looks finished the day it goes down. That is the fun part. The backyard sod installation timeline that follows is where the real work happens: getting the soil right, keeping the turf consistently watered, and giving roots time to grab hold before the lawn sees regular traffic.
For most properties, installation itself takes one day. A properly rooted, mow-ready lawn usually takes two to four weeks, depending on weather, soil conditions, drainage, and how closely the watering plan is followed. If your backyard needs a tear-out, grading correction, or major soil work, add time before sod day. Skipping those steps may save a day now and cost you a lawn later. Not exactly a great trade.
Before Sod Day: Plan for 1 to 5 Days of Preparation
The timeline starts below the grass. Sod is only as good as the surface it is installed on, which is why professional prep matters more than simply rolling out green squares.
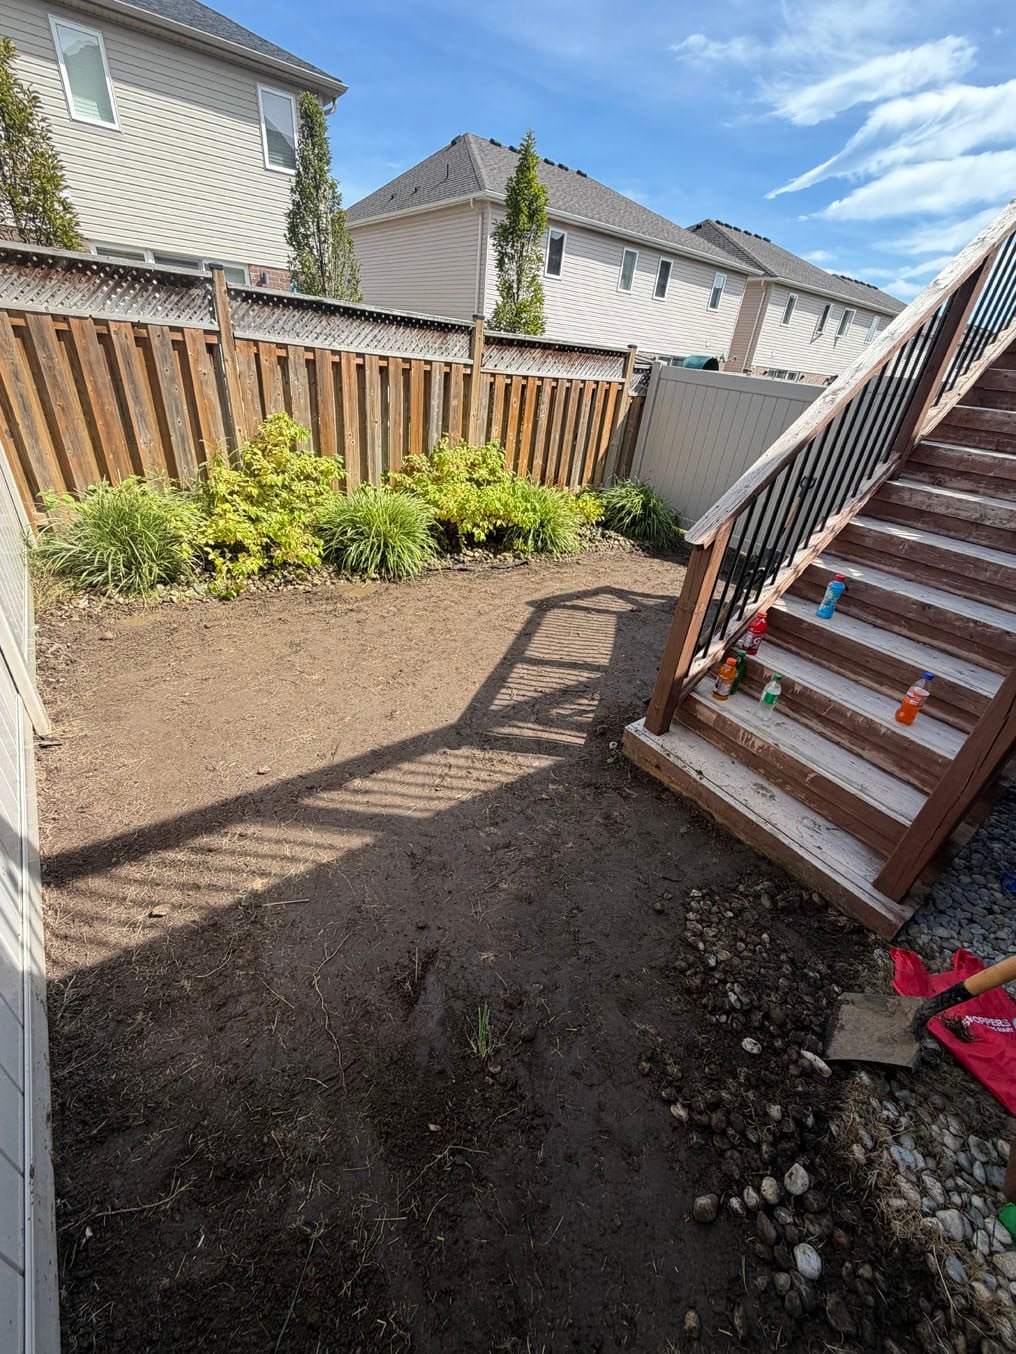
For a relatively clean backyard with decent grade, preparation can be completed in a day. The old grass is removed, the area is shaped, fresh topsoil is added where needed, and the finished surface is leveled and compacted lightly. The goal is a smooth lawn that drains away from the house without becoming hard and packed down.
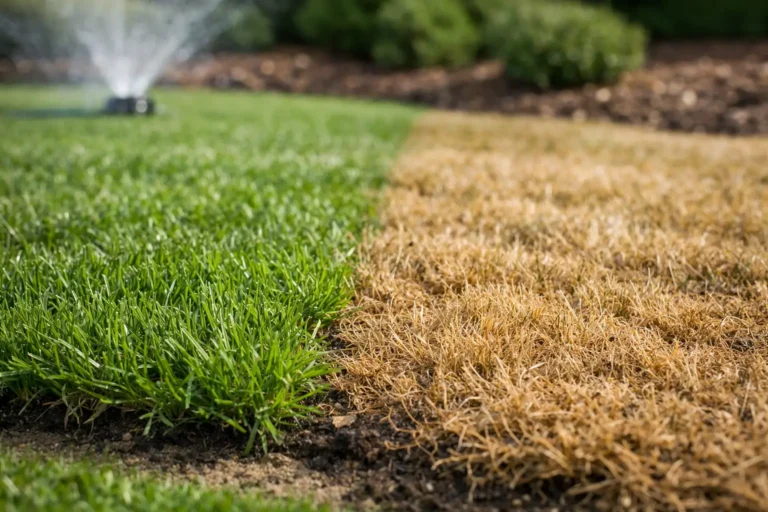
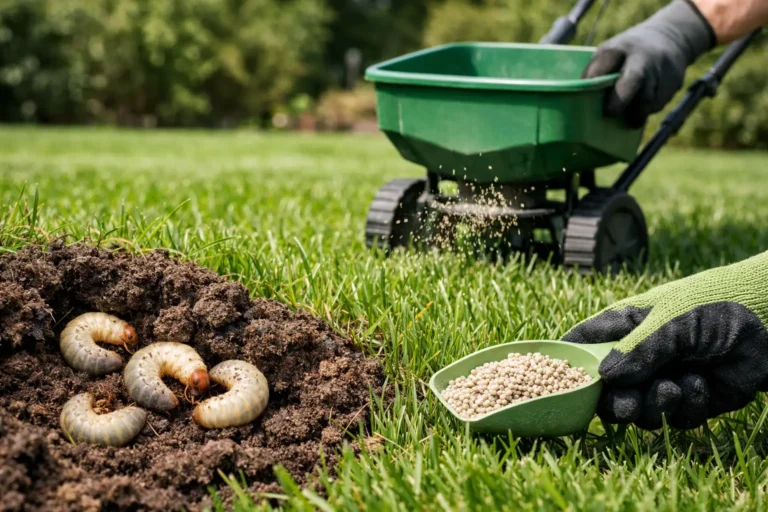
A backyard with dead turf, grub damage, construction debris, low spots, standing water, or a steep grade may need several days. Full lawn replacement often includes removing existing sod and weeds, addressing poor soil, correcting drainage, and building a proper growing base. This is not glamorous work, but it is the difference between a lawn that settles in and one that develops puddles, seams, and thin spots.
In Kitchener, Waterloo, and Cambridge, clay-heavy soil is common. Clay can hold water near the surface, especially after a hard rain, but it can also dry and tighten up in warm weather. A good preparation plan accounts for both issues rather than treating every backyard like a flat, sandy blank slate.
What should be finished before sod arrives?
Irrigation repairs, drainage work, fence projects, patio construction, utility work, and major landscaping should be handled first whenever possible. Fresh sod does not enjoy being used as a construction staging area. If equipment must cross the yard after installation, expect damage and plan for repairs.
Sod should also be scheduled once the grade is final. Raising or reshaping a lawn after sod is installed creates unnecessary mess, inconsistent rooting, and extra cost.
Sod Installation Day: Usually 1 Day
Once the site is ready, a typical residential backyard can be sodded in a single day. Larger lots, complicated access, or commercial properties may take longer, but the process moves quickly when the soil is prepared and the sod arrives fresh.
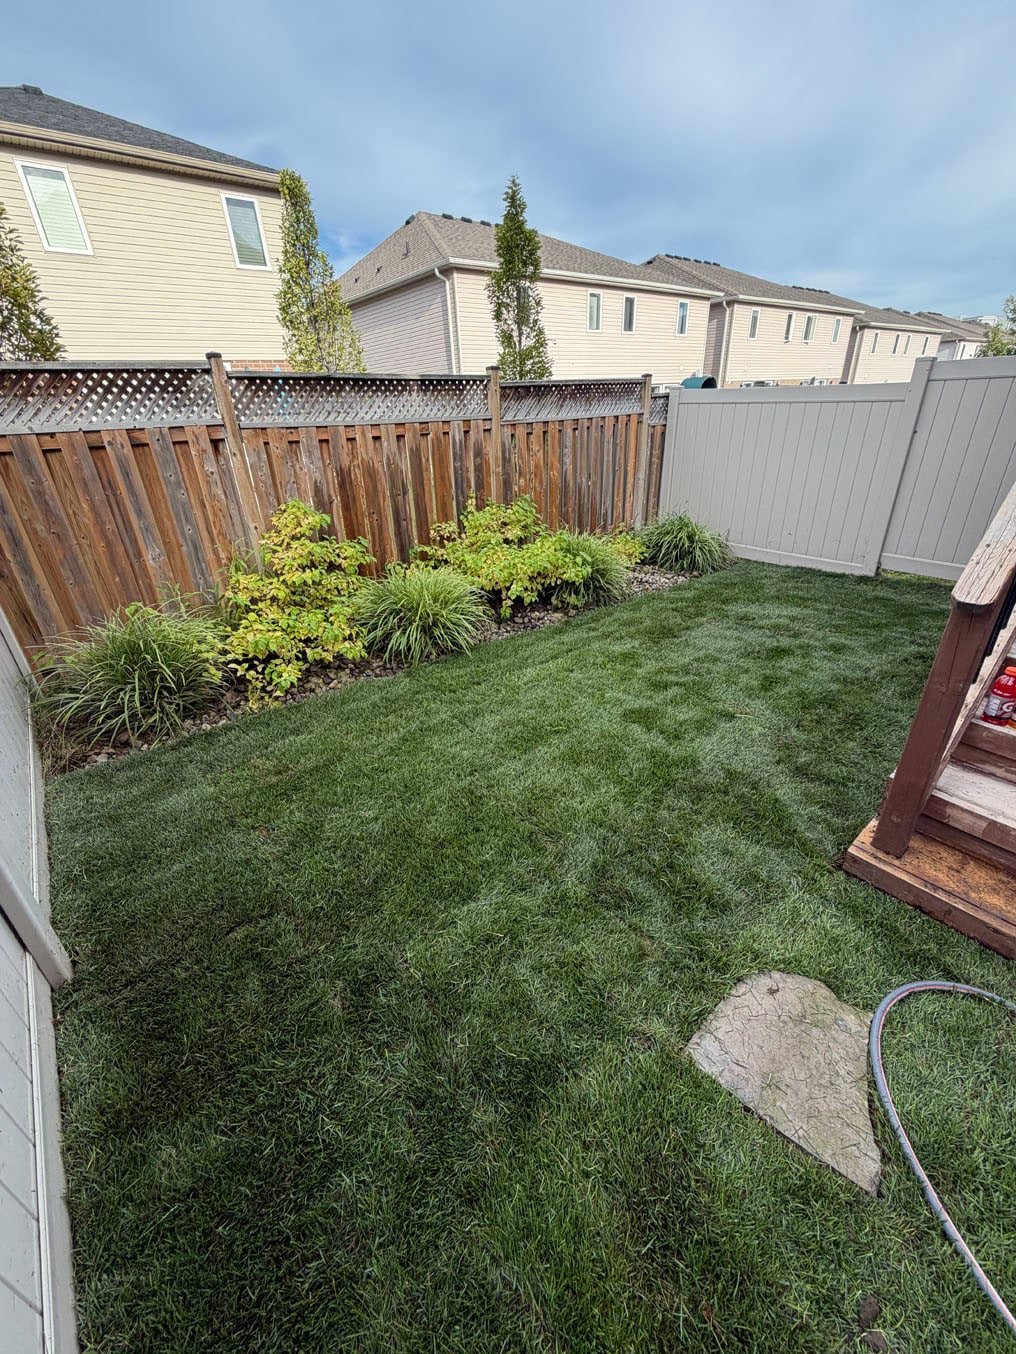
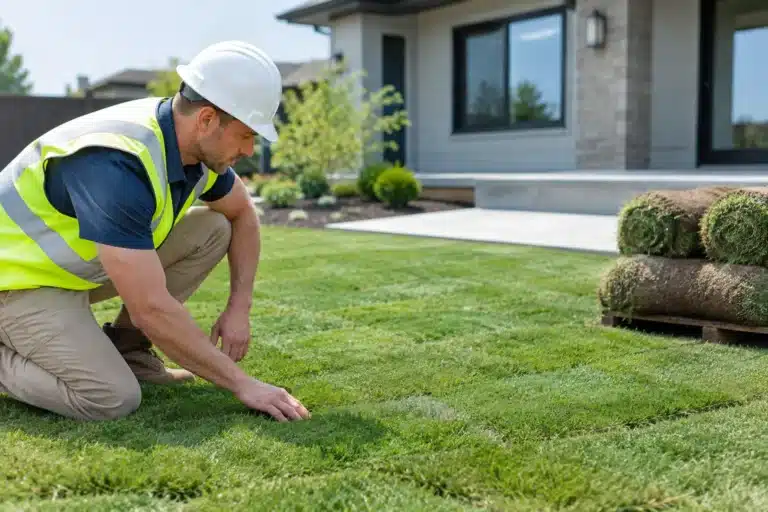
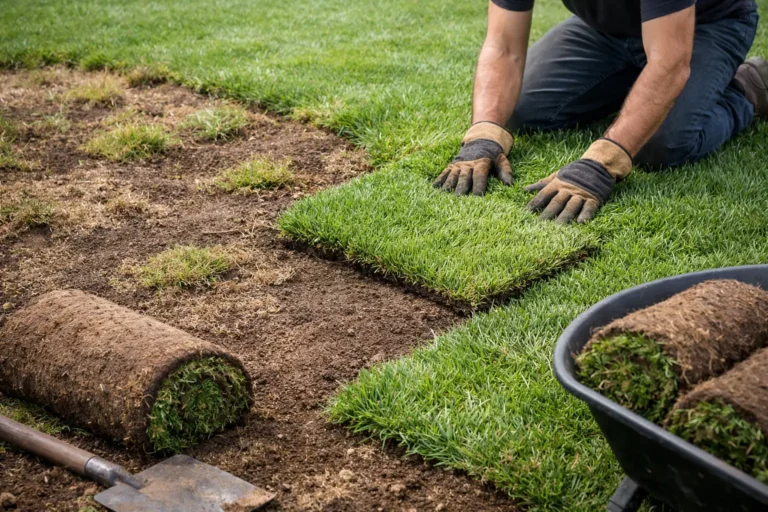
The crew starts by checking final grade and moisture. Soil should be damp enough to support roots but not muddy. Sod is then laid in staggered rows with tight seams, similar to brickwork. Tight seams matter because gaps dry out quickly and give weeds a front-row seat.
After the sod is installed, it is rolled to improve contact between the roots and soil. Then it gets a thorough first watering. This first soak is not a polite sprinkle. Water needs to reach through the sod and into the soil beneath it, where the roots need to grow.
You can walk on the lawn briefly for watering and inspection, but sod day is not the day for backyard soccer, patio furniture, or letting the dog test every corner of the yard. Keep traffic to a minimum from the start.
Backyard Sod Installation Timeline: Days 1 Through 7
The first week is all about moisture. New sod has shallow roots and cannot yet pull enough water from the soil on its own. Your job is to keep the sod and the top layer of soil consistently moist without turning the backyard into a swamp.
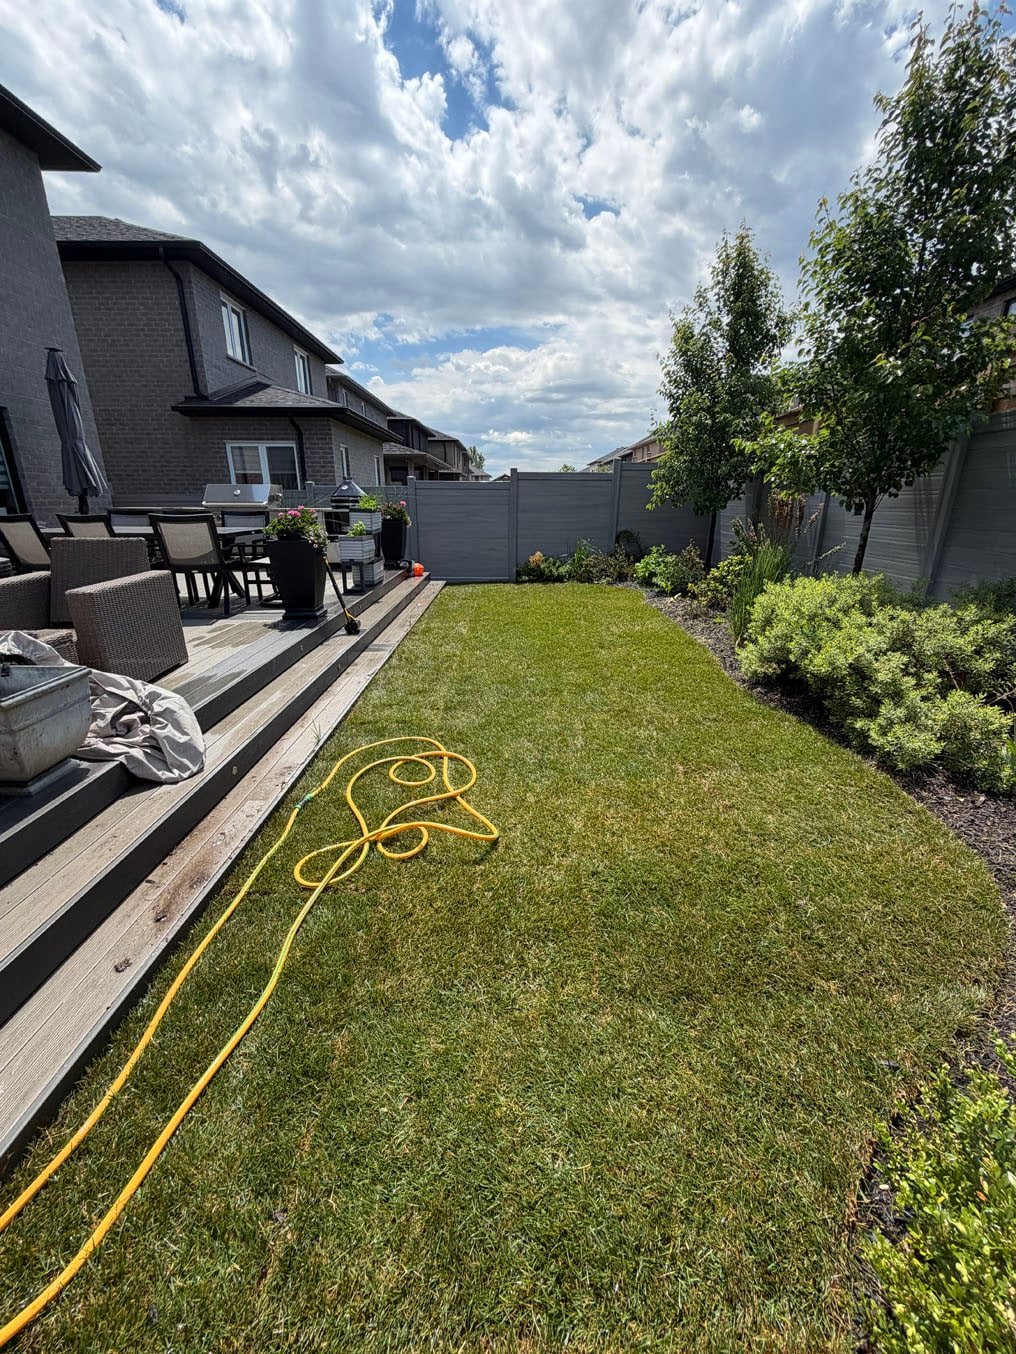
In average conditions, water once or twice daily during the first week. Early morning is the best time for the main watering. If the weather is hot, dry, or windy, a second lighter watering later in the day may be needed. The sod should feel cool and moist beneath the surface, and the soil below should be damp several inches down.
Lift a corner of a piece of sod after watering to check. If the soil underneath is dry, the watering session was too short. If water is pooling, running off, or the ground is soft and squishy for hours, you may be watering too much or dealing with a drainage issue.
Rain helps, but do not assume a quick shower replaces your watering schedule. A light rain often wets the blades and barely reaches the root zone. Check the soil before skipping a cycle.
During this week, avoid mowing unless the grass is growing unusually fast and the sod is beginning to root. Avoid fertilizer unless it was included in the soil-prep plan. Heavy fertilizer on stressed, newly laid sod can create more problems than progress.
Week 2: Roots Start Taking Hold
By the second week, healthy sod should begin resisting a gentle tug. Do not yank it hard. Just lift a corner carefully. If it holds firm in several areas, roots are moving into the soil below.
Watering can usually shift from frequent, lighter sessions to fewer, deeper sessions. The exact schedule depends on temperature, sun exposure, soil type, and rainfall. A sunny backyard in a hot stretch may still need daily attention, while a shaded yard after steady rain may need less. The target is deeper moisture that encourages roots to chase water downward.
This is often the right time for the first mow, provided the sod has rooted and the ground is not soggy. Use a sharp mower blade and cut no more than one-third of the grass height. Set the mower higher than you think. Scalping fresh sod is a fast way to stress it out just when it is gaining traction.
Keep foot traffic light through week two. A few careful steps are fine. Hosting a birthday party with lawn games is better saved for later.
Weeks 3 and 4: Transition to a Normal Lawn Routine
Most well-installed sod is significantly rooted by weeks three and four. At this point, it should handle normal mowing and moderate use, assuming the lawn has received proper water and has not been damaged by heat, drought, pests, or poor drainage.
Shift toward deeper, less frequent watering. This helps build a stronger root system instead of training the grass to wait for a daily surface drink. Watch the lawn rather than blindly following a calendar. Grass that develops a blue-gray cast, folded blades, or visible footprints that do not spring back is asking for water.
You can begin returning to normal lawn care, including regular mowing and a season-appropriate fertilizer plan. Continue to keep mower blades sharp, avoid cutting too short, and deal with weeds carefully. New sod can still be sensitive, so broad weed-control treatments should be timed appropriately rather than applied immediately out of frustration over a few stray weeds.
What Can Delay Sod Rooting?
A one-to-four-week rooting window is realistic, not a promise that every yard behaves the same way. Several factors can stretch the schedule.
Extreme heat dries sod quickly and increases watering demands. Cold temperatures slow root growth. Heavy rain can soften prepared soil, wash out low areas, and delay installation if the yard cannot be worked without causing damage. Shade from mature trees may slow drying but can also limit the sunlight needed for dense turf.
Poor drainage is another major factor. If water sits on the lawn after a typical rain, that issue should be addressed during prep whenever possible. Sod cannot root well in constantly saturated soil, and no amount of watering discipline fixes an underlying grading problem.
Pets, kids, movers, contractors, and backyard projects can also set a lawn back. Fresh sod is tough-looking but not fully established. Treat it like a new surface that needs a short protection period, because it does.
When Is New Sod Ready to Use?
Light use is generally fine after two to three weeks when the sod resists lifting and the soil is firm underfoot. For regular family use, wait until the lawn is rooted across the yard and has been mowed at least once or twice. That often lands around the three- to four-week mark.
If you are planning a party, installing a playset, moving patio furniture, or letting pets run freely, build that timing into the project schedule. A new lawn is a fast transformation, but strong roots still need their chance to do the job.
The best way to keep your timeline on track is simple: get the grade and soil right before installation, water based on actual conditions, and give the sod a little breathing room before putting it to work. If your backyard has drainage trouble, bare construction soil, or a lawn that has seen better days, Right On Sod can assess the prep required and help you plan for a green backyard that stays that way.