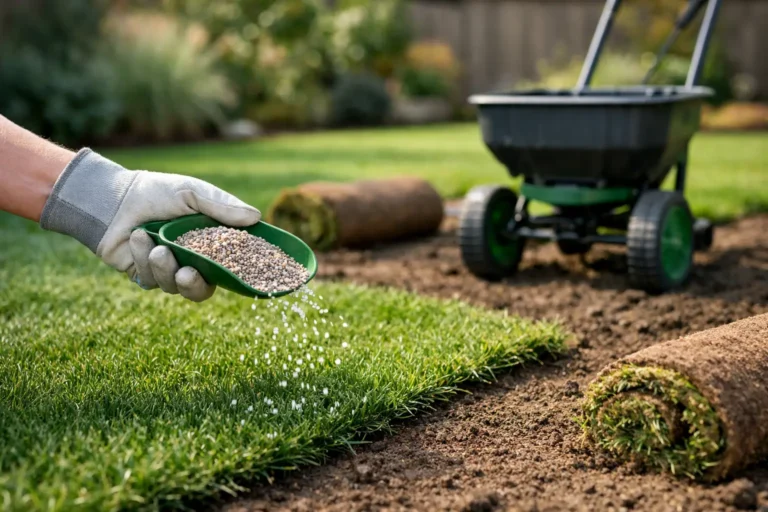

A fresh sod lawn can look perfect by dinner time. It can also become a very expensive weed nursery if the ground underneath was rushed. To stop weeds before laying sod, you need more than a quick mow and a layer of topsoil. The goal is to remove living weeds, prevent buried roots from returning, and Knowing how to kill weeds before sod goes down is the difference between a clean lawn and a nursery for whatever you just buried.
That prep work matters even more on torn-up lots, lawns damaged by grubs, and properties with poor drainage. Sod is premium turf, not a green blanket that hides every problem forever. Put it over active weeds or compacted soil, and those problems will find their way back to the surface.
Why weeds return through new sod
Most lawn weeds do not arrive because the sod itself is bad. Farm-fresh sod is typically cut from managed turf fields and should be free of established weeds. The trouble is usually already in the yard.
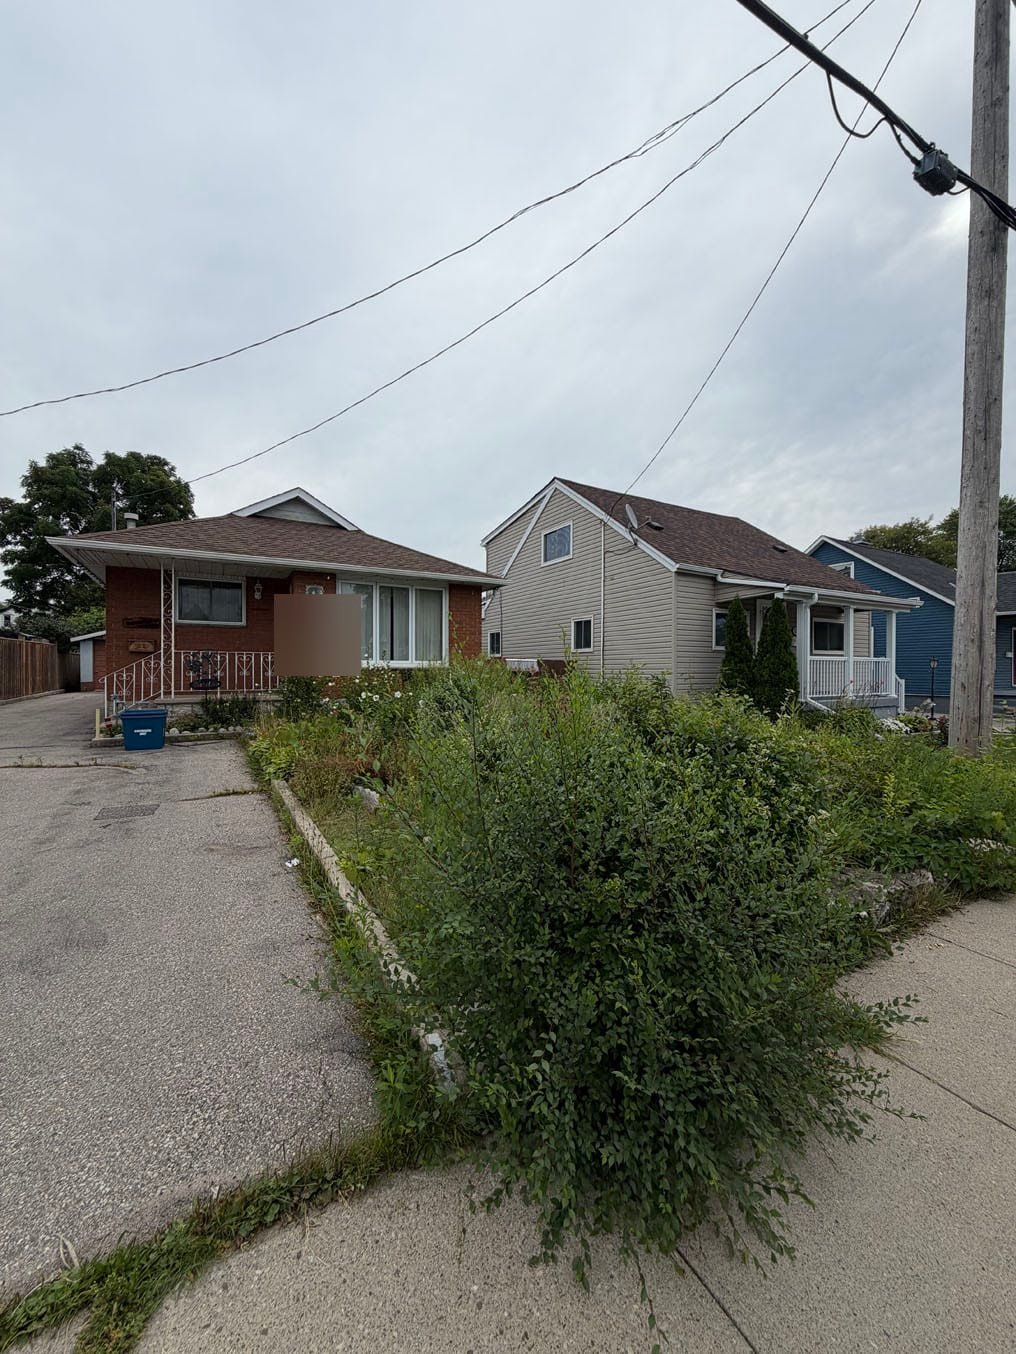
Dandelions, plantain, clover, quackgrass, thistle, and crabgrass can leave behind roots, crowns, runners, or seeds in the existing soil. When old turf is stripped without removing the underlying weed material, some of those plants survive. Others germinate once sunlight, moisture, and disturbed soil give them their chance.
New sod also needs frequent watering during establishment. That is exactly the kind of treatment weed seeds enjoy. A few weeds are normal in any living lawn, but a yard full of them shortly after installation is usually a preparation issue, not a sod issue.
Stop weeds before laying sod: start with a clean reset
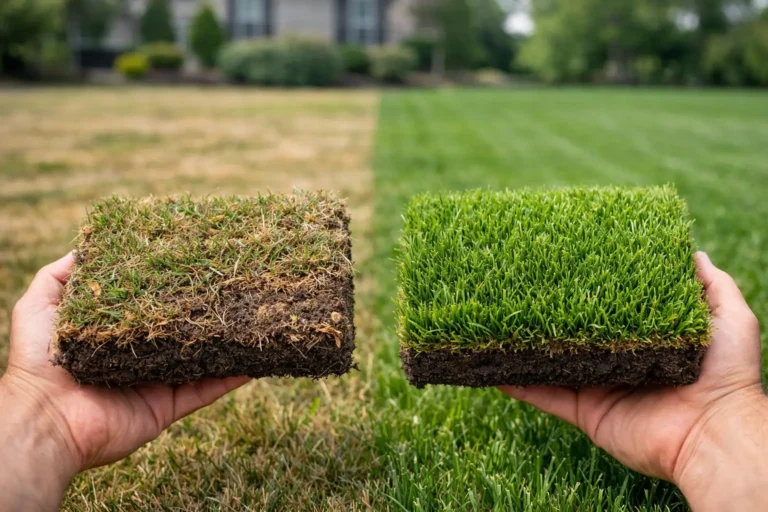
For a full lawn replacement, the most dependable approach is a proper tear-out and reset. Existing grass and weeds should be removed rather than buried beneath new soil. Simply laying sod on top of an old lawn creates a shallow root zone, uneven ground, and plenty of opportunity for old weeds to push upward.
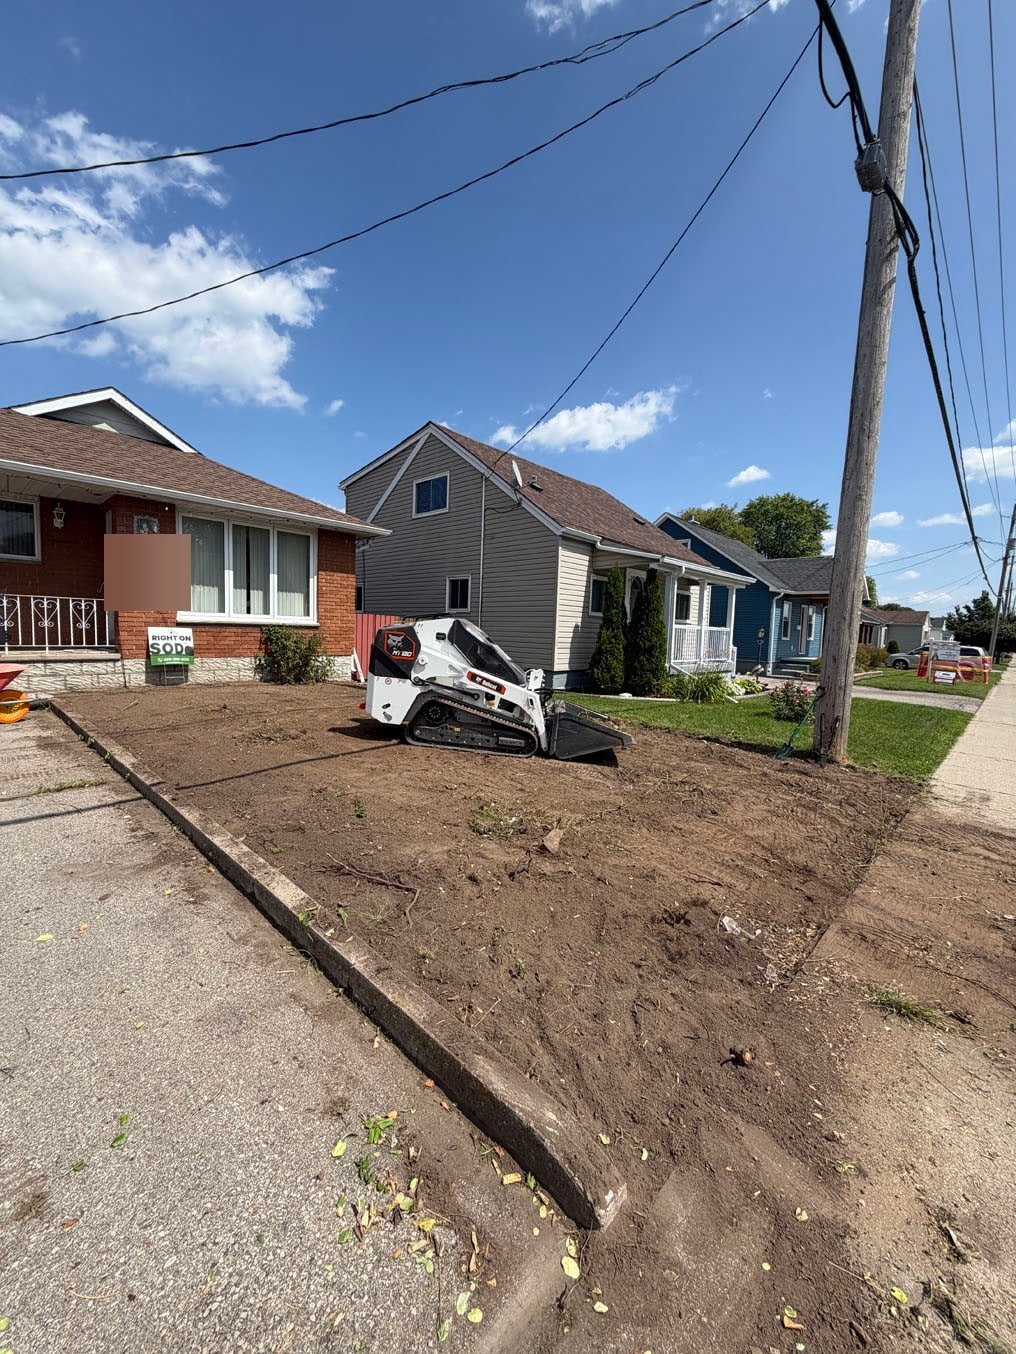
The right method depends on the condition of the property. A lawn with a few isolated broadleaf weeds may only need targeted treatment and repair. A lawn overtaken by quackgrass, creeping Charlie, or perennial weeds usually needs more aggressive removal. Those plants spread through roots and runners, so pulling the visible top growth is rarely enough.
Here is the practical sequence that works:
- Identify the weeds before disturbing the lawn. Annual weeds, broadleaf weeds, and invasive grasses do not all respond to the same treatment. Perennial weeds deserve extra attention because they can regenerate from roots left in the ground.
- Kill or remove existing growth completely. Mechanical removal works well when the soil and root material can be fully excavated. For widespread established weeds, a non-selective herbicide may be appropriate before tear-out. Follow the product label exactly, including its waiting period before planting or sodding.
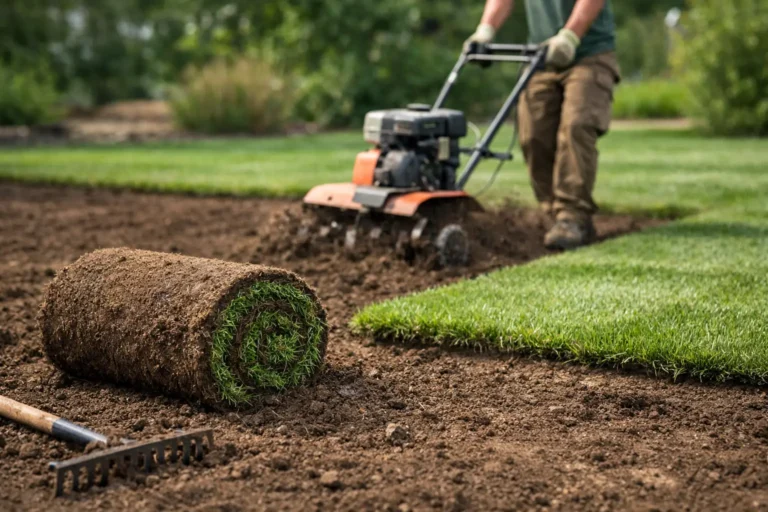
- Strip old sod, roots, and debris. Remove the old turf layer and rake out exposed roots, rocks, construction debris, and heavy clumps. Do not rototill a lawn full of living perennial weeds without a plan. Tilling can chop runners and roots into dozens of new plants.
- Bring in and grade clean soil. Quality screened topsoil creates a workable rooting zone, but it is not magic dirt. It needs to be spread to the right depth, graded for drainage, and lightly compacted before sod goes down.
Be careful with herbicides before sod installation
Before anything else: Ontario restricts the cosmetic use of pesticides on lawns, so the options open to a homeowner here are narrower than a product label alone suggests. A licensed applicator can confirm what is permitted for a full lawn renovation. What follows is about sequencing and timing rather than a recommendation to spray.
Herbicides can save time, but only when used with discipline. A spray-and-sod job the next morning is not professional prep. The product label determines how long you must wait before installing turf, and that timing can change based on the active ingredient, application rate, and weather.
Non-selective products are often used to kill active vegetation before a full lawn renovation. They work on green growth, so they are less useful after weeds have been buried or stripped away. Give the treatment enough time to move through the plant and fully kill the roots before removal.
Avoid applying a pre-emergent weed preventer in the final soil prep unless its label specifically permits sod installation and you understand the restrictions. Many pre-emergents work by limiting root development in germinating plants. That is useful for weed control, but new sod needs strong, unrestricted root growth. It is a bad time to get clever with chemicals.
If you prefer to avoid herbicides, repeated removal can still work. The trade-off is time. You may need to remove growth, wait for survivors to emerge, then remove them again before final grading. On a major renovation, that extra step is often cheaper than redoing a weed-filled lawn later.
Do not bury weeds under topsoil
A thin layer of topsoil over old weeds is one of the fastest ways to waste good sod. Broadleaf weeds may fight through. Creeping grasses can travel laterally. More importantly, the old surface beneath the new soil can create a barrier that keeps sod roots shallow.
For healthy turf, new sod should contact loose, prepared soil across the entire yard. That means addressing the existing lawn first, then adding soil as needed to correct grade and create a proper root zone. In most cases, aim for enough quality topsoil to support rooting and smooth out low spots without burying foundations, edging, or hardscape.
The grade should also move water away from the house and avoid puddling. Standing water weakens new turf, compacts soil, and creates thin areas where weeds gain ground. A clean lawn starts with drainage that makes sense.
Prep the soil for grass, not just for appearance
Once weeds and old turf are gone, soil preparation is where the lasting work happens. Break up compacted areas, especially around new construction where equipment has packed the ground hard. Then remove large stones and debris, add clean soil where needed, and grade the lawn before the sod truck arrives.
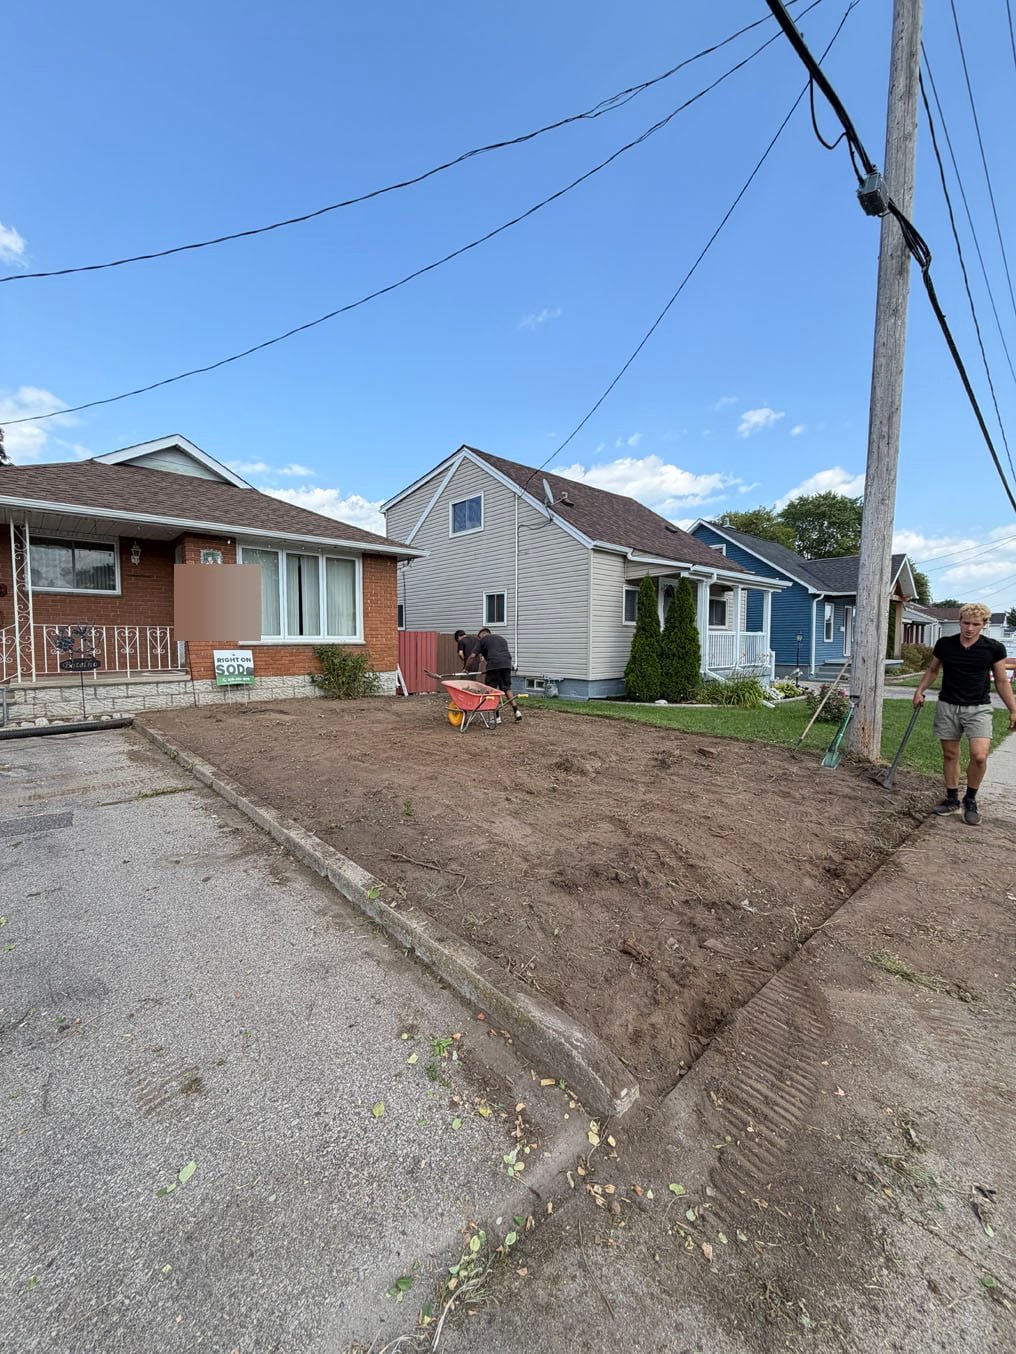
Rake the final surface smooth, but do not leave it fluffy and loose like a garden bed. Light rolling or settling helps prevent footprints, low spots, and poor sod-to-soil contact. The surface should be firm enough to walk on without sinking, while still open enough for roots to grow down.
A soil test can be worthwhile if the previous lawn struggled for years or the property has unusually sandy, heavy clay, or imported fill soil. Fertilizer can help a new lawn establish, but it will not fix compaction, drainage, or a root zone full of debris. Those are physical problems, and they need physical solutions.
Timing matters after weed removal
You do not need to wait forever after a proper renovation, but you do need to respect the process. If weeds were sprayed, wait as long as the label requires. If soil was imported, inspect it for visible weeds and avoid stockpiles that have been sitting uncovered all season. If the yard was heavily tilled, give it time to settle or lightly roll it before final grading.
In Kitchener, Waterloo, and Cambridge, spring and early fall are usually excellent times for sod because temperatures are more forgiving and rainfall can help. Summer installation still works when watering is handled properly. The key is not the calendar alone. It is whether the ground is prepared, the sod is installed fresh, and the lawn gets consistent moisture while roots establish.
Keep weeds from gaining ground after sod is installed
Even perfect prep cannot prevent every future weed seed from blowing into the yard. The first few weeks are about helping the sod win that competition. Water deeply enough to keep the sod and the soil beneath it moist during rooting, then transition toward deeper, less frequent watering as the lawn establishes.
Mow only once the sod has rooted well enough that it does not lift when gently tugged. Keep the mower blade sharp and avoid scalping. Taller, healthy grass shades the soil and naturally makes life harder for many weeds.
Hold off on broadleaf weed control until the new lawn is established and the chosen product label says it is safe for newly sodded turf. Hand-pulling a small weed early is often the simplest move. One dandelion is not an emergency. A chemical application that stresses a young lawn can be.
A clean base, proper grading, and fresh sod installed with full soil contact do more than make the lawn look good on day one. They give the grass the chance to become thick enough to handle the occasional weed on its own. That is the kind of lawn that stays worth looking at long after installation day.