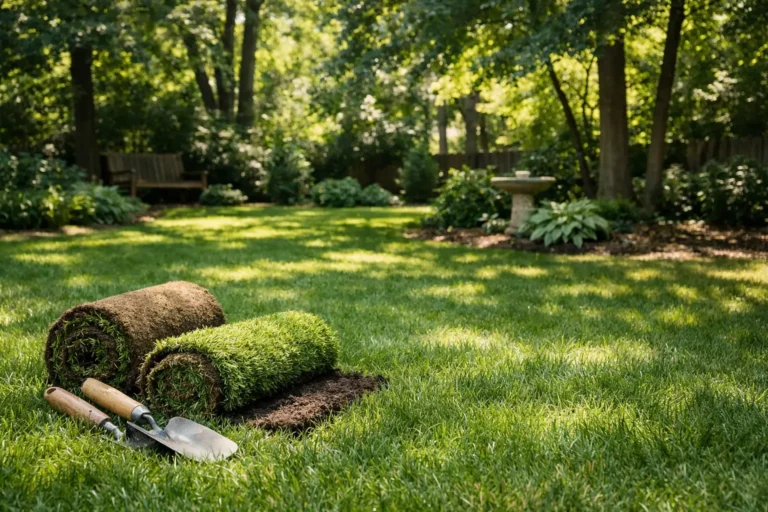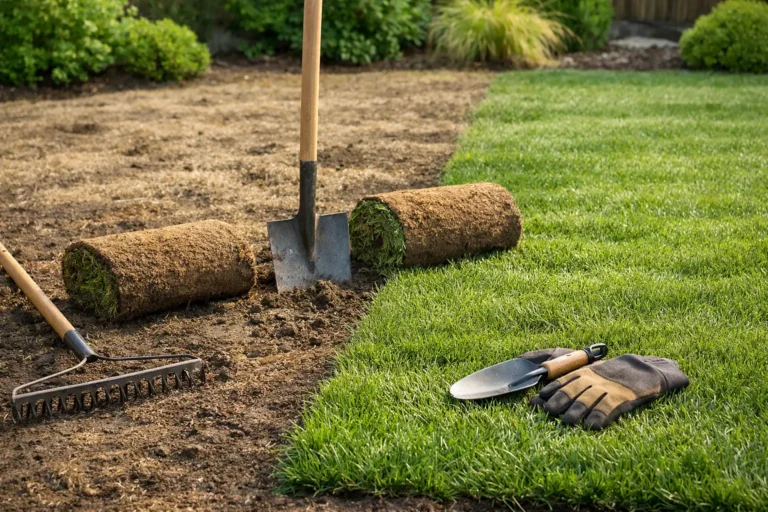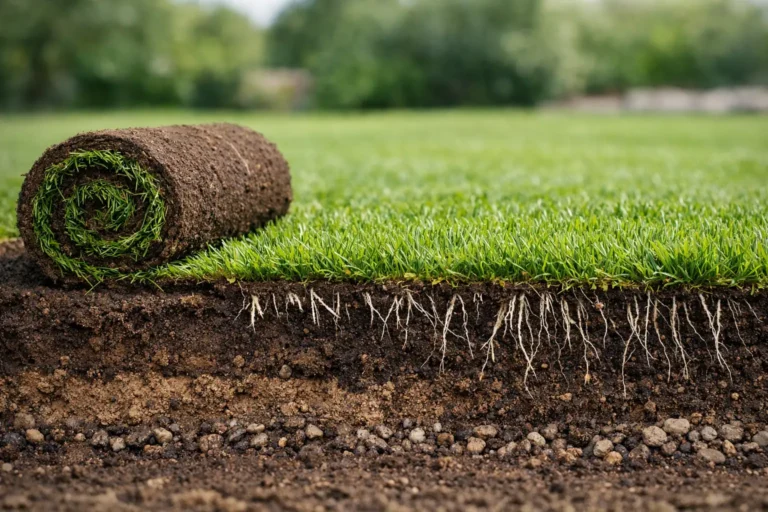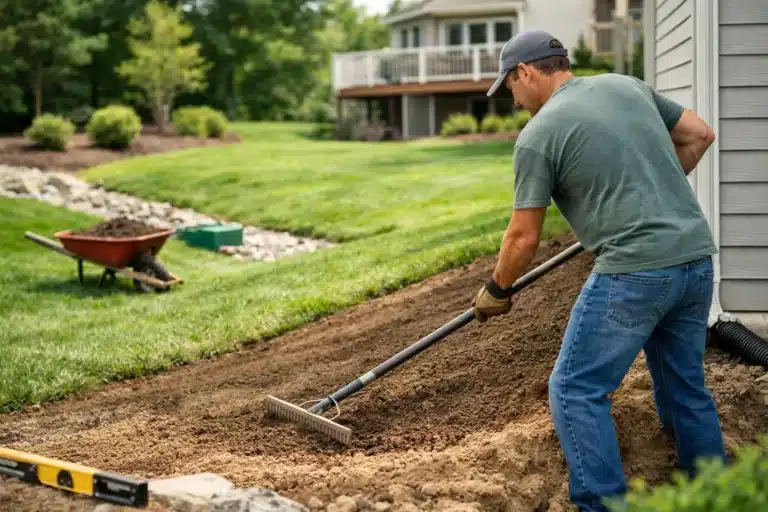

A construction crew can leave behind a beautiful addition, new build, patio, or utility repair – and a lawn that looks like it lost a fight with a bulldozer. Ruts, hard-packed soil, buried debris, standing water, and bare dirt are common. The best lawn fix after construction is not tossing seed over the mess and hoping for the best. It is restoring the ground properly, then installing fresh sod on a prepared base.
Sod gives you an immediate green finish, but it only performs as well as the grading and soil beneath it. Skip that work, and even premium turf can struggle. Do it right, and your property goes from construction zone to finished home in a matter of days.
Why construction sites are hard on lawns
Construction changes more than the appearance of your yard. Heavy equipment presses the soil tight, often well below the surface. That compaction blocks water, air, and new grass roots from moving through the ground. A lawn may look fine for a few weeks, then thin out when heat arrives because its roots never got where they needed to go.
The topsoil is often the next casualty. During excavation and grading, good soil can be scraped away, mixed with subsoil, or buried under fill. What remains may be rocky, clay-heavy, uneven, and low in the organic material grass needs to establish itself.
Drainage can also change after construction. A new driveway, walkway, foundation, or patio redirects runoff. If the final grade sends water toward the house or creates low spots, laying sod first only hides the problem temporarily. The grass will not fix a poor grade. It will simply become the green cover on a muddy problem.
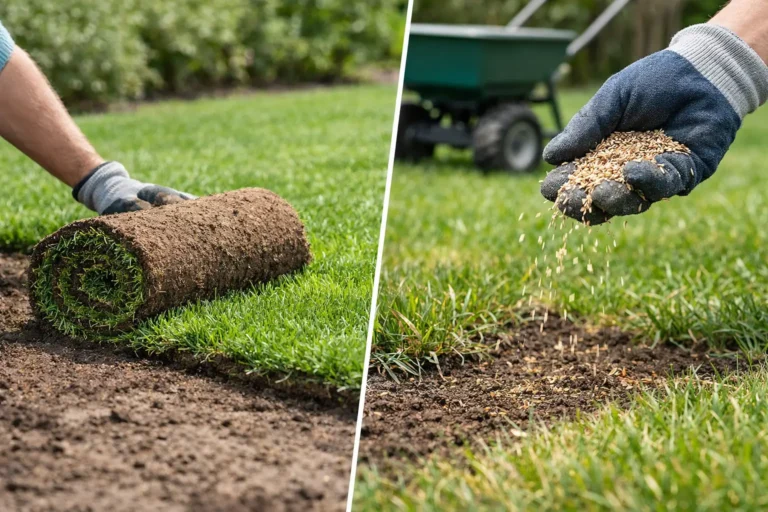
That is why seeding is rarely the best shortcut after major work. Seed can work on a small, well-prepared repair, but it needs consistent moisture and time. It is also easier for heavy rain, weeds, birds, and foot traffic to ruin the plan. For a full post-construction yard, sod delivers faster coverage and a more predictable finish.
The best lawn fix after construction starts below the grass
The finished lawn is the visible part of the job. The soil preparation is where the job is won or lost.
Clear debris and assess the site
Before bringing in soil or sod, remove construction debris, wood scraps, stones, excess gravel, concrete pieces, and other materials that should not be in a lawn. This is not glamorous work, but neither is hitting a buried chunk of concrete with a mower next summer.
Next, assess what the construction did to the property. Look for wheel ruts, compacted paths, sudden slopes, pooling water, and exposed subsoil. Pay close attention along foundations, patios, driveways, fence lines, and utility areas. These are the spots most likely to need correction before turf goes down.
Regrade for drainage, not just appearance
A level-looking yard is not always a properly graded yard. Water needs a planned path away from the home and toward appropriate drainage areas. The exact slope depends on the property, but the goal is simple: no water sitting against the foundation, no surprise puddles in the middle of the lawn, and no steep, awkward transitions that are hard to mow.
In Kitchener, Waterloo, and Cambridge, soil conditions can vary widely from one neighborhood to the next. Clay-heavy ground is especially unforgiving when grades are off. Water can linger at the surface, then turn hard as brick during dry weather. A proper site assessment beats a one-size-fits-all approach every time.
Loosen compacted ground
If equipment traveled over the yard, assume the soil needs attention. Loosening compacted areas allows roots to penetrate and gives water somewhere to go besides sideways across the surface. The method depends on the scope of the damage and the existing soil, but the point is not to leave the ground sealed beneath a thin layer of topsoil.
Adding soil on top of a compacted base can make the first few weeks look great. Later, water may stop at the compacted layer, roots may stay shallow, and the lawn can dry out or decline fast. Good preparation connects the new growing layer to the ground below it.
Add quality screened topsoil
Fresh topsoil creates the rooting zone your sod needs. It should be clean, workable, and free of large rocks and construction waste. The required depth depends on the condition of the existing ground, but a skim coat is not a foundation. If the site was stripped down to poor subsoil, it needs enough quality soil for roots to establish properly.
The soil should then be spread evenly and fine-graded. This is where the final lawn shape takes form. A skilled crew can smooth the surface without creating low spots, lumpy seams, or water traps. The goal is a yard that looks sharp from the street and works properly after a hard rain.
Why sod is usually the fastest reliable answer
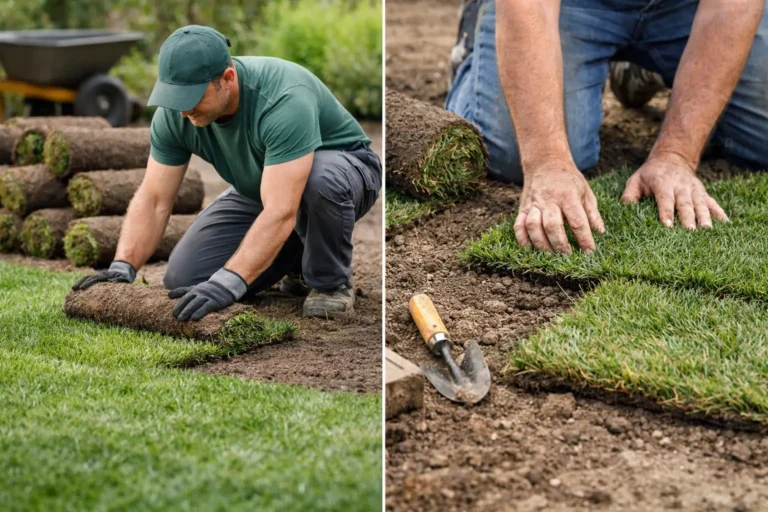
Once the base is ready, fresh sod gives a construction-damaged property an instant reset. Instead of watching bare dirt for weeks, you get a green lawn immediately. That matters when you are trying to finish a new home, prepare a property for sale, hand over a project, or simply stop tracking mud indoors.
Sod also helps stabilize loose soil sooner than seed. It reduces erosion, limits muddy washouts, and creates a cleaner finished look around new landscaping and hardscaping. For builders and property managers, that speed is not cosmetic. It helps bring a site from nearly done to actually done.
There is a trade-off: sod costs more upfront than seed. But comparing material prices alone misses the bigger picture. Seed requires longer watering, more patience, weed control, and a larger margin for failure. A properly prepared sod lawn costs more because it includes the work that gives the lawn a real chance to last.
The first few weeks determine whether sod takes hold
New sod is living turf, not green carpet. It needs consistent watering from day one so the roots can knit into the prepared soil. The sod should stay moist during establishment, especially in warm or windy conditions, without creating constant standing water.
Avoid heavy foot traffic while it roots. Kids, dogs, patio furniture, and contractors should stay off it as much as possible for the first couple of weeks. The first mow should wait until the sod has rooted and the grass is tall enough to trim safely. Use a sharp mower blade and avoid cutting too short.
Fertilizer, grub prevention, and ongoing lawn care can be useful, but timing matters. A lawn that is stressed from poor drainage or weak soil will not be rescued by throwing more products at it. Get the base right first, then build a maintenance plan that fits the season and the condition of the property.
When a partial repair makes sense
Not every project calls for a complete tear-out and replacement. If construction affected one side yard, a utility trench, or a small section near a new patio, a targeted repair may be enough. The repaired area still needs proper grading, soil preparation, and sod that blends with the existing lawn.
A full replacement is usually the smarter move when the entire yard is compacted, uneven, weed-filled, thin, or built on poor fill. Patching a lawn with several underlying problems can turn into a long series of small fixes. Sometimes the honest answer is to stop patching and rebuild it properly once.
Right On Sod handles post-construction lawn restoration as a complete process: cleanup assessment, grading, soil preparation, and premium fresh sod installation. That means one accountable team and a lawn that is built for more than a good first photo.
Your construction project already demanded enough decisions. Give the lawn the same practical finish you gave the rest of the property: fix the grade, build a healthy soil base, install fresh sod, and let the green part finally begin.