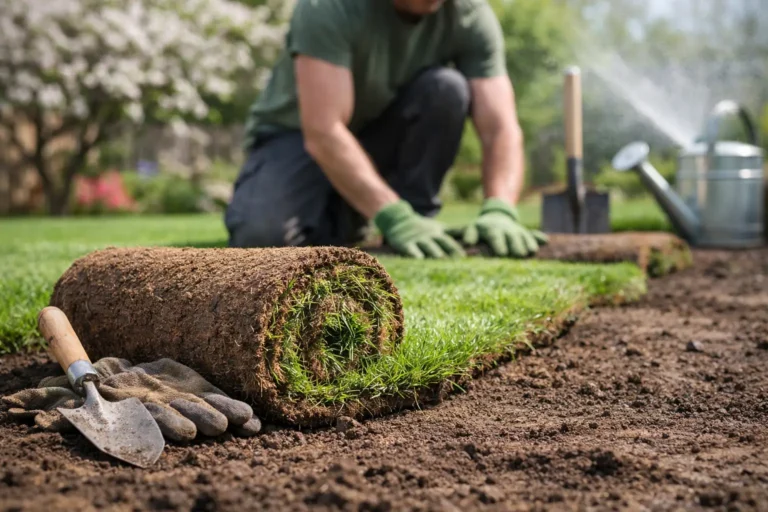

A new house can look finished from the curb while the yard tells a very different story: compacted dirt, construction ruts, low spots, rocks, and a thin layer of topsoil that will not grow much beyond weeds. This new build sod transformation example shows what it takes to turn that rough lot into a lawn that looks great now and has a real shot at staying that way.
The fast part is rolling out green sod. The part that separates a good-looking lawn from a future headache is everything underneath it. On new builds, soil preparation and grading are not extras. They are the job.
The Starting Point: A Typical New Build Lot
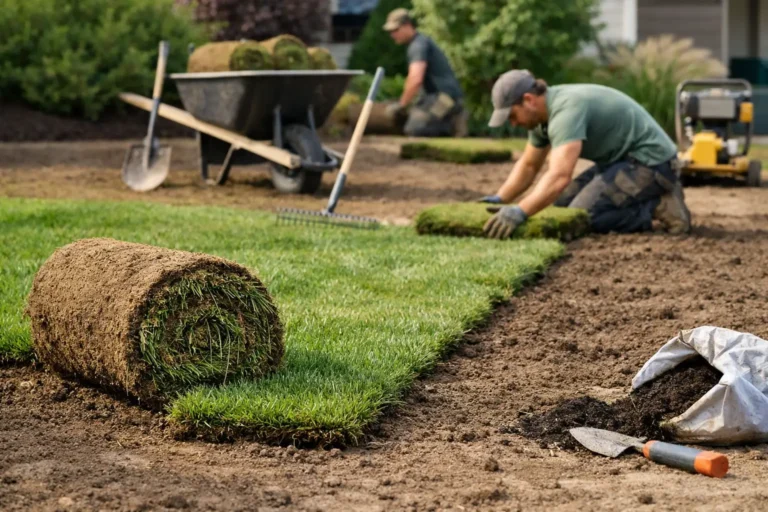
Picture a recently completed home in Kitchener, Waterloo, or Cambridge. The driveway is in, the siding is clean, and the builder has left a yard that is technically graded but far from ready for a healthy lawn. The soil is packed down by trucks and equipment. There may be leftover stone around the foundation, abrupt slopes near the sidewalk, and shallow areas where water will collect after a hard rain.
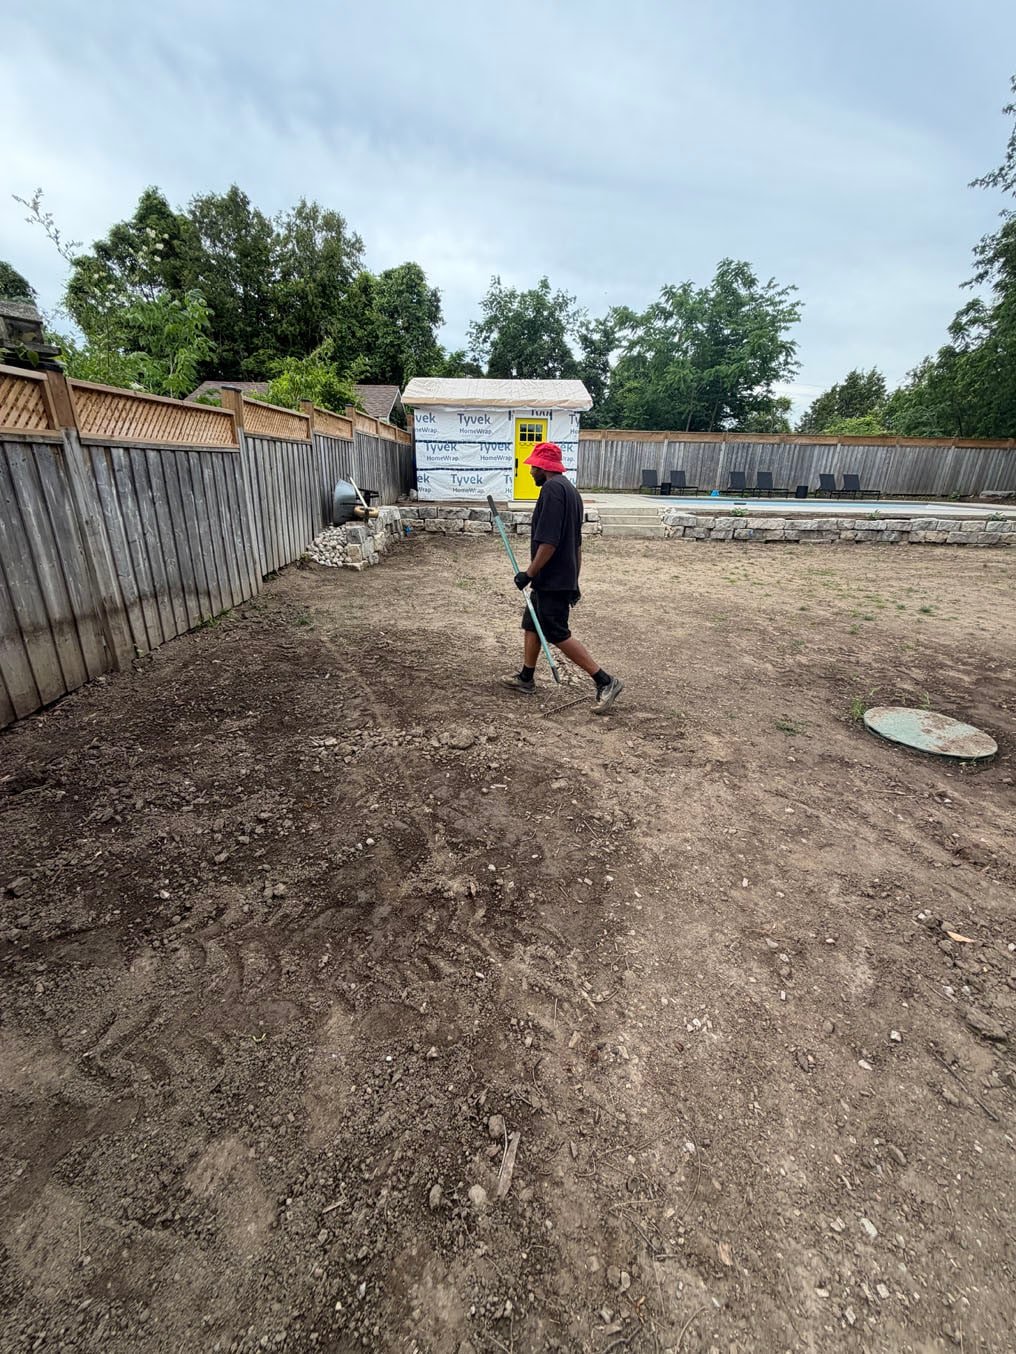
The homeowner wants an immediate, finished look without gambling on seed. They also want to avoid the classic new-build surprise: a lawn that starts green, then turns thin, bumpy, and brown by the following summer.
That is where a proper sod installation starts with an honest site check. A crew should assess the existing grade, drainage direction, soil depth, access for equipment, and the condition of the area around the home. If water is already heading toward the foundation, sod will not fix it. The grade needs attention first.
New Build Sod Transformation Example: What Changed
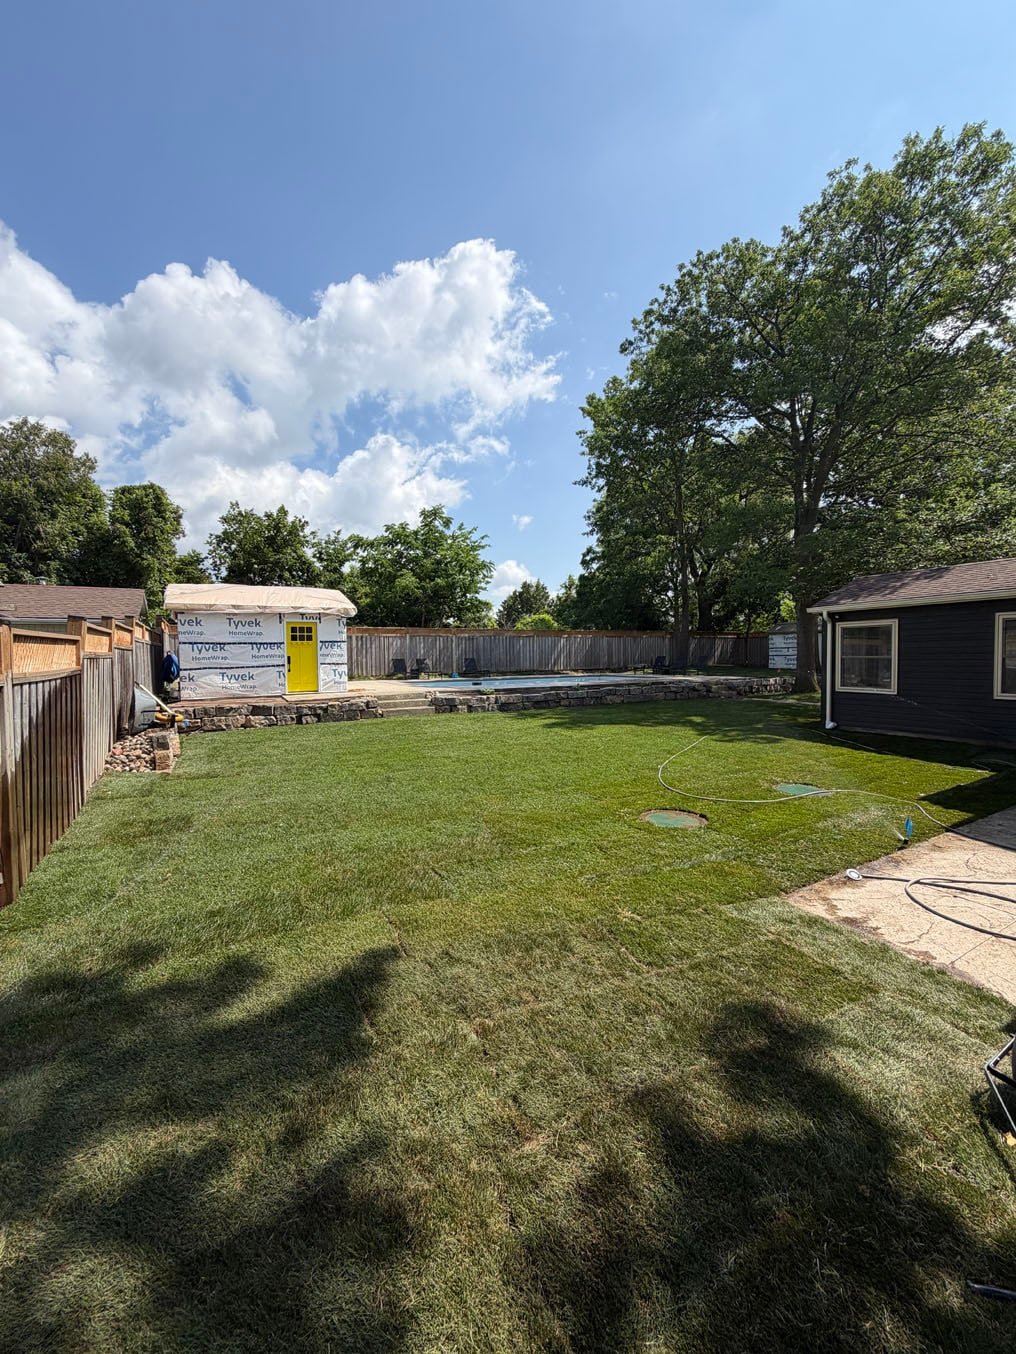
For this type of project, the visible before-and-after can be dramatic in a single day. The bare lot becomes a clean, green lawn with defined edges and an instant curb appeal upgrade. But the transformation is built in layers.
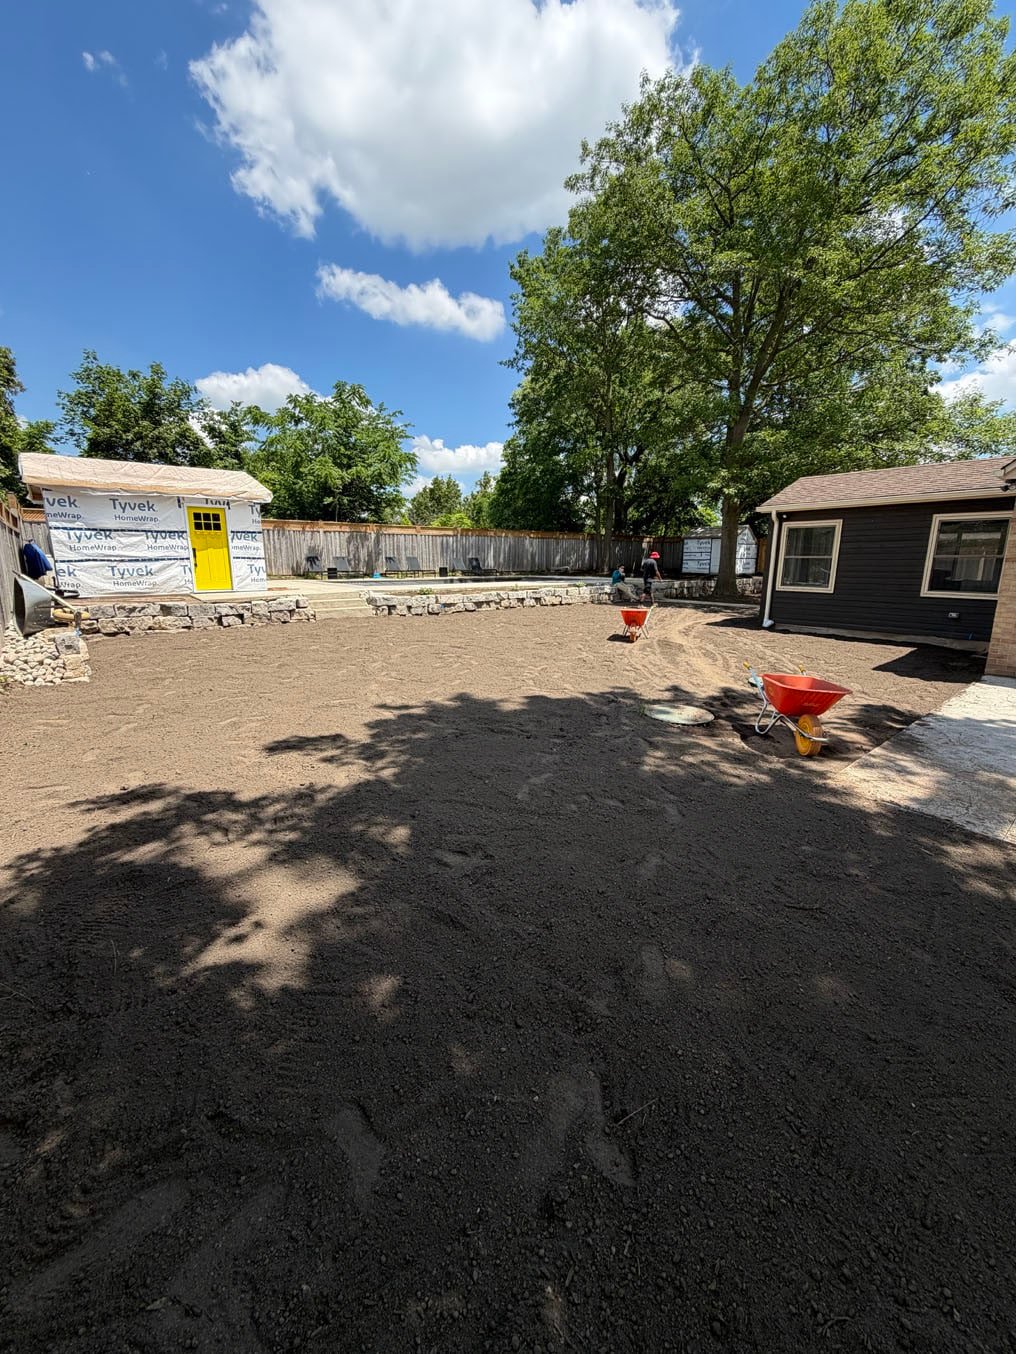
First, crews remove construction debris, large stones, and any weak or contaminated material sitting near the surface. This is not glamorous work, but sod laid over rocks and rubble will show you exactly where those shortcuts were taken. You will see bumps, dry patches, and seams that fail to root.
Next comes grading. The goal is a smooth, practical surface that carries water away from the house while avoiding steep, awkward slopes. A lawn does not need to look like a golf course, but it should drain like it has some common sense. Correcting grade before sod goes down is far easier and more affordable than tearing up a finished lawn later.
Once the grade is set, quality topsoil is spread and worked into a level growing surface. New-build soil is often compacted and low in organic material, so this step gives roots somewhere they can actually move, feed, and hold moisture. The depth required depends on the site, but a skim coat over hard-packed fill is rarely enough for a durable lawn.
The area is then fine-graded and raked smooth. This is where the lawn gets its finished shape. Crews should pay close attention to fence lines, walkways, garden edges, utility boxes, and the space around the foundation. A good sod job looks tidy on installation day and still makes mowing easy months later.
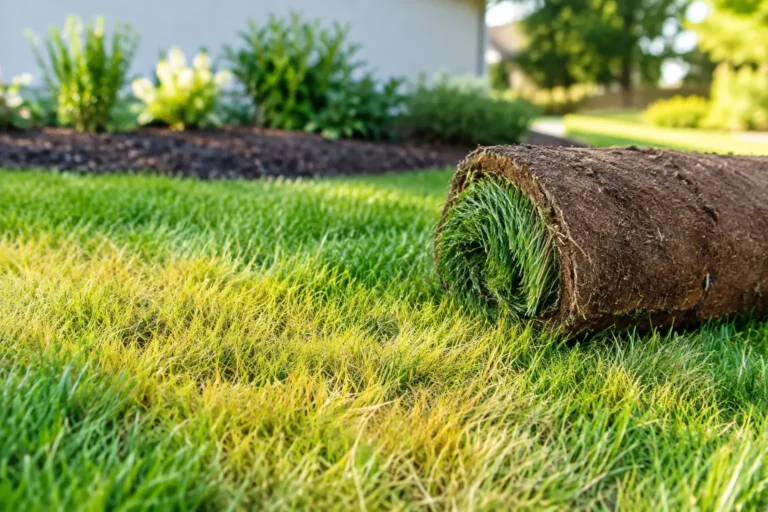
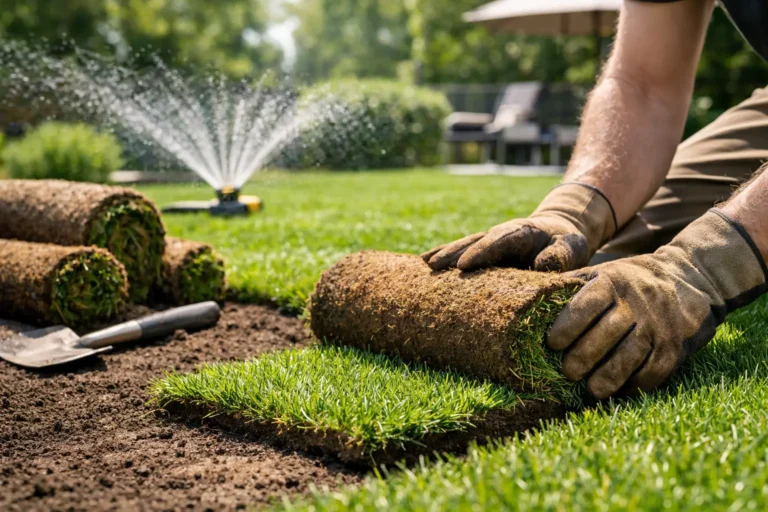
Finally, premium farm-fresh sod is installed tightly with staggered seams. Each piece needs solid contact with the prepared soil below. Gaps, loose edges, and dry rolls are invitations for weeds and poor rooting. After installation, the lawn is watered thoroughly to start settling the sod into place.
Why New-Build Prep Makes Such a Big Difference
Fresh sod gives homeowners a nearly instant result, but it is still a living plant. Its roots need loose soil, steady moisture, and a reasonably level surface to establish. If the sod is laid over compacted construction ground, roots can struggle to penetrate. The lawn may look perfect for a few weeks because the sod arrived healthy from the farm, then decline when hot weather or foot traffic exposes the weak foundation below.
Drainage is another major factor. Ontario weather can deliver heavy spring rain, dry summer stretches, and freeze-thaw cycles that expose poor grading quickly. A low spot may seem minor when the yard is bare. Once sod is installed, it becomes a soggy patch that is difficult to mow and slow to green up in spring.
There is a trade-off, of course. A basic installation can cost less upfront if the existing lot is left mostly as-is. But skipping soil work often creates a lawn that needs ongoing patch repairs, extra water, and eventually replacement. For most new homeowners, it makes more sense to invest in the surface that their lawn will depend on every day.
The First Three Weeks Matter as Much as Installation Day
A new sod lawn is not maintenance-free on day one. It needs a watering plan, especially during the first couple of weeks. The objective is to keep the sod and the soil directly beneath it consistently moist while roots establish. That does not mean creating puddles or running sprinklers all day. Too much water can create runoff, disease pressure, and soft soil.
Weather, sun exposure, and soil conditions determine the right schedule. During hot, dry periods, new sod may need watering more than once a day at first. In cooler or rainy conditions, it may need less. The practical test is simple: lift a corner carefully after several days. If the sod resists lifting and fine white roots are moving into the soil, it is beginning to establish.
Avoid heavy traffic while the lawn roots. Keep kids, pets, patio furniture, and contractors off it where possible. New homeowners often have fence crews, deck builders, and delivery trucks arriving after move-in. If that work is planned, coordinate the order of operations before installing sod. Replacing tire tracks in a brand-new lawn is nobody’s idea of a good time.
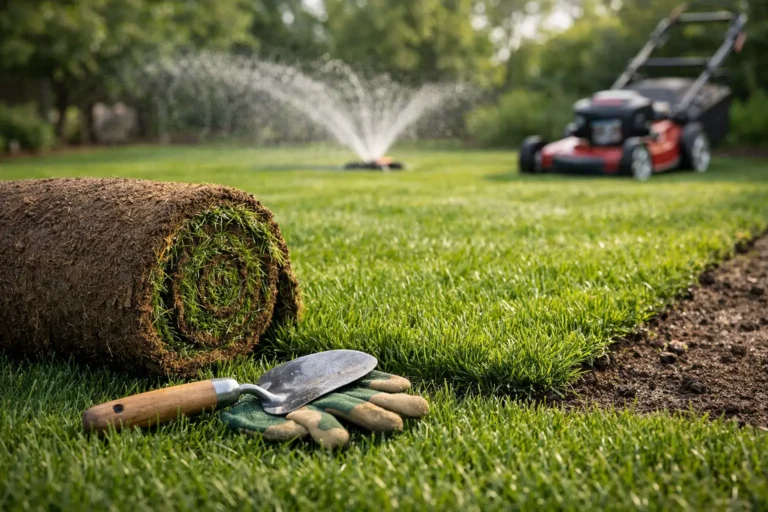
The first mowing should wait until the sod has started rooting and the grass is tall enough to trim. Use a sharp mower blade, avoid cutting more than one-third of the grass height, and do not mow when the ground is saturated. A dull blade tears grass rather than cutting it cleanly, which is a rough welcome to its new home.
Signs Your Builder Grade Needs More Than Sod
Some new lots are ready for a straightforward topsoil, prep, and sod installation. Others need more correction before the green rolls arrive. Watch for water sitting near the foundation after rain, visible dips across the yard, hard clay or fill just below the surface, and slopes that direct runoff toward the home or a neighboring property.
Also look at the boundary between your yard and the driveway, patio, or sidewalk. Poor transitions can make mowing difficult and cause water to collect along hard surfaces. A sod specialist can flag these issues before work begins and recommend a practical solution based on the lot rather than selling a one-size-fits-all package.
For larger builder or commercial projects, consistency matters just as much. Proper access planning, accurate material quantities, and efficient installation keep the project moving without sacrificing the grade beneath the sod. Green space is often one of the last visible pieces of a build, and it should not look rushed because the schedule got tight.
A Finished Lawn Is More Than a Green Photo
The best new build sod transformation example is not just a dramatic before-and-after picture. It is a lawn that drains properly, roots well, mows evenly, and gives the property a finished look without becoming a weekend repair project.
Right On Sod approaches new-build lawns with that bigger picture in mind: prepare the ground properly, install premium sod while it is fresh, and give homeowners clear instructions for the first critical weeks. A free site assessment can identify whether your lot needs simple preparation or more serious grading before sod goes down. Get the base right, keep up with watering, and your new lawn can look as good next season as it does on installation day.