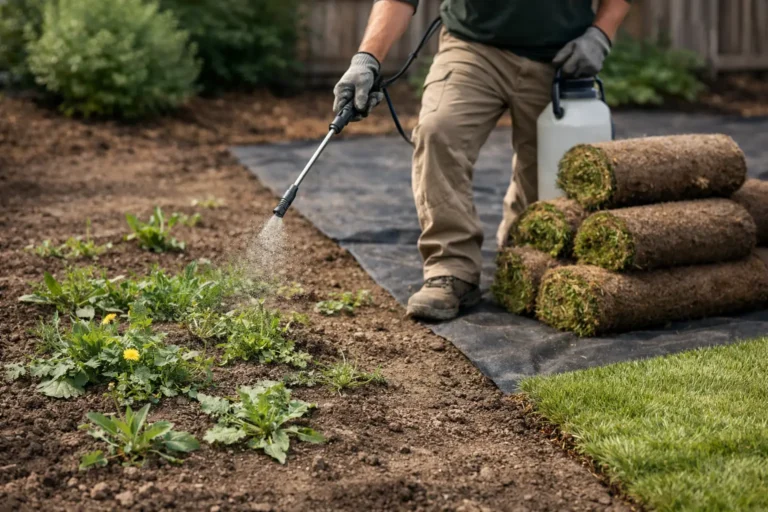

A lawn can look perfect for the first afternoon and still fail a few weeks later. That is why a proper fresh sod quality review goes beyond whether the grass is green when it comes off the truck. The real test is whether the turf was cut fresh, handled correctly, installed on prepared soil, and given the conditions it needs to root. Skip any one of those steps and that instant green lawn can turn into an expensive patch job.
For homeowners replacing a dead lawn, builders finishing a property, or property managers trying to improve curb appeal quickly, fresh sod is a serious upgrade. But not all sod, and definitely not all sod installations, are created equal.
Fresh Sod Quality Review: What Healthy Turf Should Show
High-quality sod should look alive, not merely green. The blades should have a consistent color, the rolls should hold together without falling apart, and the soil layer underneath should be moist enough to support the roots without being soaked and muddy.
Fresh-cut turf has a springy, dense feel. When you lift a corner, you should see a connected root mat rather than loose soil crumbling away. A few minor variations are normal because grass is a living product grown outdoors. Broad yellow areas, dried edges, thinning patches, or a sour smell are not normal. Those signs can point to heat stress, age, disease, poor handling, or sod that sat rolled up too long.
The clock matters. Sod is at its best when it moves quickly from the farm to the prepared lawn. Once it is cut and rolled, the grass loses access to sunlight and airflow. On a hot day, rolls that sit too long can heat up fast. That is why fresh delivery and efficient installation are not fancy extras. They are part of the product quality.
A good installer also pays attention to the grass variety. In this region, cool-season turf is selected for a lawn that can handle changing seasons, regular use, and the usual mix of summer heat, spring rain, and winter stress. The right blend depends on sun exposure, traffic, and how much maintenance the property owner is willing to take on. A shaded backyard and a sunny new-build front yard do not always need the exact same solution.
The Soil Under the Sod Decides the Outcome
Here is the part many people do not see in a before-and-after photo: premium sod cannot fix bad grade, compacted construction soil, or drainage that sends water toward the house. It can cover those problems for a little while. Then the lawn starts telling the truth.
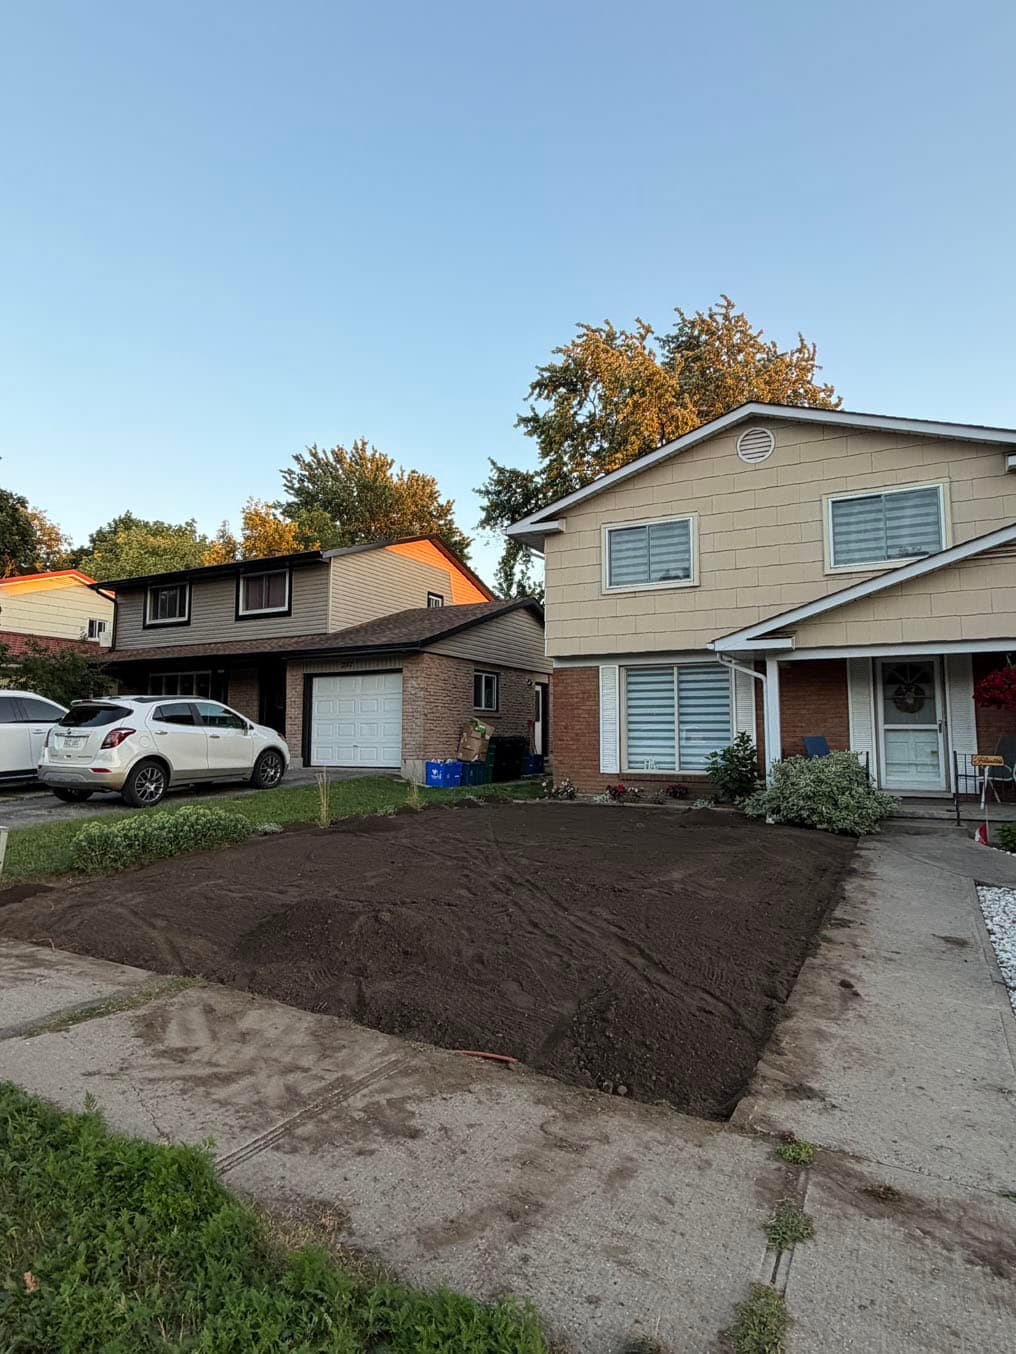
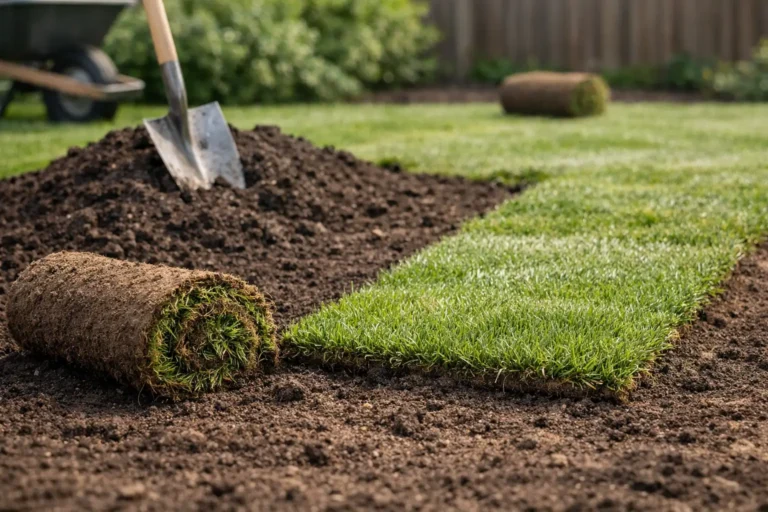
Before sod goes down, the site needs to be cleared, graded, and prepared for rooting. Old turf, weeds, debris, buried stones, and compacted soil all get in the way. The surface should be smooth enough for clean contact with the sod, but it also needs the correct slope so water moves away from foundations and does not pool in low spots.
Soil preparation is where specialized sod work earns its keep. If the ground is hard and lifeless, fresh roots struggle to grow down into it. If the soil is excessively loose or uneven, the new lawn can settle and leave dips after installation. A properly prepared base gives the turf a fair chance to establish quickly instead of fighting an uphill battle from day one.
For lawn replacement projects, tearing out the old grass is often the right call when weeds, grubs, drainage issues, or severe thinning have taken over. Laying new sod over a tired lawn is not a shortcut. It is just hiding the problem under a green blanket.
Check the Installation, Not Just the Grass
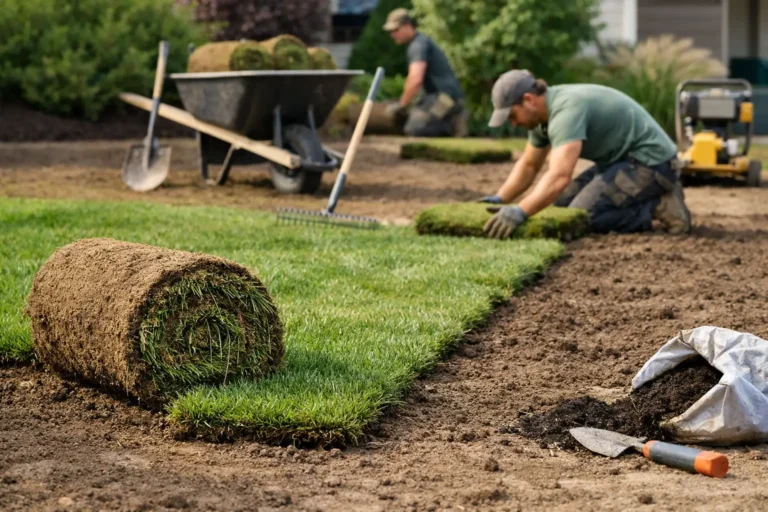
Even excellent turf can underperform when it is installed carelessly. The seams should be tight, with sod pieces staggered like brickwork instead of lining up in long channels. Open seams dry out quickly and can invite weeds. Overlapping pieces create raised edges that are hard to mow and easy to trip over.
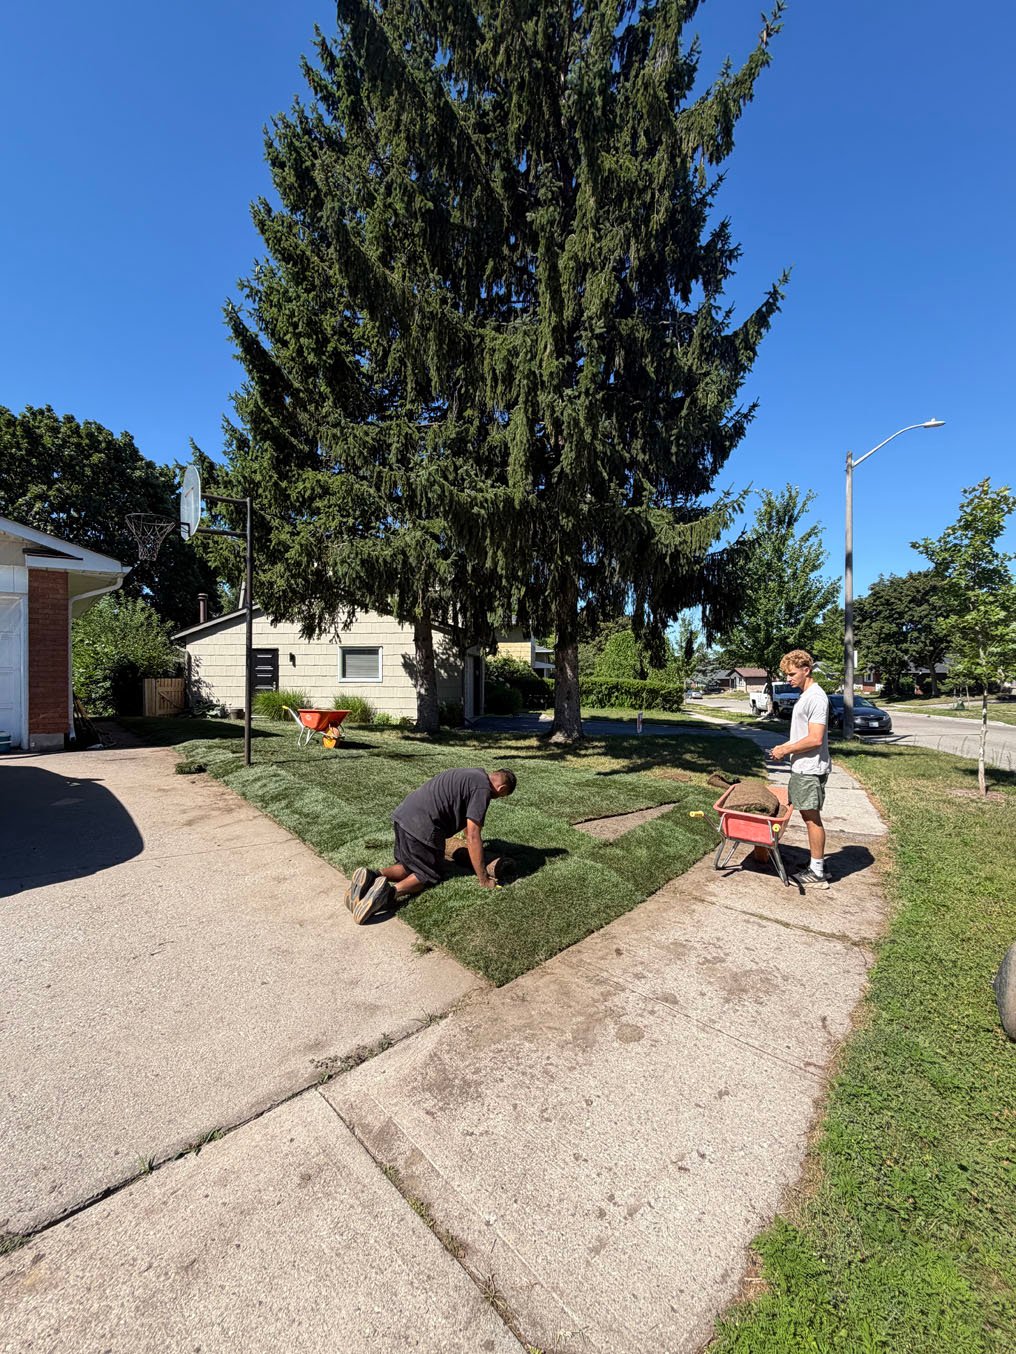
The sod should be pressed firmly into the prepared soil so the roots make full contact below. Air pockets are bad news because they prevent roots from reaching moisture and nutrients. Rolling the lawn after installation helps, but it cannot correct poor grading or sloppy placement.
Pay close attention along driveways, garden beds, curbs, and other edges. Clean cuts and a snug fit are signs that the crew is working with care. Little gaps may sound minor, but they can dry out fast and become the first places where a new lawn loses its uniform look.
Timing also matters. Fresh sod can be installed through much of the growing season when the site is properly prepared and watering is managed. Still, hot, dry weather requires more attention than cool conditions. A good contractor will not pretend every installation week comes with the same level of risk. They will explain what the weather means for watering, rooting, and the first mow.
Red Flags That Belong in Any Fresh Sod Quality Review
A few warning signs should make a homeowner pause before accepting an installation or assuming a lawn simply needs more water:
- Rolls are dry, hot to the touch, yellowing, or smell fermented.
- Sod is laid over weeds, rough ground, construction debris, or obvious low spots.
- Seams are wide open, overlapped, or running continuously in straight lines.
- The lawn is installed without clear watering instructions.
- Water pools after the first soaking instead of draining across the lawn.
None of these problems should be brushed off as “normal settling.” Minor transplant stress can happen, especially during warmer weather, but large-scale discoloration, loose sod, or pooling water deserves a quick response. The earlier a problem is addressed, the better the odds of saving the turf and avoiding a bigger repair later.
What to Expect During the First Three Weeks
Fresh sod needs consistent moisture while its roots connect with the soil below. For the first stretch after installation, the goal is to keep the sod and the upper soil layer moist. That usually means watering deeply enough to reach beneath the turf, then adjusting frequency based on heat, rainfall, sun, and drainage. A light sprinkle that only wets the blades does not do much.
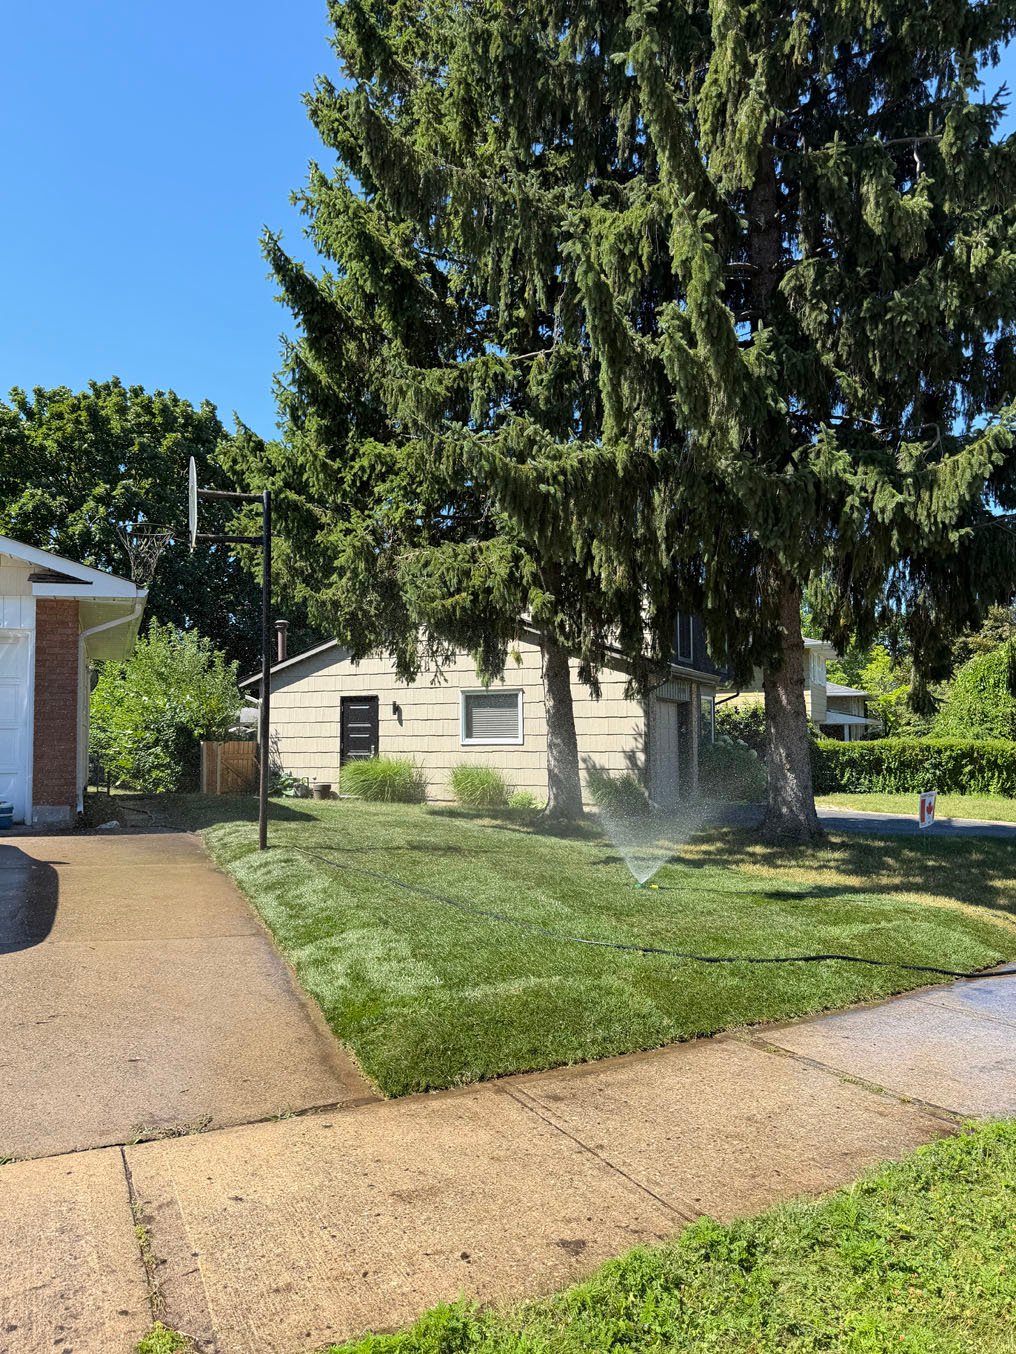
Do not let the lawn turn swampy, either. Excess water can soften the ground, encourage disease, and make the sod shift underfoot. The right amount depends on the property. A sunny slope may dry quickly, while a shaded low area may hold water longer. This is one reason local experience matters more than a one-size-fits-all watering schedule.
Stay off the new lawn as much as possible at first. Kids, pets, patio furniture, and regular foot traffic can wait a bit. When it is time for the first mow, make sure the sod has started rooting and use a sharp mower blade. Never remove too much grass at once. The lawn is establishing itself, not training for a haircut competition.
You can test rooting by gently lifting a corner of a sod piece after about a week or two. If it resists being lifted, roots are beginning to knit into the soil. If it comes up easily, keep focusing on moisture and avoid traffic. If rooting remains poor, the issue may be watering, compacted soil, improper contact, or a drainage problem that needs attention.
Quality Is a System, Not a Roll of Grass
The best sod jobs look fast because they are fast. A bare, damaged, or muddy yard can become a finished-looking lawn in a day. But that quick transformation only lasts when fresh turf, soil preparation, grading, installation, and aftercare all work together.
At Right On Sod, the focus is not just making a property look green before the truck leaves. It is building the conditions for a lawn to root, drain, and hold up through real life. If you are comparing sod options, ask how fresh the turf is, what happens beneath it, and who will be accountable if the lawn does not establish properly. Those answers will tell you far more than a pretty photo ever could.
A great lawn starts with fresh sod, but it earns its stripes in the weeks after installation. Give it good soil, smart watering, and a little patience, and it will look less like a quick fix and more like it has always belonged there.