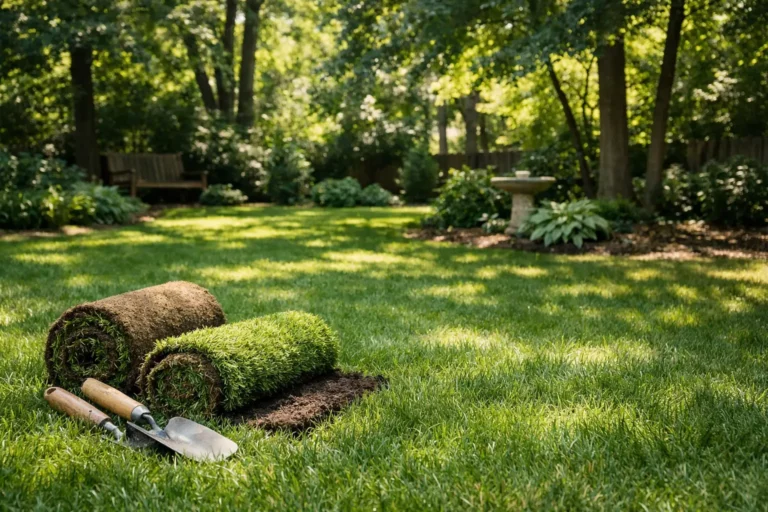

A front yard can go from muddy, patchy, or construction-torn to clean and finished in a day with fresh sod. But front yard sod planning is where the real result is decided. The grass is the visible part. The grade, soil, drainage, and watering plan are what determine whether it stays green after the installation crew is gone.
A good sod project is not about rolling out green carpet and hoping for the best. It is about creating the right conditions for roots to grab hold quickly. Get those conditions right, and your lawn looks sharp fast. Skip them, and even premium sod can struggle, thin out, or turn into an expensive patch job.
Start Front Yard Sod Planning With the Ground
Before choosing sod, look at what the ground is doing now. Water should move away from your home, not settle near the foundation, sidewalk, driveway, or low spots in the yard. A lawn can look level and still drain poorly. That is why proper grading matters more than most homeowners expect.
Your finished lawn should generally slope gently away from the house. The goal is simple: rainwater needs somewhere to go that is not your basement. In Kitchener, Waterloo, and Cambridge, freeze-thaw cycles and heavy spring rain can expose drainage problems fast. A low spot that seems harmless in July can become a muddy mess in April.
Walk the front yard after a hard rain if you can. Look for standing water, soft areas, washed-out soil, and downspouts dumping water directly onto the future lawn. These clues tell you whether the project needs minor leveling or a more complete regrade before sod goes down.
Know When a Simple Repair Is Not Enough
Sod is an excellent fix for a tired front lawn, but it cannot correct the cause of a failed lawn by itself. If the existing grass is thin because of compacted soil, grubs, shade, poor drainage, or a steep grade, covering it with new sod without preparation only delays the problem.
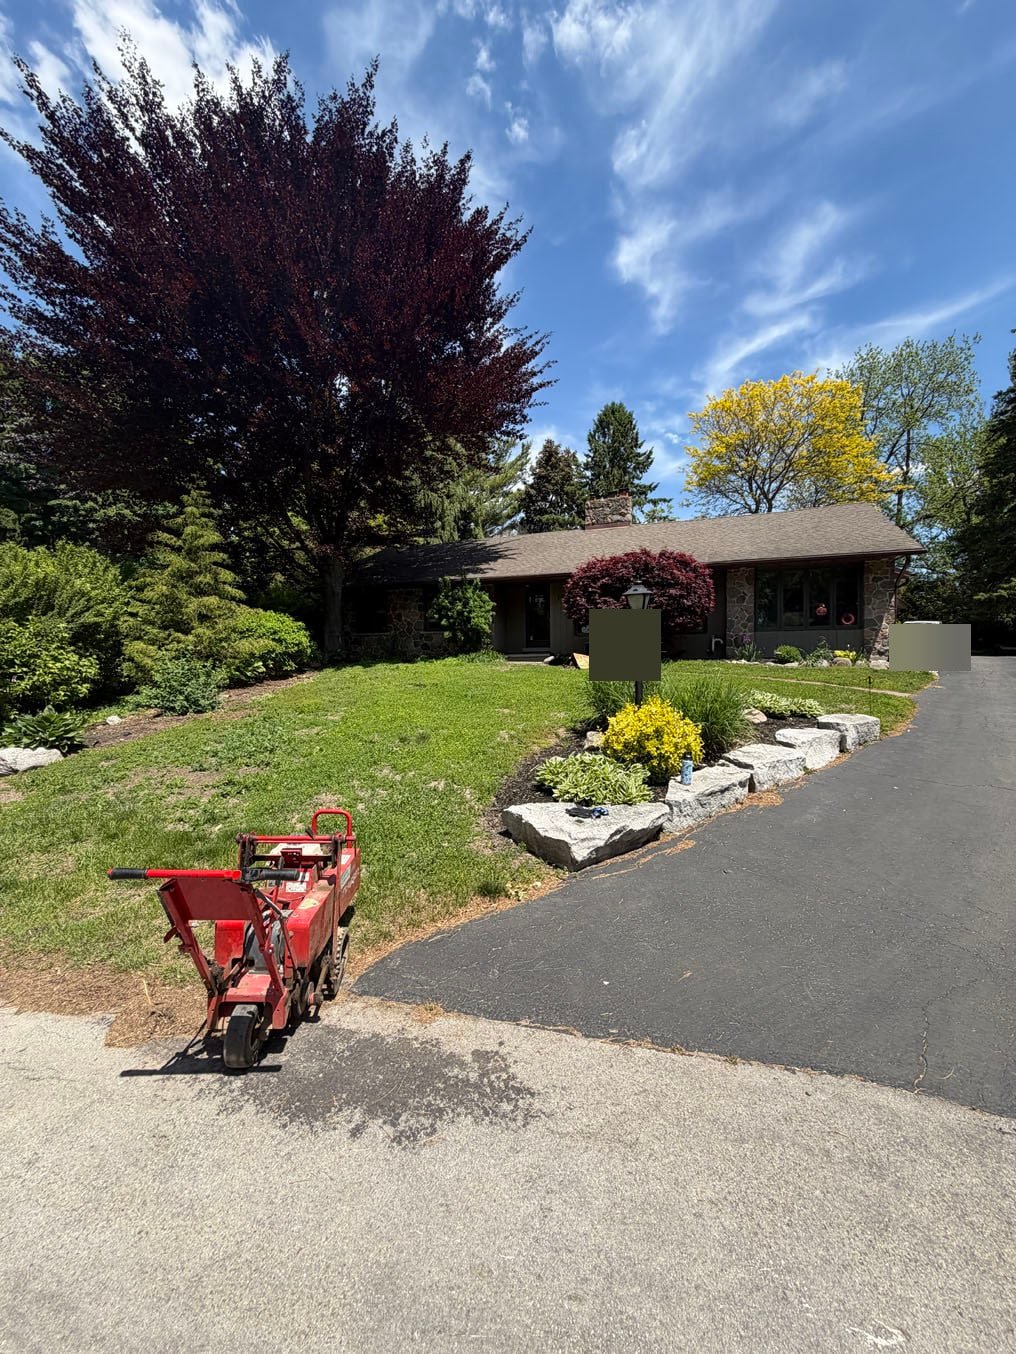
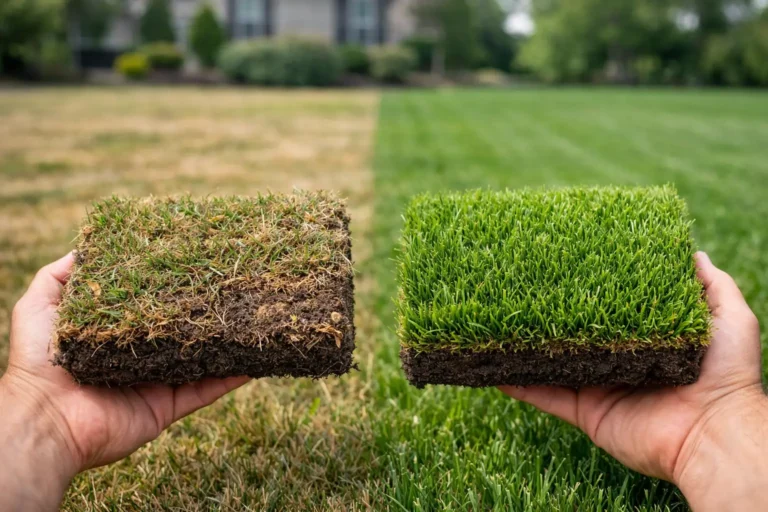
Full tear-out and replacement often makes more sense when the lawn has widespread weeds, rough grading, old debris, hard-packed clay, or severe damage. It costs more than patching a few areas, but it gives the new lawn an even base and a fair shot at rooting properly. For a highly visible front yard, that clean reset is often worth it.
Measure the Area and Plan the Edges
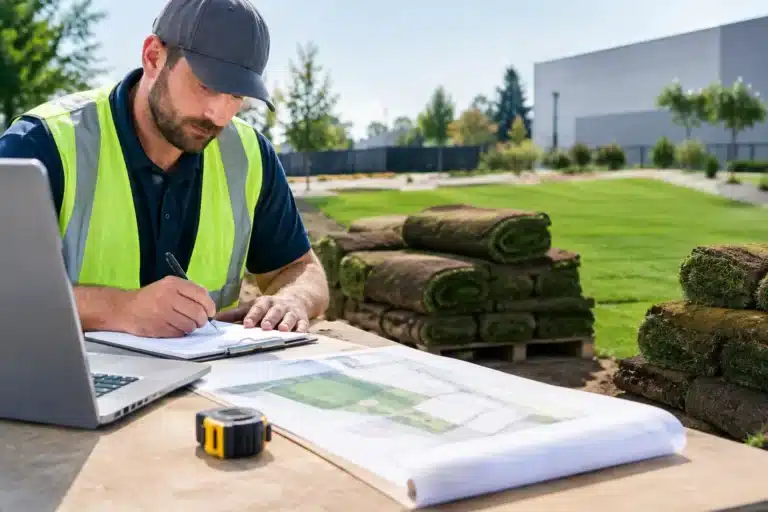
Accurate measurements help you budget properly and avoid ordering too little sod. Measure the length and width of straightforward areas, then break curved beds, walkways, and irregular corners into smaller shapes. Add them together to estimate square footage.
It is smart to allow a little extra material for trimming around garden beds, trees, sidewalks, and driveway edges. The exact amount depends on the shape of the yard. A wide rectangular lawn has very little waste. A front yard full of curves, islands, and narrow strips requires more cuts and more planning.
Edges deserve attention because they are where a new lawn can either look professionally installed or look rushed. Sod should sit flush with hard surfaces, not piled above the sidewalk or sunk below it. Soil depth needs to be accounted for before the sod arrives, since the sod itself adds thickness. This small detail helps prevent trip edges, exposed roots, and that awkward raised-lawn look beside the driveway.
Soil Prep Is Not the Place to Cut Corners
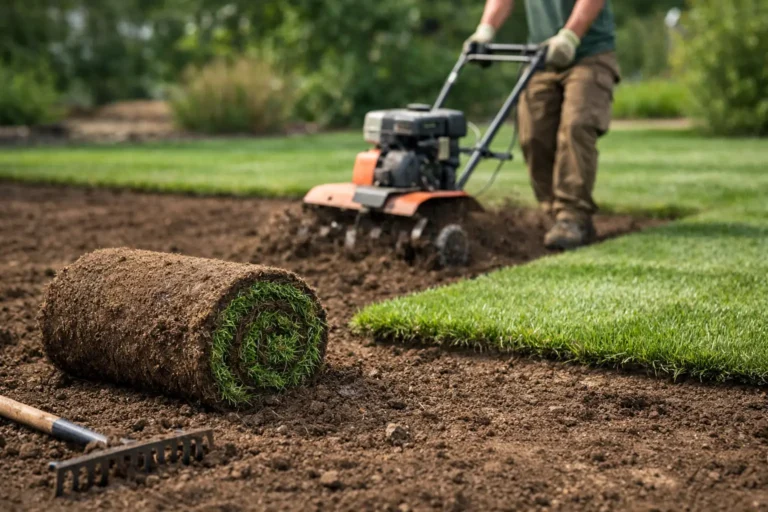
Ontario soil can be heavy, compacted, rocky, or stripped down after construction. None of that is great for new roots. Fresh sod needs loose, workable soil beneath it so its roots can grow into the ground instead of drying out on top of it.
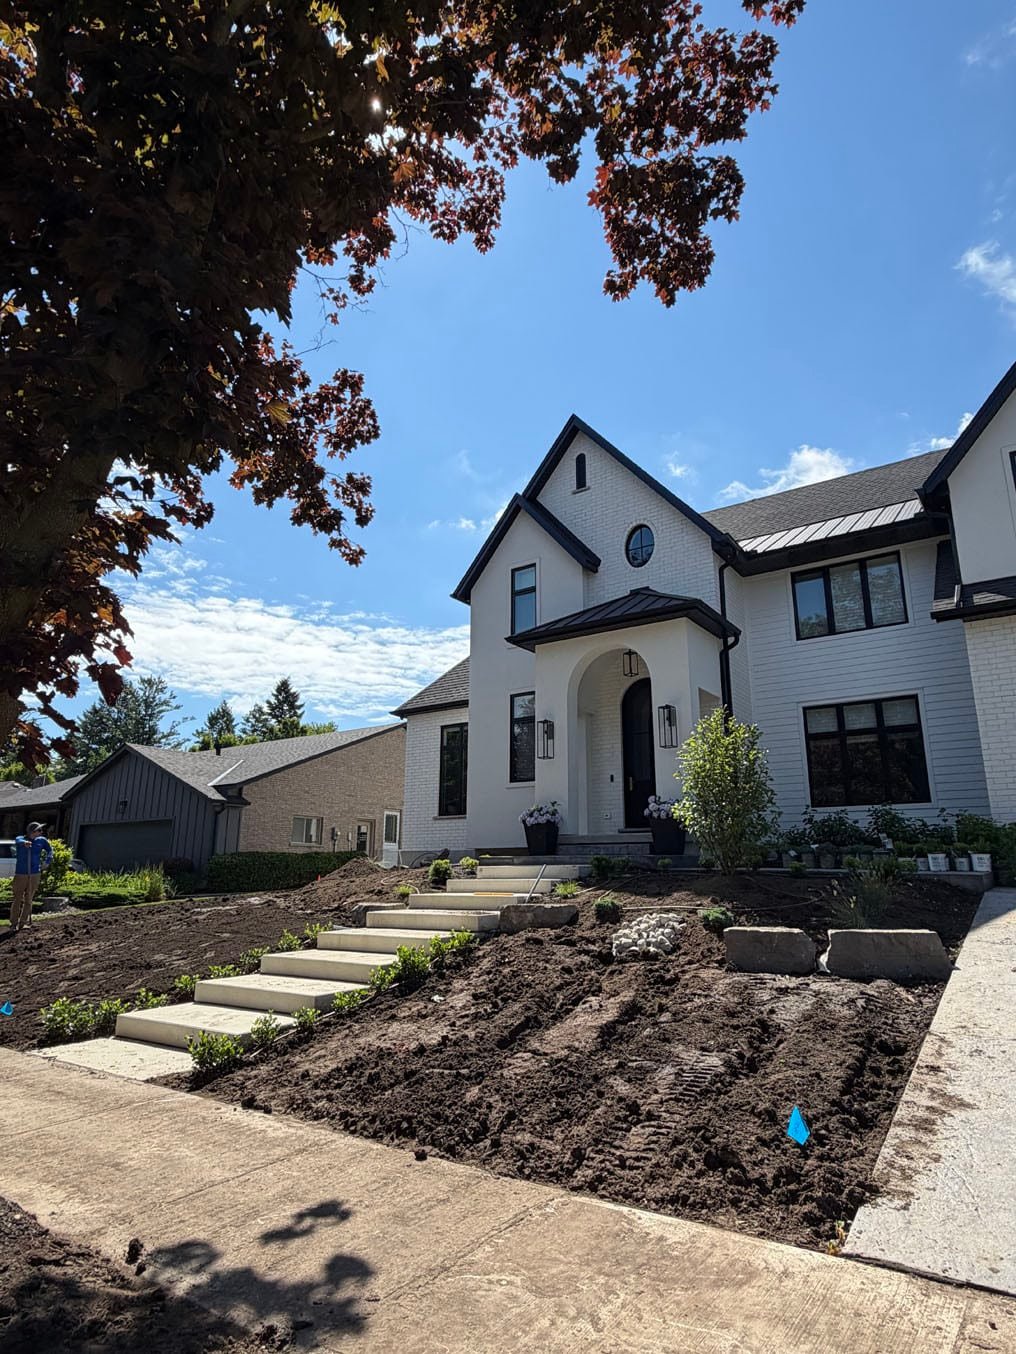
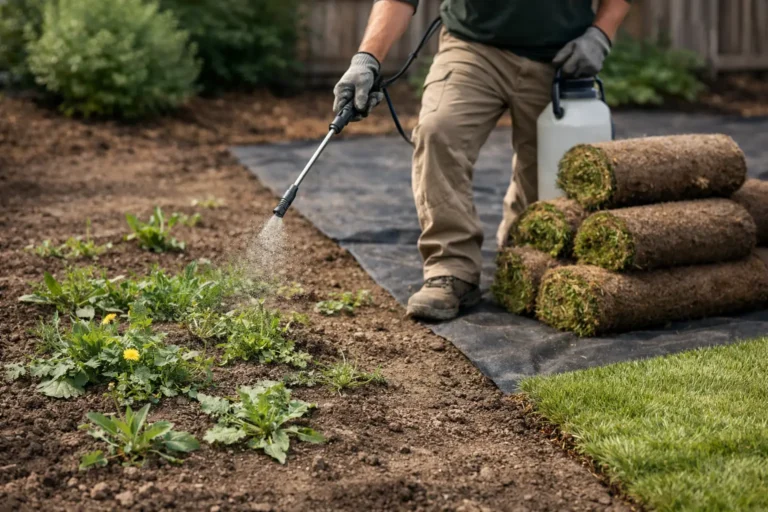
A proper prep process starts by removing old grass, weeds, debris, and loose stones. The area is then graded, and quality topsoil is added where needed to create a smooth, root-friendly surface. The soil should be firm enough to prevent future settling but not packed so hard that water and roots cannot move through it.
This is also the time to correct shallow areas near curbs, walkways, and garden borders. Once the sod is installed, major adjustments become messy and expensive. A little extra attention before installation prevents a lot of frustration later.
If your old lawn had grub damage, deal with it before replacing the turf. Grubs can destroy a healthy-looking lawn from below by feeding on roots. New sod installed over an active pest problem is an invitation for round two. A targeted grub control plan protects the investment instead of leaving the lawn vulnerable.
Pick Sod for Your Yard, Not Just Its Appearance
Most homeowners want a lawn that looks full, green, and polished immediately. That is fair. But the best sod choice also depends on sun exposure, traffic, watering expectations, and how much maintenance you are willing to do.
A front yard with six or more hours of direct sun has different needs than one shaded by mature maples or the north side of a house. Heavy foot traffic from kids, pets, guests, or regular sidewalk access can also affect how the turf performs. Premium farm-fresh sod gives you a strong starting point, but its long-term success still depends on matching the turf and care plan to the site.
Sod should be installed as soon as possible after delivery. It is a living product, not a stack of patio stones. On a warm day, rolled sod can heat up quickly, especially if it sits tightly stacked for too long. Planning the crew, prep work, delivery, and installation for the same day keeps the material fresh and gives it the best chance to establish.
Timing Matters, but Preparation Matters More
Spring and fall are popular sodding seasons because cooler temperatures can reduce stress on new grass. That said, sod can be installed successfully through much of the growing season if the ground is properly prepared and watering is handled consistently.
Summer installation is not a deal-breaker. It simply demands more discipline. New sod can dry out quickly in hot weather, particularly along concrete driveways and sidewalks that reflect heat. You will need to water more often during the first couple of weeks and pay close attention to exposed edges.
Avoid scheduling installation when the ground is frozen, saturated, or likely to be torn up by other work. If a driveway project, fence installation, utility repair, or exterior renovation is still coming, complete the disruptive work first. Installing sod before heavy equipment crosses the yard is a quick way to turn a fresh lawn into a repair project.
Have a Watering Plan Before Sod Arrives
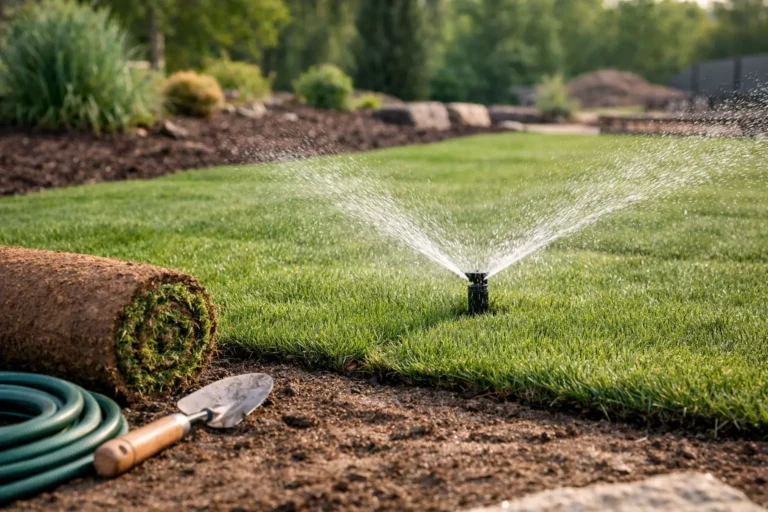
The first few weeks after installation are when sod either roots or struggles. The goal is to keep both the sod and the soil beneath it consistently moist without creating puddles. Watering should begin immediately after installation, not the next morning when there is time.
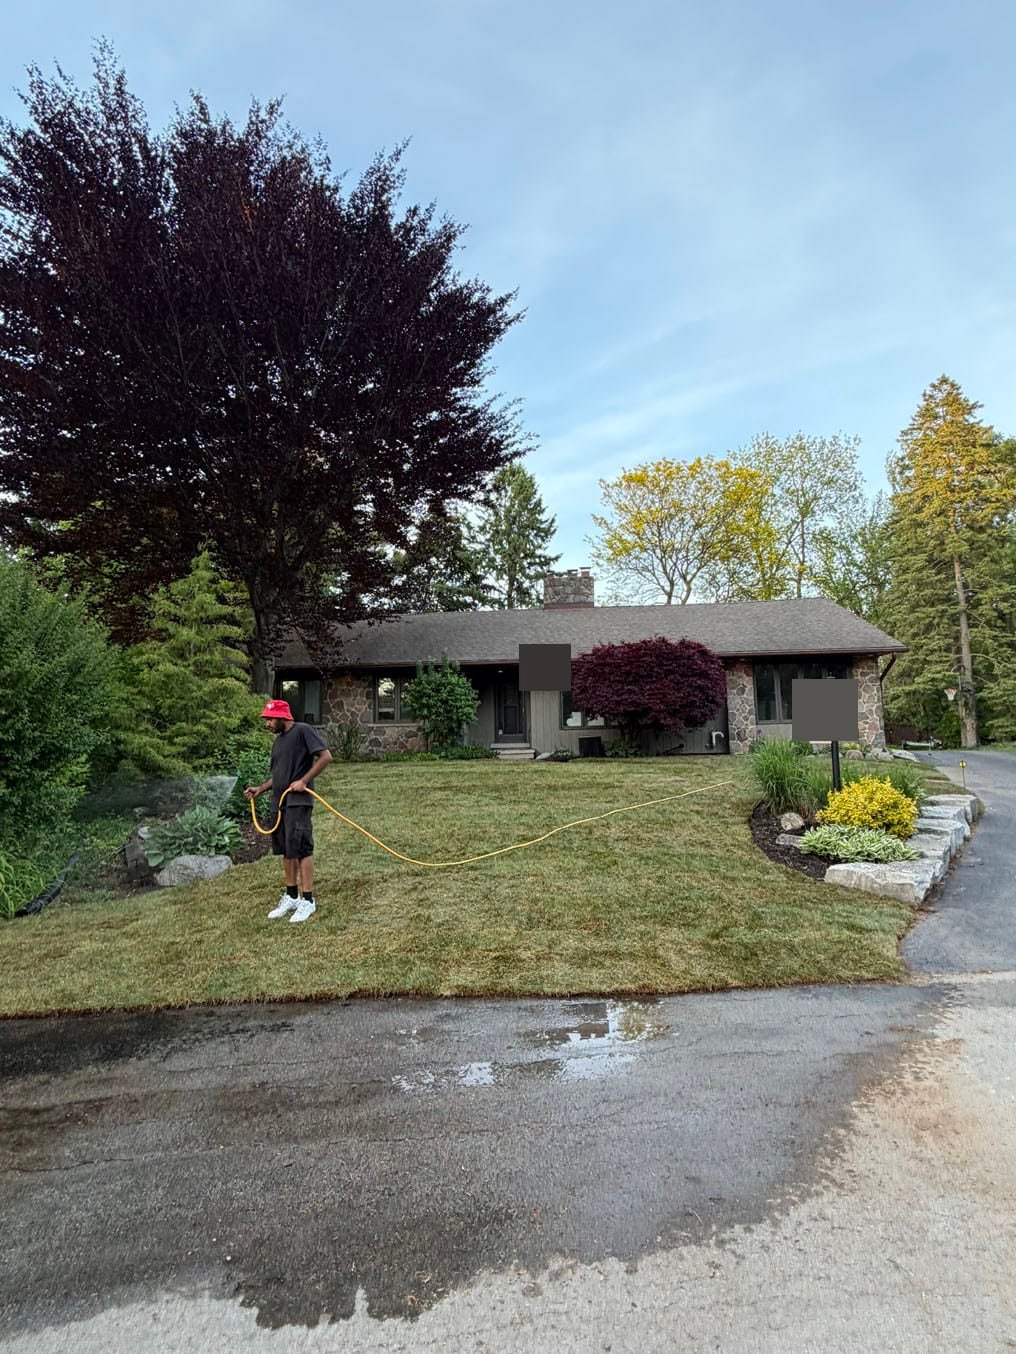
For the first seven to 14 days, new sod generally needs frequent watering, especially in dry or hot weather. Lift a corner occasionally to check progress. If the soil underneath is dry, the roots are not getting what they need. If water is pooling or the lawn feels spongy for days, scale back and check the grade.
Once the sod starts resisting a gentle pull, it is beginning to root into the soil. At that point, transition toward deeper, less frequent watering. Deep watering encourages roots to grow downward, which helps the lawn handle dry spells better than a shallow-rooted yard that relies on daily sprinkling.
Do not mow until the sod has started to establish and the ground is firm enough to support the mower without rutting. When it is time, keep the mower blade sharp and avoid cutting too short. Scalping a newly rooted lawn is a rough welcome to the neighborhood.
Budget for the Whole Job, Not Just the Sod
The cost of a front yard sod project depends on square footage, access, demolition, grading needs, soil depth, drainage work, and the condition of the existing lawn. A flat bare lot with easy access is a different job from a weed-filled, uneven yard behind a narrow gate.
That is why a clear estimate should separate the work involved rather than making the number feel like it came from a hat. Good front yard sod planning accounts for removal, disposal, soil preparation, delivery, installation, and any necessary repairs before the new lawn goes down.
If your front yard needs a fast, clean reset, Right On Sod can assess the site, explain what the lawn actually needs, and provide a straightforward estimate. The best-looking lawns are rarely the ones that got lucky. They are the ones built on solid ground and cared for properly from day one.