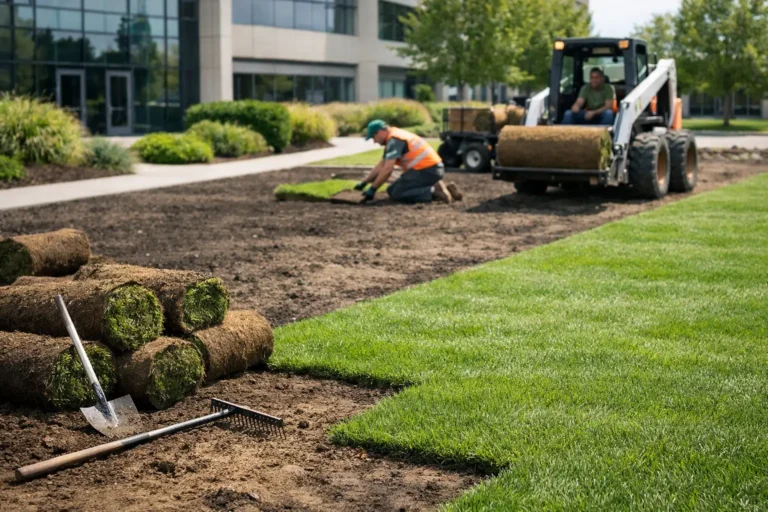

A lawn can look rough for a lot of reasons, but not every rough lawn needs to be ripped out. A full lawn tear out is the right call when the problems run deeper than a few bare spots, weeds, or a bad-looking patch near the driveway. If the ground is poorly graded, the soil is worn out, water sits after rain, or most of the turf has failed, patching it is often just paying twice for the same headache.
For homeowners who want a fast, clean reset, new sod delivers the kind of before-and-after result that seed simply cannot match. The key is making sure the work below the grass is done properly. Fresh sod on bad soil is still bad soil wearing a green shirt.
Signs You Need a Full Lawn Tear Out
The biggest sign is widespread failure. If more than a third of the lawn is thin, bare, weed-heavy, uneven, or damaged by grubs, repairing one section at a time can turn into an endless weekend project. You may get temporary green patches, but the lawn will still look inconsistent and struggle through the next hot spell, heavy rain, or winter thaw.
Drainage problems are another clear reason to start over. Puddles that linger, muddy low spots, water running toward the foundation, and soggy turf usually point to grading issues. Sod needs contact with level, well-prepared soil to root properly. It cannot fix a yard that sends water in the wrong direction.
A tear out also makes sense after construction, major landscaping, pool work, or utility repairs. Heavy equipment compacts soil, strips topsoil, and leaves uneven ground behind. Even when grass eventually grows, it may be weak, bumpy, and difficult to mow. Starting with proper grading and fresh soil preparation gives the finished property a much better chance of holding up.
Finally, consider the lawn’s history. If you have reseeded, fertilized, treated weeds, repaired grub damage, and watered faithfully without lasting improvement, the issue is likely not your effort. It is the lawn’s foundation.
What a Full Lawn Tear Out Should Include
A proper lawn replacement is more than removing old grass and rolling out new sod. The visible transformation happens in a day or two. The work that determines whether it lasts happens underneath.
Remove failed turf and debris
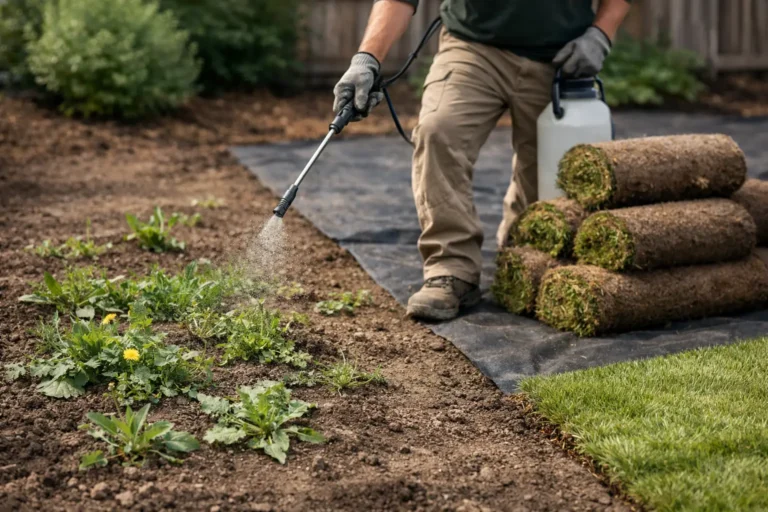
The existing lawn, weeds, roots, rocks, and construction debris need to come out. This creates a clean working surface and prevents old, weak turf from competing with the new lawn. Skipping this step can leave uneven areas and buried material that shows up later as dips, bumps, or dead strips.
Correct the grade before adding sod
Grading is where specialized sod work earns its keep. The yard should drain away from the home while still looking natural and working with patios, walkways, gardens, and neighboring properties. There is no single grade that fits every yard. A compact city lot, a new build, and a large commercial property all need a site-specific plan.
In Kitchener, Waterloo, and Cambridge, soil conditions can vary from one neighborhood to the next. Clay-heavy ground may hold water longer, while disturbed new-construction lots may have compacted subsoil and very little usable topsoil left. The goal is not to bury the problem under more material. It is to create a stable, smooth base that manages water properly.
Prepare quality soil for rooting
New sod needs loose, clean soil with enough depth for roots to establish. Soil is leveled, amended where needed, and worked to remove clumps and improve contact with the sod. This is also the time to address low spots, poor-quality fill, and areas that have been compacted by foot traffic or machinery.
A good crew will leave the finished grade slightly below hard surfaces such as walkways and driveways. That helps prevent sod from sitting too high and keeps the lawn looking finished rather than shoved into place.
Install fresh sod quickly and tightly
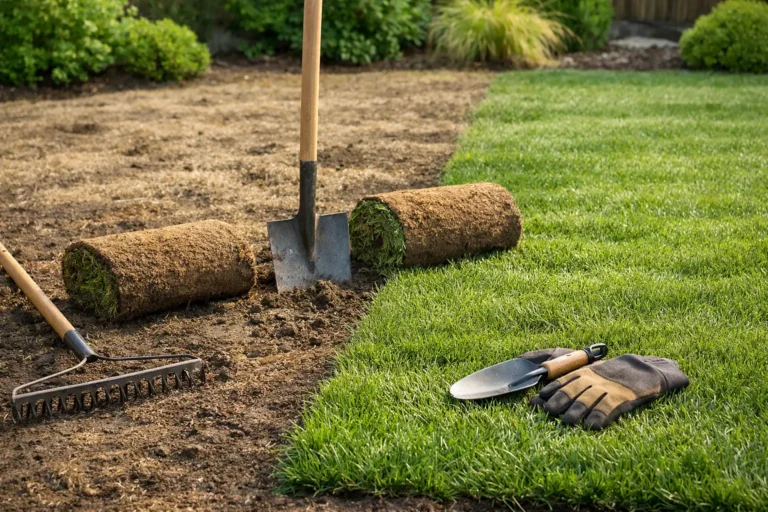
Farm-fresh sod should be installed promptly, laid tightly at the seams, and rolled for solid soil contact. Cuts around edges, trees, and garden beds need to be neat because those details are what separate a finished lawn from a rushed green carpet.
The lawn should also be watered immediately after installation. Sod is living material, not flooring. It needs moisture from day one to begin rooting into its new base.
Tear Out vs. Lawn Repair: Which Costs Less Long Term?
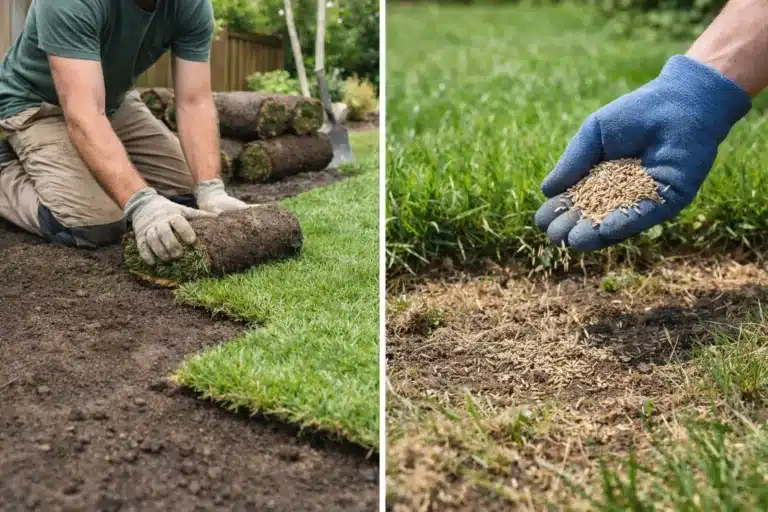
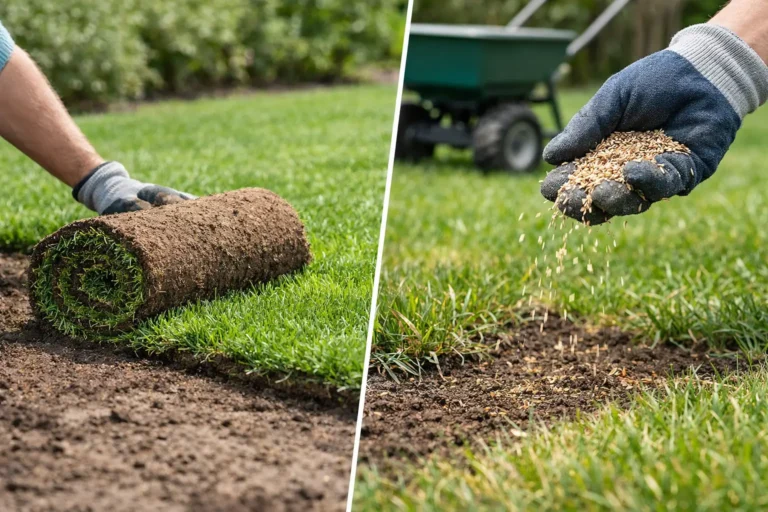
Lawn repair is usually less expensive upfront, and it is the smarter option when damage is limited. A few grub-damaged spots, a worn path from kids or dogs, or small areas that thinned during summer can often be repaired without rebuilding the whole lawn.
But repair becomes poor value when the underlying issues cover most of the property. Repeated overseeding, topdressing, weed control, and patch sod can add up quickly. Worse, those fixes do not correct an uneven grade, shallow soil, or persistent drainage issue. You may spend less this month and more every season afterward.
A full replacement costs more because it includes removal, disposal, soil work, grading, sod, installation, and cleanup. It also gives you a predictable result: one consistent lawn, one corrected surface, and one clear care plan. For homeowners preparing to sell, finishing a renovation, or simply tired of explaining their lawn to every visitor, that certainty has real value.
Timing Matters More Than Most People Think
Spring and fall are excellent seasons for sod because cooler temperatures and regular rainfall help reduce stress while roots establish. That said, sod can be installed through much of the growing season when watering is handled correctly. Summer installation is not a problem if the sod is fresh, the ground is prepared, and the homeowner can keep up with watering.
The one timing mistake to avoid is waiting until the lawn is completely gone before planning. If your yard has known drainage issues or you are coordinating a fence, patio, driveway, or construction project, schedule the lawn work after the heavy equipment is finished. There is no sense installing premium sod just before someone drives a skid steer across it.
How to Protect Your New Sod Investment
The first few weeks set the tone for the lawn’s future. Water deeply and consistently so moisture reaches the soil beneath the sod, not just the blades. During hot or dry weather, new sod may need more frequent watering. Lift a corner occasionally after the first several days to check that the soil beneath is moist and roots are beginning to grab.
Avoid heavy foot traffic until the sod is rooted. Kids, pets, furniture, and lawn games can wait a little while. Mow only when the grass has reached a healthy height and the ground is firm enough to walk on without leaving footprints. Use a sharp blade and never remove more than one-third of the grass height in a single cut.
Fertilizer timing depends on the soil condition and the installation plan. More fertilizer is not automatically better. A properly prepared lawn benefits from the right product at the right time, not a panic application because the grass looks slightly stressed during establishment.
Get the Scope Right Before You Start
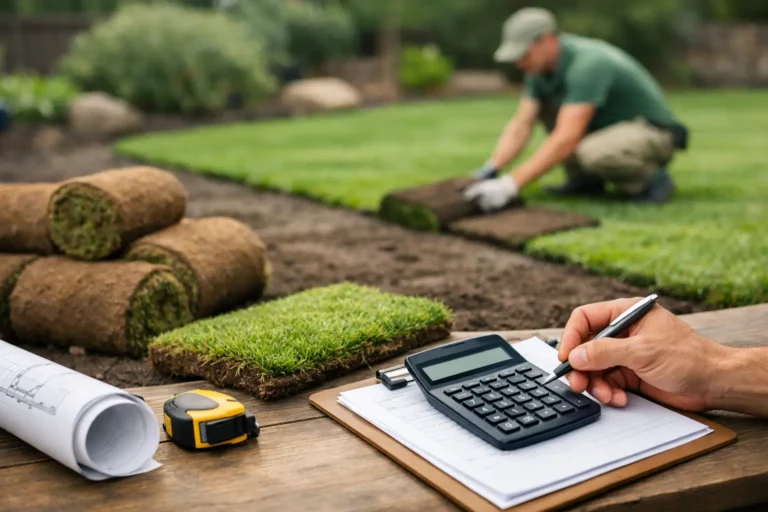
The best lawn replacement projects begin with an honest look at what failed and why. Measure the area, identify drainage concerns, check access for equipment and materials, and decide whether garden edges, trees, fences, or hardscaping need protection. Clear scope means clearer pricing and fewer surprises once work begins.
A dedicated sod specialist can tell you whether a targeted repair will do the job or whether a full reset is the better investment. Right On Sod approaches the work from the ground up because that is where a lawn succeeds or fails.
If your yard has reached the point where patching feels like a hobby you never asked for, a full tear out can be the clean break it needs. Get the grading and soil right first, then let fresh sod do what it does best: make the property look finished again.