
A yard can look perfectly flat and still hide a clay-soil problem: water sits after rain, footprints leave dents, and grass struggles to establish deep roots. So, can sod grow on clay soil? Absolutely. But rolling fresh sod over hard, compacted clay and hoping for the best is a fast route to thin turf, soggy patches, and frustration.
Clay soil is common in many Waterloo Region yards, especially around newer construction where topsoil has been scraped, moved, or compacted by equipment. The good news is that sod gives you a strong head start. The key is preparing the ground so the sod roots into the soil below it instead of sitting on top like expensive green carpet.
Can Sod Grow on Clay Soil Successfully?
Yes, sod can grow very well on clay soil when the soil is properly graded, loosened, and amended before installation. Clay holds nutrients well, which is a real advantage once your lawn is established. Its problem is not that it is “bad” soil. The problem is its structure.
Clay particles are tiny and pack tightly together. When the soil is wet, it can stay saturated for too long. When it dries, it can become hard enough to make root growth difficult. A sod lawn needs air, moisture, and contact with loose soil to establish. If any of those are missing, rooting slows down.
That is why prep matters more than the sod itself. Premium, farm-fresh sod is only as good as the surface it is installed on. A healthy lawn starts below the grass blades.
Why Clay Soil Causes Trouble for New Sod
The biggest issue with clay is compaction. Foot traffic, construction equipment, and years of weather can press clay into a dense layer that water and roots struggle to move through. If water cannot drain through the profile, it pools near the surface. That can leave new sod overly wet, weakly rooted, and vulnerable to disease.
Poor grading makes the problem worse. A low spot next to the house, a flat backyard with no outlet, or a hardpan layer below the surface can turn a simple sod job into a drainage issue. More watering will not fix it. In fact, overwatering clay soil is one of the quickest ways to create muddy seams and shallow roots.
Clay can also be uneven from one section of the yard to another. One area may drain reasonably well while another stays soft for days after a storm. That is why a proper assessment beats a one-size-fits-all soil recipe.
The Right Way to Prepare Clay Soil for Sod
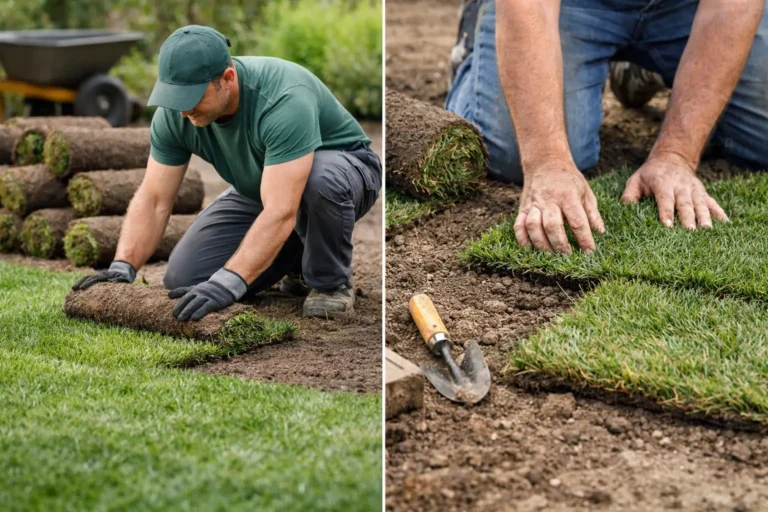
A successful installation starts with removing what is in the way. That may mean tearing out old turf, weeds, construction debris, loose stones, or leftover roots. For lawn replacements, simply laying sod over tired grass rarely produces the clean, long-lasting result homeowners expect.
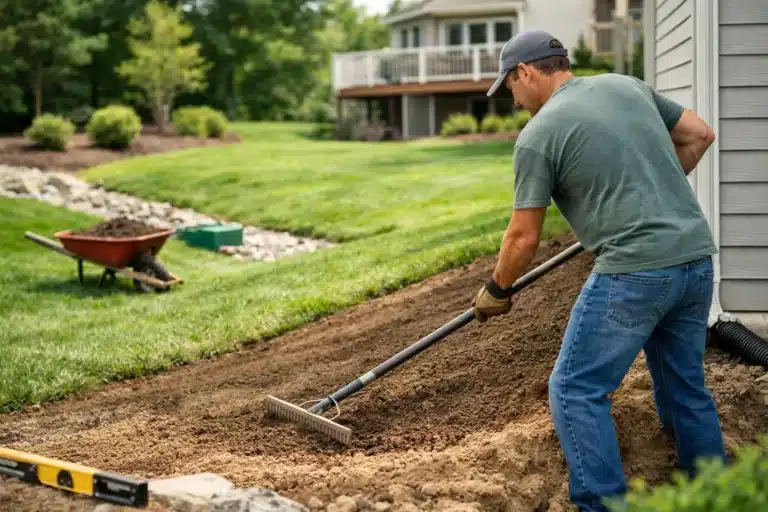
Next comes grading. The finished surface should direct water away from the home and avoid pockets where it can collect. This does not mean every lawn needs a dramatic slope. It means water needs a practical path to move. Good grading protects both your lawn and your property.
Once the shape is right, the clay needs to be loosened. Tilling or cultivating the upper soil layer helps break compaction and creates a better rooting zone. The depth depends on site conditions, but the goal is consistent: do not leave the sod sitting on a smooth, hard clay base.
Quality screened topsoil is then worked into the prepared area or added as a suitable top layer, depending on the project. Organic matter can improve structure over time, helping clay hold moisture without staying waterlogged. The goal is balance. You want soil that holds enough water for roots but releases excess water after rain.
One important warning: do not try to fix clay by dumping a thin layer of sand on top. Sand and clay can create a dense, cement-like mix when handled poorly. Soil improvement needs the right materials and proper blending, not a shortcut from the driveway.
Grading Comes Before Green Grass
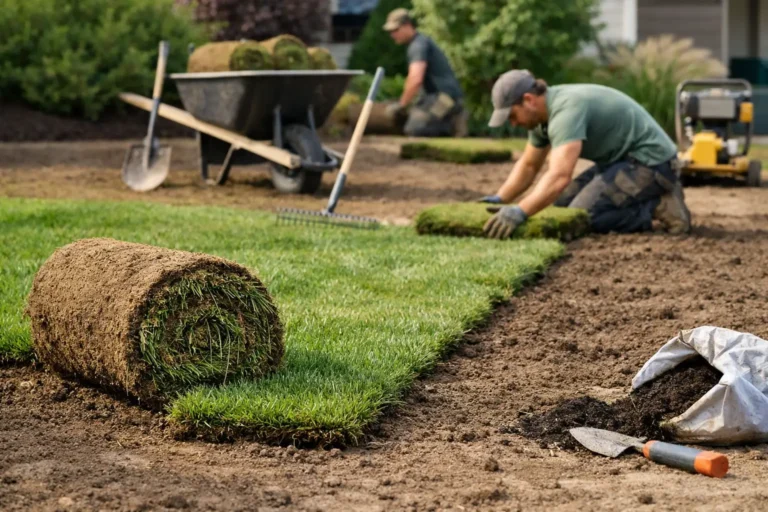
This is where professional sod installation earns its keep. If the base is uneven, the sod will follow it. If water drains toward the foundation, fresh sod will not magically redirect it. If the yard has significant runoff, downspout discharge, or standing-water issues, those should be addressed before the sod goes down.
At Right On Sod, the approach is simple: solve the ground problem first, then install the lawn. It saves homeowners from paying twice for a lawn that looked great on day one but failed after the first heavy rain.
Best Sod Choices for Clay Soil
Most quality cool-season sod can perform on clay soil when preparation and watering are handled correctly. In this region, Kentucky bluegrass blends are popular because they create a dense, attractive lawn and can recover well from normal wear. They also benefit from clay’s natural nutrient-holding ability once roots are established.
The best choice still depends on sun exposure, traffic, maintenance expectations, and drainage. A shaded side yard has different needs than a sunny front lawn. A backyard used by kids and dogs needs a tougher plan than a low-traffic ornamental area.
Do not chase a grass type as a cure for poor soil preparation. Even excellent sod needs oxygen around its roots and a reasonably level, well-prepared surface. The groundwork does the heavy lifting.
Watering New Sod on Clay Soil
New sod must be watered immediately after installation, but clay calls for a careful hand. The goal is to keep the sod and its rooting zone consistently moist without turning the yard into a sponge.
For the first couple of weeks, check beneath a corner of the sod. The underside should feel damp, and the soil below should be moist but not soupy. If the lawn is squishing underfoot or water is running off the surface, reduce the length of each watering cycle. You may need shorter, more frequent cycles rather than one long soaking, especially if the clay is slow to absorb water.
As the sod begins to root, gradually water less often and more deeply. This encourages roots to grow down instead of staying near the surface. Tug gently on a corner after about 10 to 14 days. Resistance is a good sign that rooting is underway.
Rain does not always replace watering. A quick summer shower may wet the grass blades without soaking through the sod and into the root zone. Check the soil instead of guessing.
What to Expect After Installation
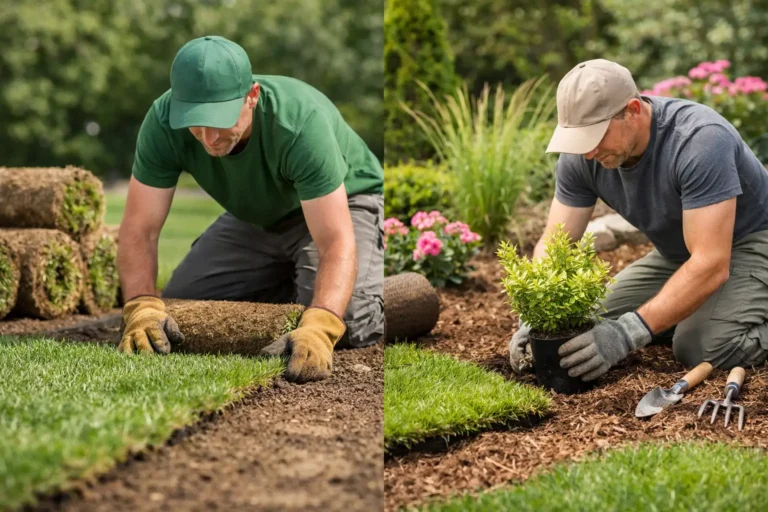
A properly prepared sod lawn looks finished right away, but it is still establishing. Avoid heavy foot traffic during the first few weeks, keep mowing gentle, and do not cut off more than one-third of the grass height at a time. Use a sharp mower blade so you are cutting grass, not yanking on young roots.
Some seams may remain visible initially, particularly in dry or hot conditions. With proper watering and rooting, they should become far less noticeable. A few areas may also need minor attention if hidden drainage issues or uneven soil conditions appear after installation. That is normal site-specific work, not a reason to panic.
Long term, clay lawns benefit from routine core aeration. Aeration removes small plugs of soil, improves airflow, and helps water move into the root zone. Pair it with sensible fertilization and correct mowing height, and clay can support a thick, durable lawn for years.
When Clay Soil Needs More Than Basic Prep
Some yards need more than cultivation and topsoil. If water remains standing for more than a day after normal rainfall, if the grade directs water toward the home, or if the yard has severe compaction from construction, it may need drainage work or more extensive regrading before sod installation.
This is especially common on new builds. The lot may have been graded for construction, not for a healthy finished lawn. A fast visual upgrade is great, but it should not come at the expense of proper drainage and root development.
A clay yard is not a lost cause. It just refuses to reward shortcuts. Prepare the base well, install quality sod, and water with intention, and you can have the thick, finished lawn you wanted without waiting through a season of seed drama.