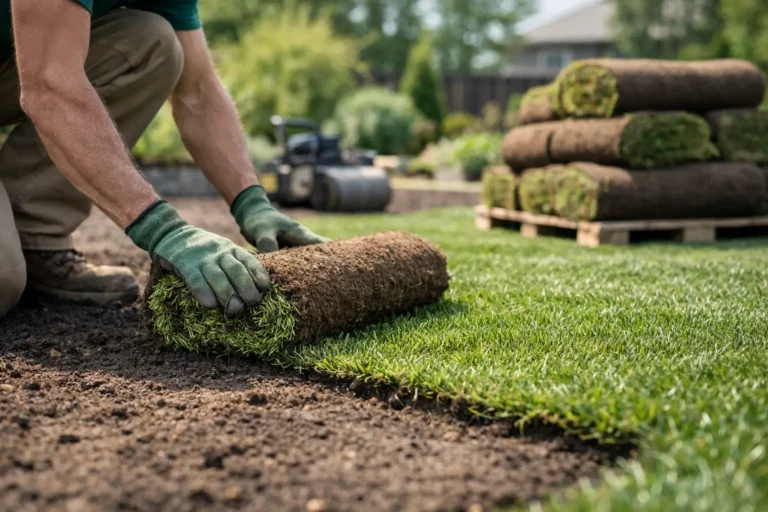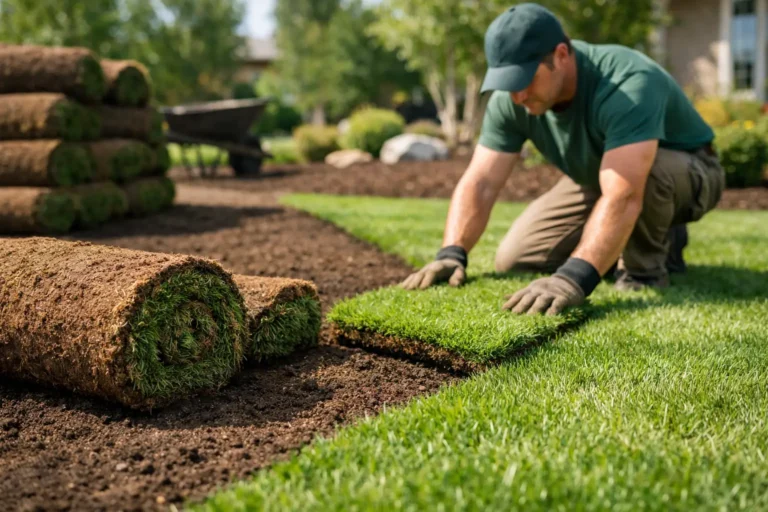

A fresh sod lawn can make a property look finished in a single day. But sod is not green carpet you roll out and forget. This spring sod installation checklist covers the work that happens before, during, and after installation so your new lawn roots quickly instead of Laying sod in spring gives you the longest establishment window of the year, provided the ground is dry enough to work.
Spring is a smart time to install sod because cool temperatures reduce stress and regular rain can help. It is also a messy season in Kitchener, Waterloo, and Cambridge. Frost is leaving the ground, low spots stay wet, and construction-grade soil often needs more help than it first appears. Get the foundation right and your lawn has a real chance to look good well beyond the first photo.
Start With the Right Spring Timing
Do not schedule sod based on the calendar alone. Schedule it when the ground is thawed, workable, and no longer saturated. A little moisture is good. Soil that squishes underfoot or sticks to every boot is not ready for grading or installation.
Cool-season sod can handle chilly spring weather, but a hard freeze immediately after installation can slow rooting. The bigger concern is a heavy rain event on freshly prepared soil. It can create ruts, wash soil into low areas, and leave sod sitting in puddles.
If your yard has standing water several days after rain, solve that problem before sod arrives. Sod will not fix drainage. It will simply turn a drainage issue into an expensive green drainage issue.
Spring Sod Installation Checklist: Before Delivery
The prep work determines whether sod establishes evenly. Use this checklist before the truck pulls up:
- Remove old grass, weeds, roots, stones, construction debris, and compacted soil that will interfere with root growth.
- Grade the yard so water moves away from the house, garage, walkways, and other structures without creating a swampy corner for a neighbor.
- Loosen compacted ground and add quality screened topsoil where needed. New-build lots commonly need more than a thin cosmetic layer.
- Rake the surface smooth, firm it lightly, and fill footprints or soft pockets before laying begins.
- Confirm sprinklers, landscape lighting, edging, drainage work, and buried utility projects are completed first.
- Measure the area accurately and arrange delivery for the same day the sod will be installed.
A proper final grade is smooth but not fluffy. If the soil is too loose, it settles after watering and leaves dips that scalp when you mow. If it is packed like a parking lot, roots struggle to move down into it. The target is firm, level soil with enough looseness at the surface for roots to make contact and grow.
Check the Grade From the House Out
Most lawn problems are easier to prevent than repair. A yard should generally slope away from the home, with enough pitch to move surface water without making mowing awkward. This matters even more around new homes, where backfill settles over time.
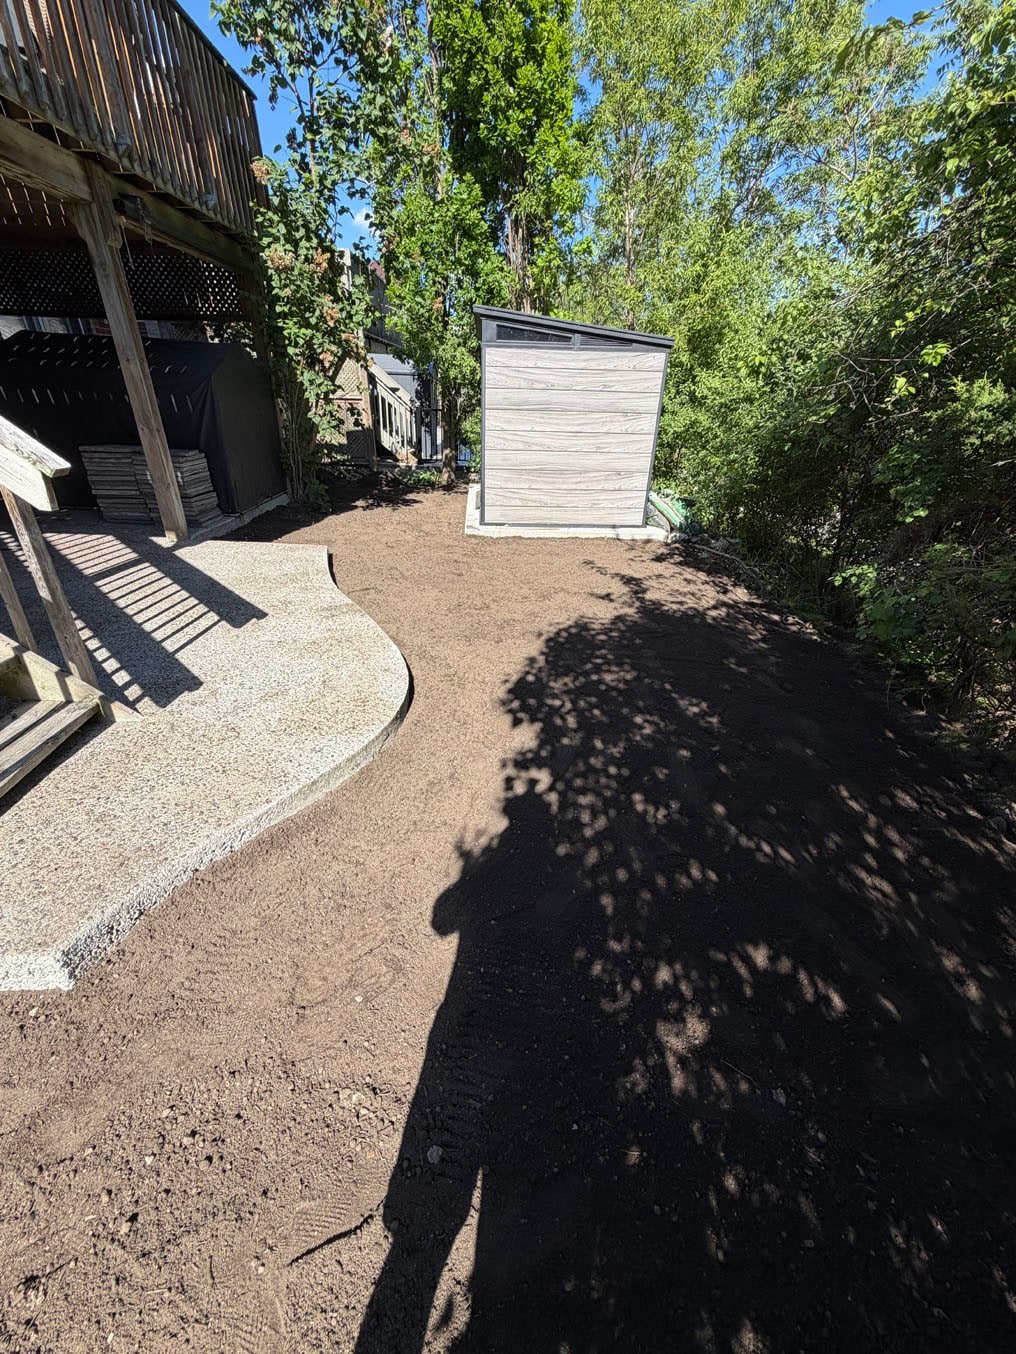
Walk the property after a rain. Look for water against the foundation, puddles beside patios, and areas where downspouts dump directly onto the future lawn. Address these before installation. Adding a few rolls of sod over a wet low spot may hide the issue for a week. It will not make it disappear.
Do Not Skimp on Soil
Sod arrives with a small layer of soil attached to its roots. That does not mean it can thrive on hard clay, fill dirt, or compacted subsoil underneath. New roots need oxygen, moisture, and a workable soil profile.
The right amount of topsoil depends on what is already in the yard. Some properties need a light amendment and careful raking. Others, especially after construction or a full tear-out, need a deeper layer of screened soil and professional grading. The cheapest prep option can become the expensive option when sections fail and have to be replaced.
Installation Day: Keep Sod Fresh and Tight
Farm-fresh sod is perishable. Once it is cut and stacked, it should be installed promptly. Do not leave pallets baking in the sun for a weekend because the weather looked questionable. Coordinate delivery with a realistic install plan.
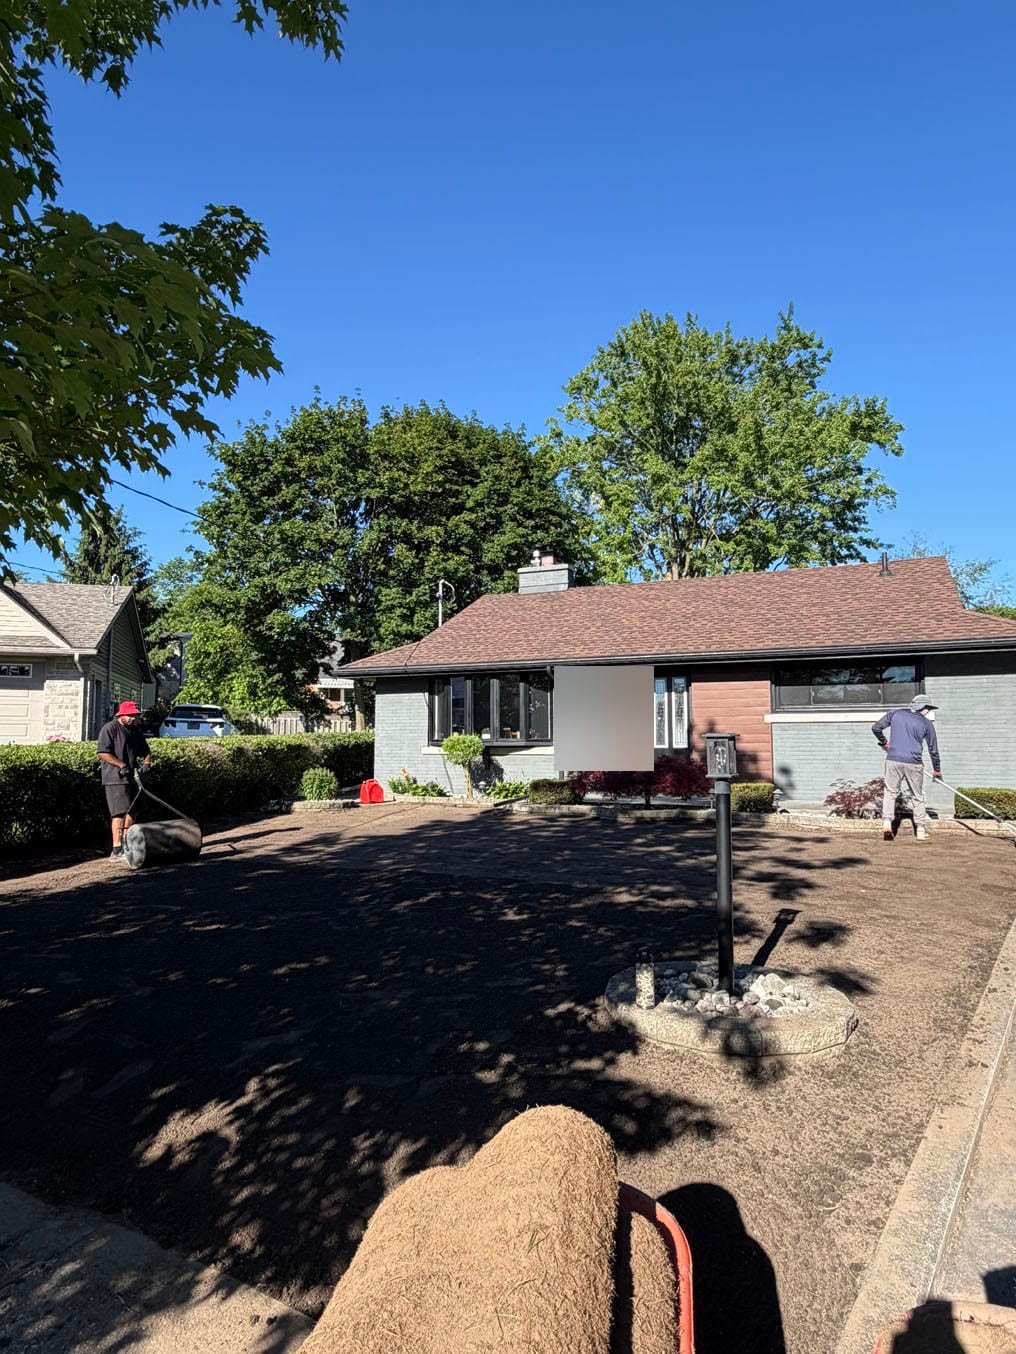
Start along a straight edge, such as a driveway or patio, and work outward. Lay each piece tightly against the next one without stretching it. Stagger the seams like brickwork so you do not create long, weak lines across the lawn.
Avoid small slivers wherever possible. They dry out quickly and tend to pull back from neighboring pieces. Cut clean edges around beds, trees, and hardscapes, then press every piece into the soil beneath it. Sod needs full contact with the prepared surface. Air gaps are where trouble starts.
Once the lawn is down, use a lawn roller only if the soil and sod need help making contact. A light pass can settle seams. Over-rolling wet soil, however, can cause compaction. This is one of those jobs where more muscle is not automatically better.
Water Immediately, Then Water With Purpose
The first watering should happen as sod is installed, not after the entire project is finished. The goal is to wet the sod and the soil underneath it. Lift a corner after watering. If the ground below is dry, you have not watered deeply enough.
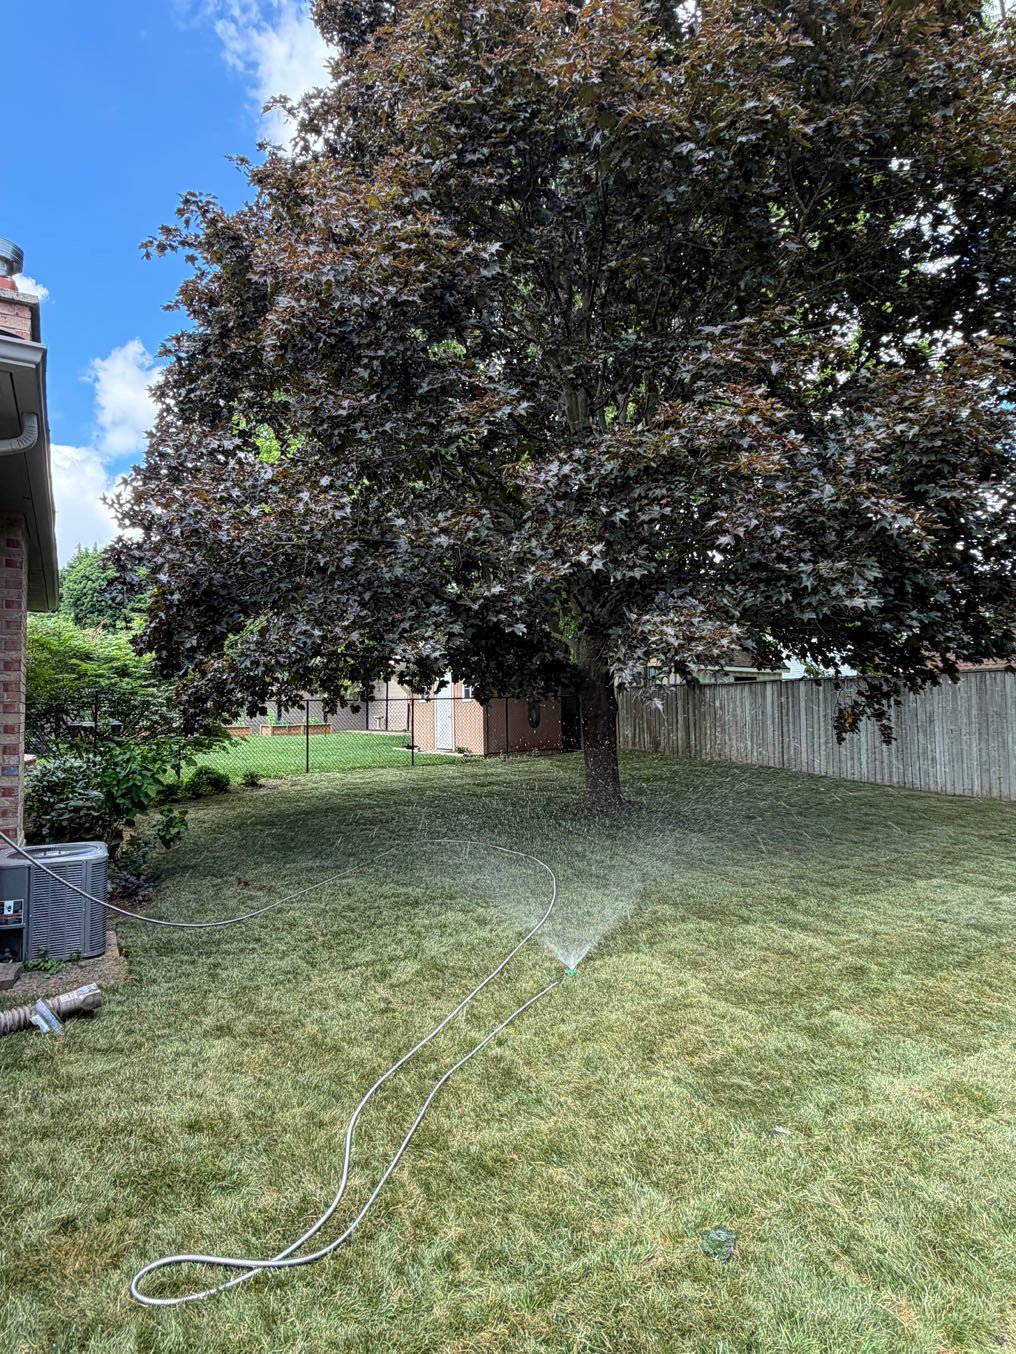
For the first week or two, keep the root zone consistently moist. That often means watering once or twice daily during warm, breezy conditions, while cool or rainy weather may require far less. A fixed schedule is less useful than checking the lawn itself.
Watch the edges, slopes, areas beside concrete, and strips near walls. Those locations dry faster. At the same time, do not keep the lawn flooded. Constantly soggy ground limits oxygen around the new roots and can create soft spots.
As rooting begins, transition to fewer, deeper watering sessions. You should be encouraging roots to travel down into the prepared soil, not teaching them to wait at the surface for another quick sprinkle. After roughly two weeks, gently tug a corner. Resistance is a good sign that rooting has started.
Protect the Lawn During Its First Month
New sod needs a little peace and quiet. Keep kids, dogs, furniture, and heavy foot traffic off it as much as possible until it has rooted. A few footprints will not ruin a lawn, but repeated traffic can separate seams and compact wet soil.
Mow when the grass is established enough that it does not lift when you walk or turn. Keep the mower blade sharp and set high for the first cuts. Never remove more than one-third of the grass blade at once. Cutting too short adds stress at exactly the moment the lawn is trying to build roots.
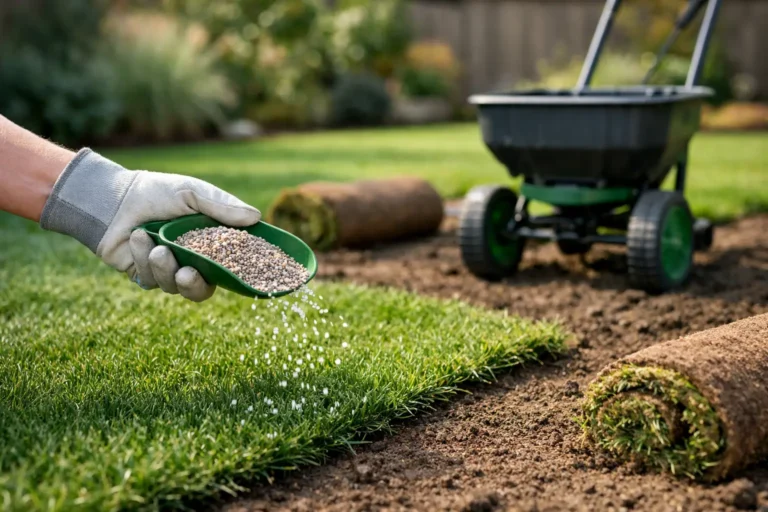
Fertilizer can help, but timing and product choice matter. A starter fertilizer may be appropriate during installation depending on the soil condition and sod plan. Do not assume more fertilizer means faster success. Too much can burn tender grass, especially when watering is inconsistent.
Hold off on aggressive weed control, heavy raking, aeration, and most lawn treatments until the sod is firmly rooted. If grubs have damaged the previous lawn, deal with the underlying pest issue as part of the plan. New sod installed over an active grub problem is not a long-term fix.
Know When Professional Prep Is Worth It
A small, flat yard with decent soil can be a reasonable DIY project. The trade-off is that you are responsible for the grading, soil volume, delivery timing, cutting, watering, and cleanup. If one step goes sideways, the lawn tells the story.
Professional installation makes the most sense when the existing lawn has failed, the grade is uneven, drainage is questionable, access is tight, or the property is a new build. Those are not just sod-laying jobs. They are site-preparation jobs, and preparation is where a dedicated sod crew earns its keep.
Right On Sod helps homeowners and property managers turn rough, patchy, or bare yards into finished lawns without guessing at soil prep or spring timing. A clear estimate should account for the work below the sod, not just the green surface everyone sees.
A new lawn should feel like a relief, not another weekend project that needs rescuing. Give the soil the attention it deserves, water based on conditions instead of habit, and let the roots settle in before expecting the lawn to handle summer traffic.