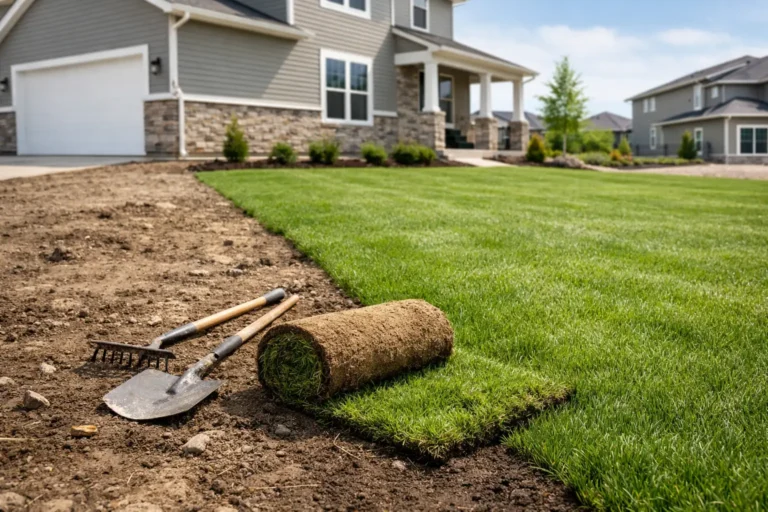

Fresh sod should look like a finished lawn, with the seams barely showing. When spaces open between rolls, sod seam repair is the right move – and the sooner it happens, the better. Small gaps can dry out at the edges, invite weeds, and keep neighboring pieces of turf from knitting into one healthy lawn.
A seam does not always mean an installation has failed. Sod naturally shrinks a little when it loses moisture, settles into soft soil, or goes through a hot stretch before its roots establish. The real question is whether the seam is minor and closing on its own, or becoming a bigger lawn problem.
What Causes Sod Seams to Open?
Most visible seams come down to moisture, fit, soil contact, or movement under the turf. Fresh-cut sod is a living product. It needs consistent water and firm contact with properly prepared soil to root quickly. Give it dry edges, lumpy ground, or poor preparation, and those tight joints can start to separate.
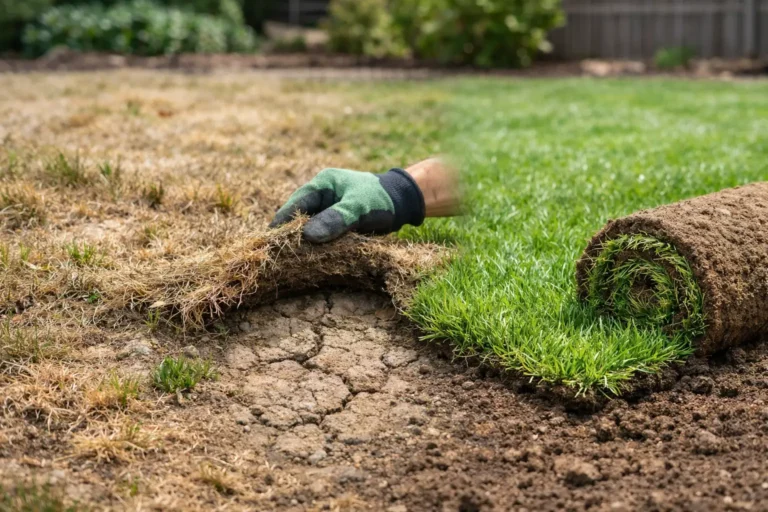
The most common cause is uneven watering during the first two weeks. Sod rolls dry from the edges first, especially in sunny areas along driveways, patios, curbs, and south-facing exposures. As the turf dries, it contracts slightly and reveals the joint between pieces.
Poor soil contact is another usual suspect. If the surface beneath the sod is bumpy, loose, or full of air pockets, the roll may bridge over low spots instead of settling into them. Foot traffic, pets, and mowing too early can then shift the pieces before roots have a chance to hold them in place.
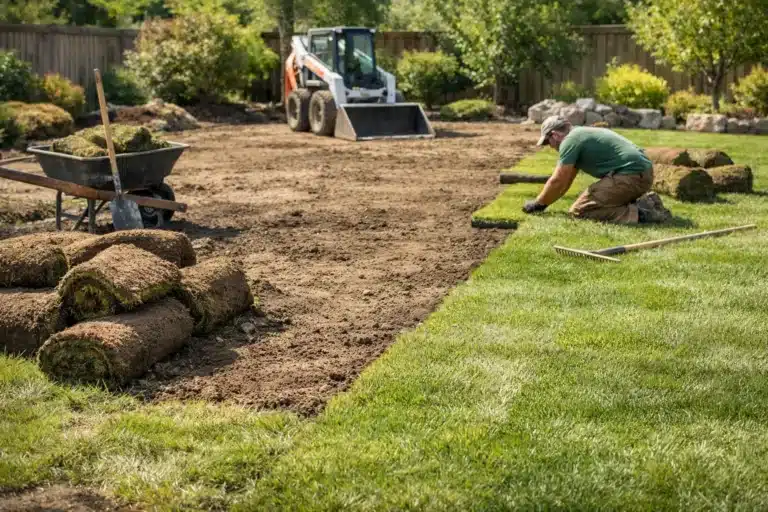
Installation technique matters too. Rolls should be installed snugly together, like bricks, without stretching or overlapping the edges. A tiny visible line is normal right after installation. A wide gap that gets bigger is not.
When a Sod Seam Needs Repair
A narrow seam can be harmless if the sod is moist, firmly rooted, and the gap is gradually disappearing. Check it after watering rather than during the hottest part of the day, when blades may pull back slightly from heat stress.
As a general guideline, repair is usually needed for gaps that are noticeably wider than a quarter inch, when exposed soil is visible, or when the edges feel dry and brittle. You should also act if the pieces can be lifted easily after the first week or two. That points to weak rooting, poor contact, or insufficient moisture.
Do not ignore seams that appear in low spots or areas that stay soggy. In that case, the seam may be a symptom of a grading or drainage issue rather than a simple gap. Tossing soil into the opening might hide it for a week, but it will not fix water pooling under the lawn. That is how a small repair turns into recurring lawn drainage issues.
Signs the Problem Is More Than Cosmetic
Look past the line itself. Yellowing edges, curling blades, soft soil beneath the sod, footprints that leave deep impressions, or water that sits after rain all deserve attention. So do seams that show up across a large section of the lawn instead of in one isolated spot.
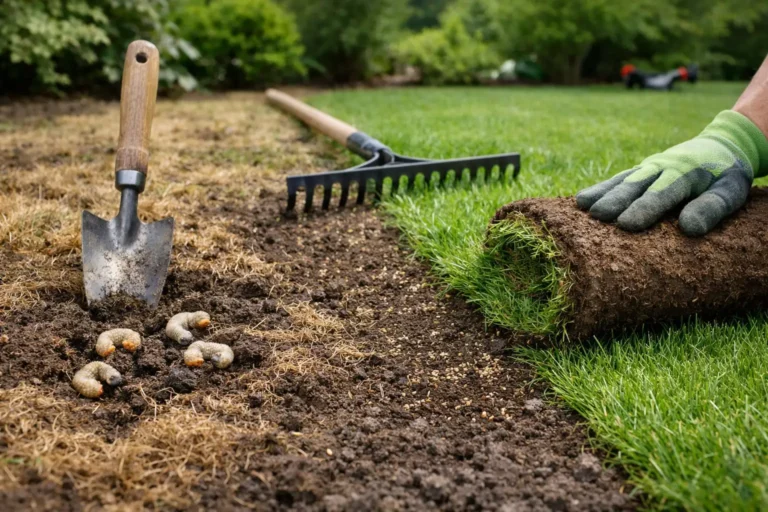
If grubs have damaged the root zone, the sod may also loosen and pull apart. The turf can look fine from a distance while the roots underneath have been chewed away. Lift a corner gently. Healthy new sod should start resisting within 10 to 14 days in good growing weather. If it lifts like a loose rug, there is more work to do.
How to Handle Minor Sod Seam Repair
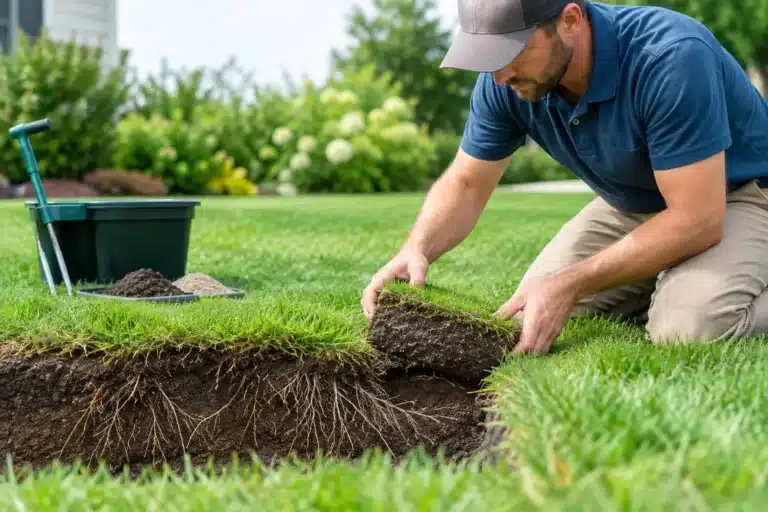
For a small, fresh seam with otherwise healthy turf, start with water and contact. Thoroughly water the area so the sod and the soil below are evenly moist, not muddy. Then press the edges gently toward each other with your hands or feet. A lawn roller can help on a larger area, but only use one on moist ground and never on saturated soil.
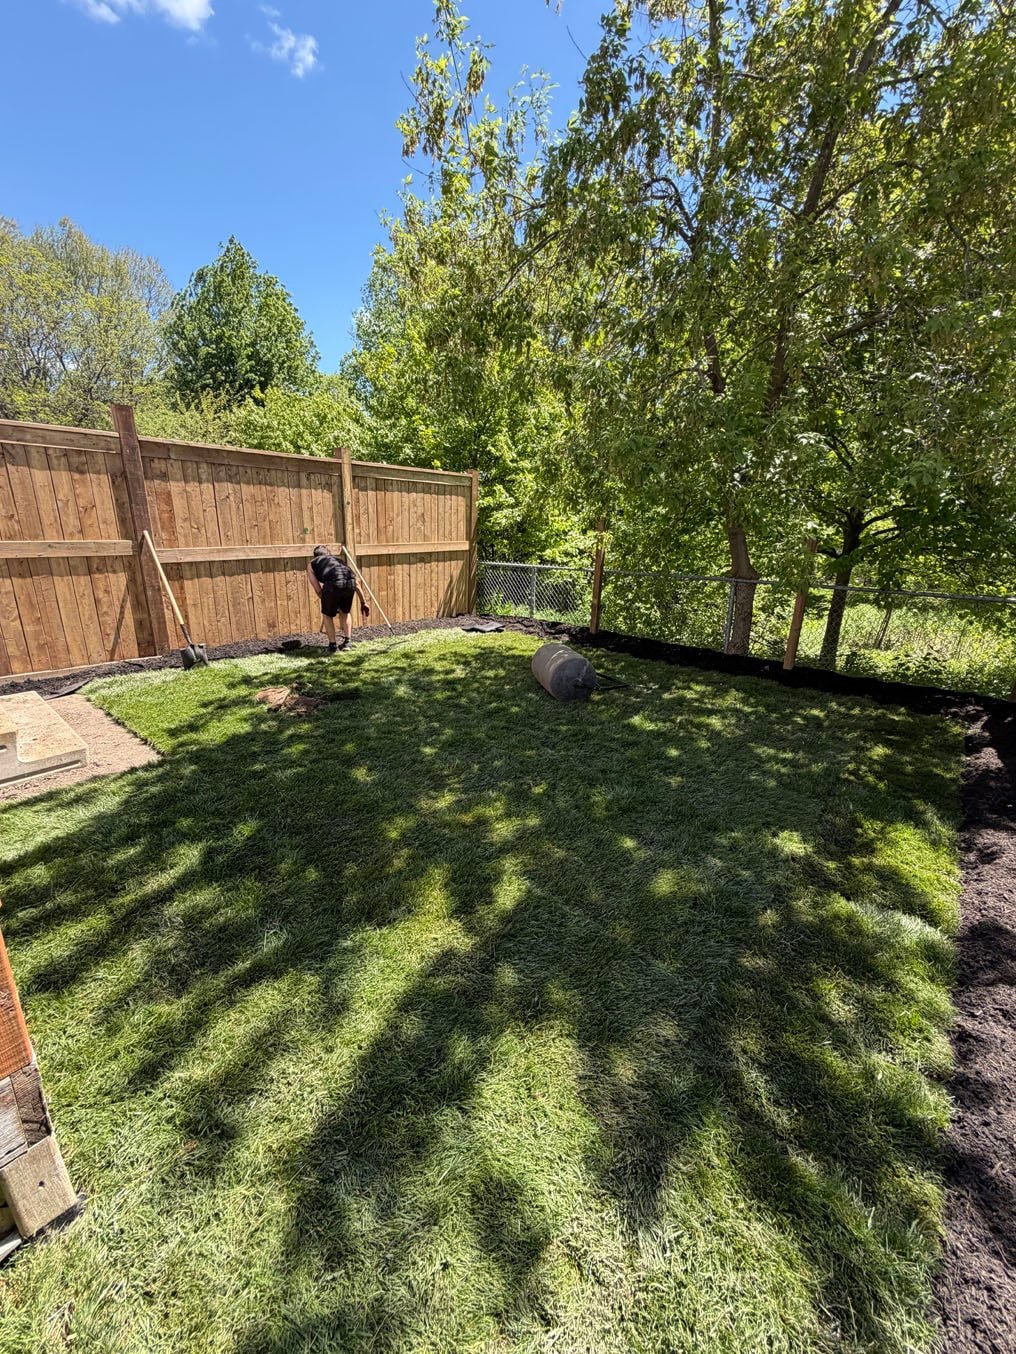
If there is a shallow gap, add a light dusting of screened topsoil to the exposed area. Brush it down so it supports the turf edges without burying the grass blades. The goal is to eliminate air space and keep the root zone moist, not to create a raised strip through the lawn.
Keep watering consistently for the next several days. New sod usually needs frequent watering during establishment, but the schedule depends on heat, shade, soil type, rainfall, and drainage. Sandy soil dries faster. Heavy clay can hold water longer and become compacted if overwatered, so adjust the schedule to the soil you have.
Hold off on mowing until the sod has rooted well enough to resist a gentle lift. When it is ready, use a sharp blade and avoid cutting more than one-third of the grass height. A heavy mower or a sharp turn over weak seams can pull the repair apart before it gets established.
When Filling the Gap Is Not Enough
Topsoil will not fix every seam. If two rolls have shrunk away from each other by an inch or more, pushing them together may create bunching elsewhere or expose another gap. If the sod is dried out, dead along the edges, or badly torn, replacing that section is usually the cleaner fix.
A proper patch starts with a piece of matching sod cut to fit the opening. The soil beneath should be loosened and leveled first, then lightly moistened. Set the patch flush with the surrounding lawn, press it firmly into place, and water it deeply. Avoid leaving a high patch, because mowing will scalp it and make the repair stand out.
The patch should be the same grass as the lawn around it. A patch cut from leftover sod is ideal if it has been kept alive and is still in usable condition. Right On Sod lays only 100% Kentucky bluegrass, so that is the sod we patch with, and we can check whether the issue is isolated or tied to the entire installation.
The Soil Prep Factor Nobody Sees
A good lawn is built from the ground up. Sod can only root into what is underneath it, and poorly prepared soil creates problems long after the crew packs up.
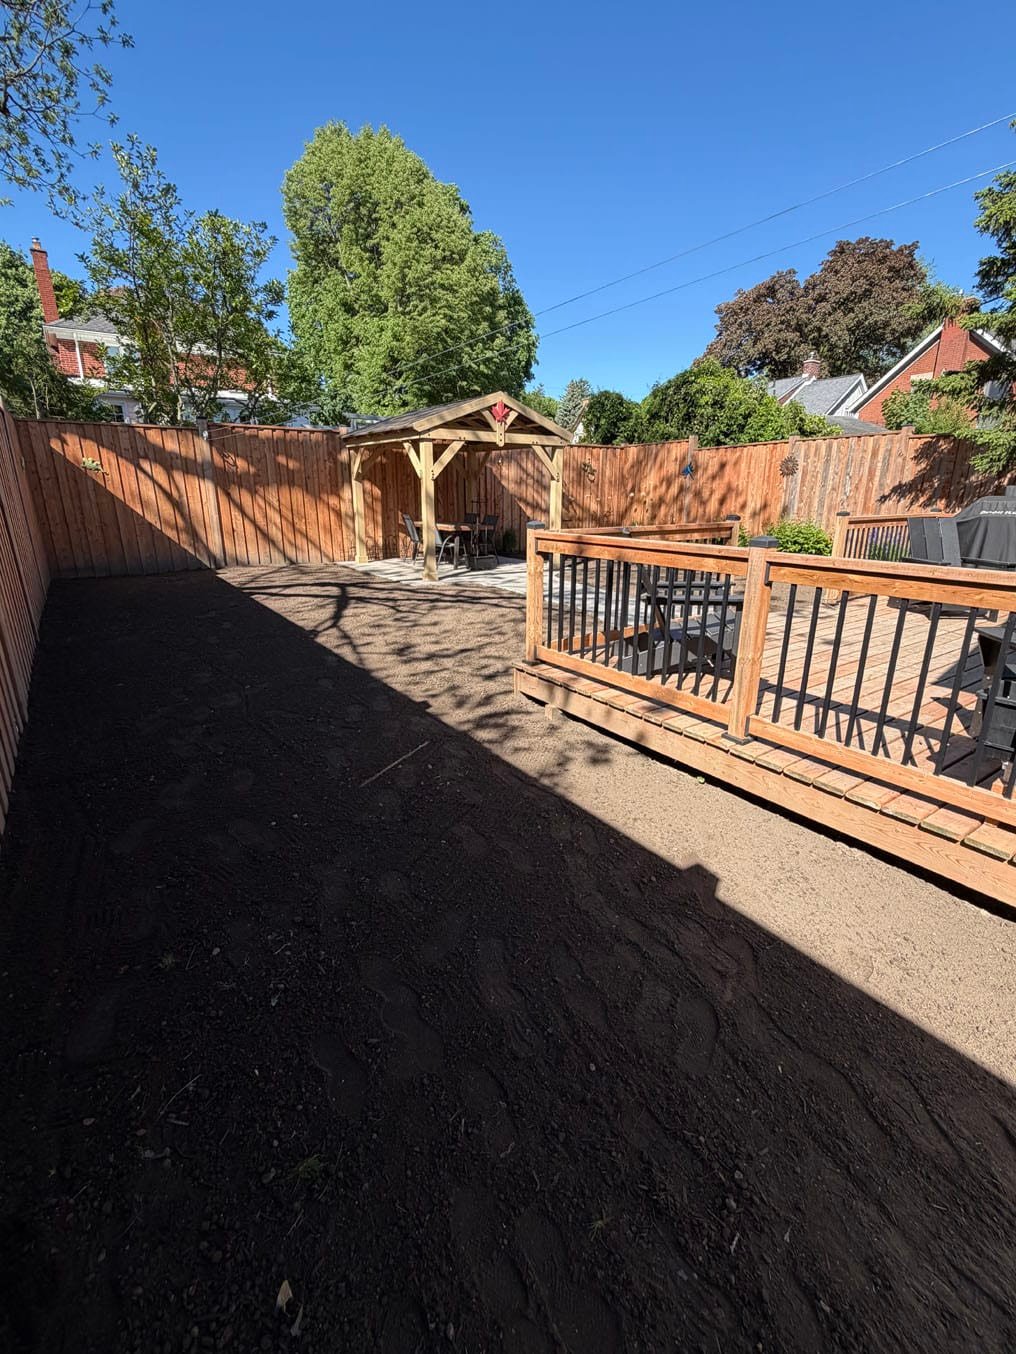
Compacted subsoil, construction debris, thin topsoil, and improper slope all make establishment harder. In the Waterloo Region, many properties also deal with heavy soils that can hold water near the surface. That makes leveling, drainage planning, and the right soil depth especially important before sod ever hits the ground.
If seams keep reopening, do not keep treating the surface without checking the base. The turf may be settling into low spots, sitting on compacted ground, or drying out because the soil profile cannot hold moisture evenly. A dedicated sod contractor can diagnose that quickly and recommend whether the solution is spot repair, regrading, or replacement of a failed section.
Preventing Seams on Newly Installed Sod
The first two weeks are where most seam problems are won or lost. Keep the lawn evenly moist, limit traffic, and inspect the edges every day or two. Pay extra attention to areas beside concrete, where reflected heat can dry out new turf faster than the middle of the lawn.
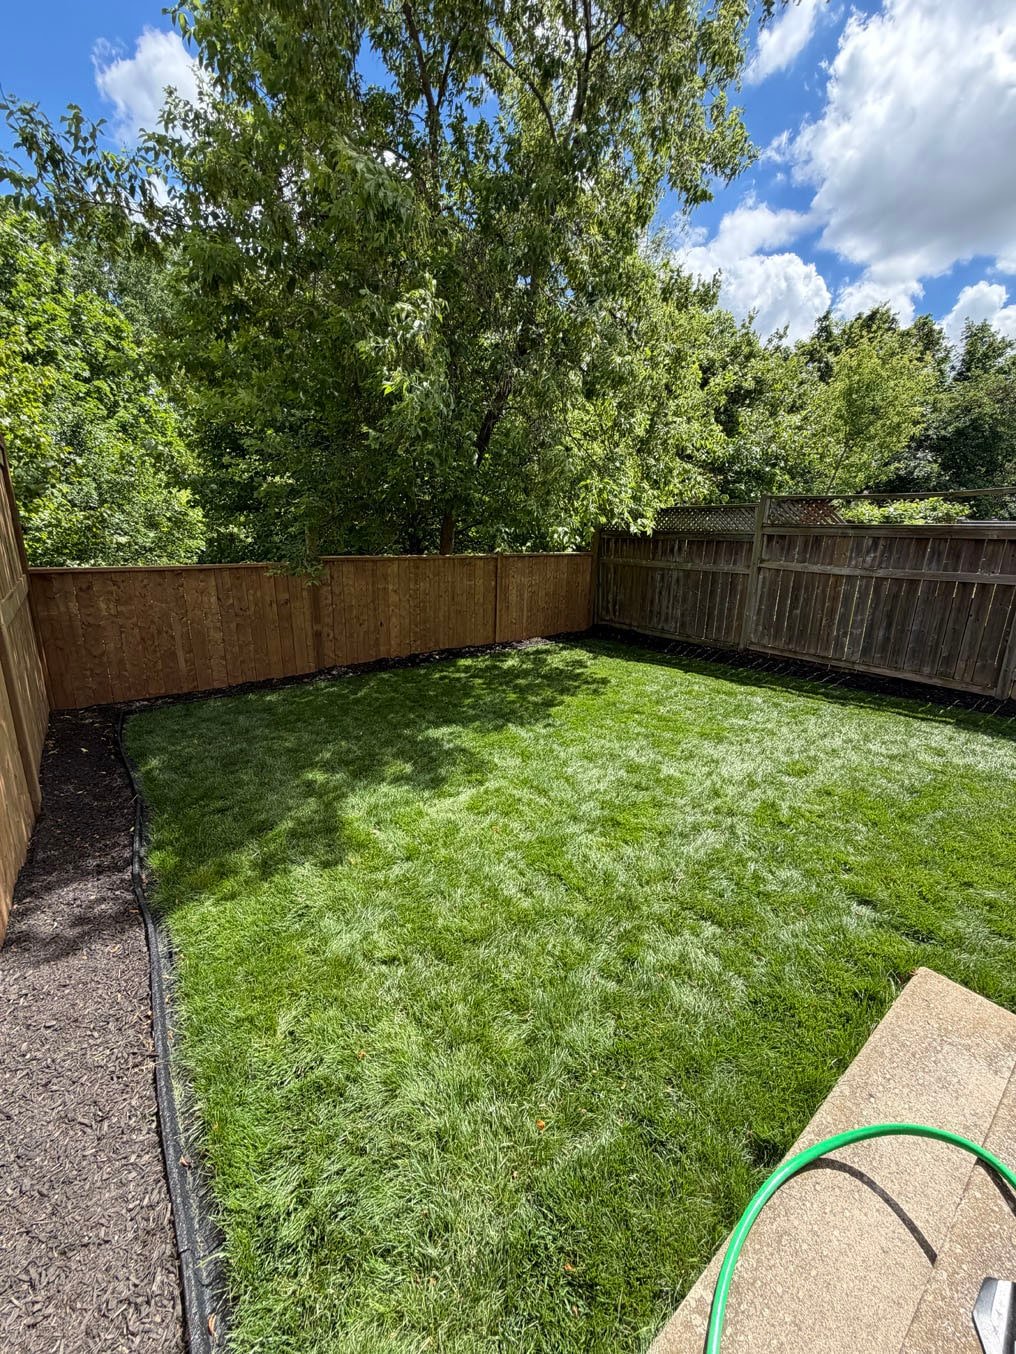
Do not let sprinklers fool you. A lawn can look wet on top while the soil below remains dry. Lift a corner in an inconspicuous spot and check the soil beneath. It should be damp a few inches down during the rooting period. If water is pooling or the soil feels slimy, reduce the duration and adjust the schedule rather than adding more water.
It also helps to deal with small gaps before weeds find them. Weed seeds love bare soil, and a thin green line can become a stubborn weed strip surprisingly fast. Early attention is cheaper, cleaner, and far less annoying than trying to repair a seam after it has turned into a patchwork of crabgrass and compacted dirt.
A properly installed lawn should not need repeated seam repairs. If your seams are widening, your edges are drying out, or your new lawn is not rooting as it should, get the cause checked before the problem settles in. A little timely repair can keep a fresh lawn looking finished – which is the whole point of laying sod in the first place.