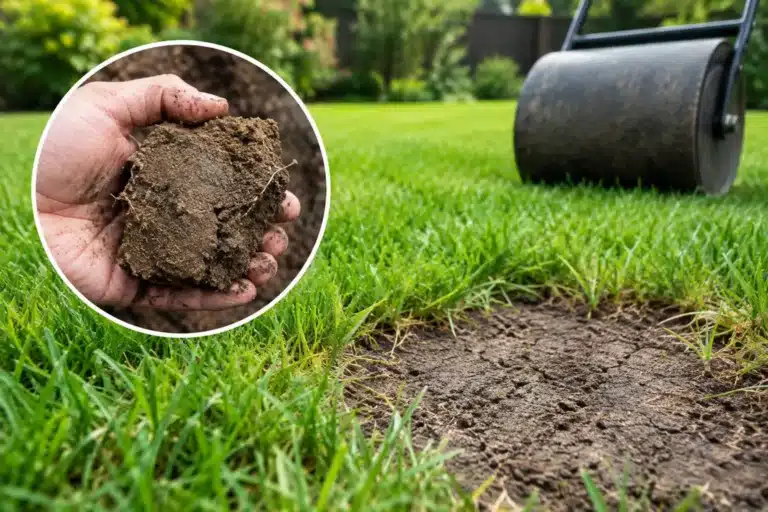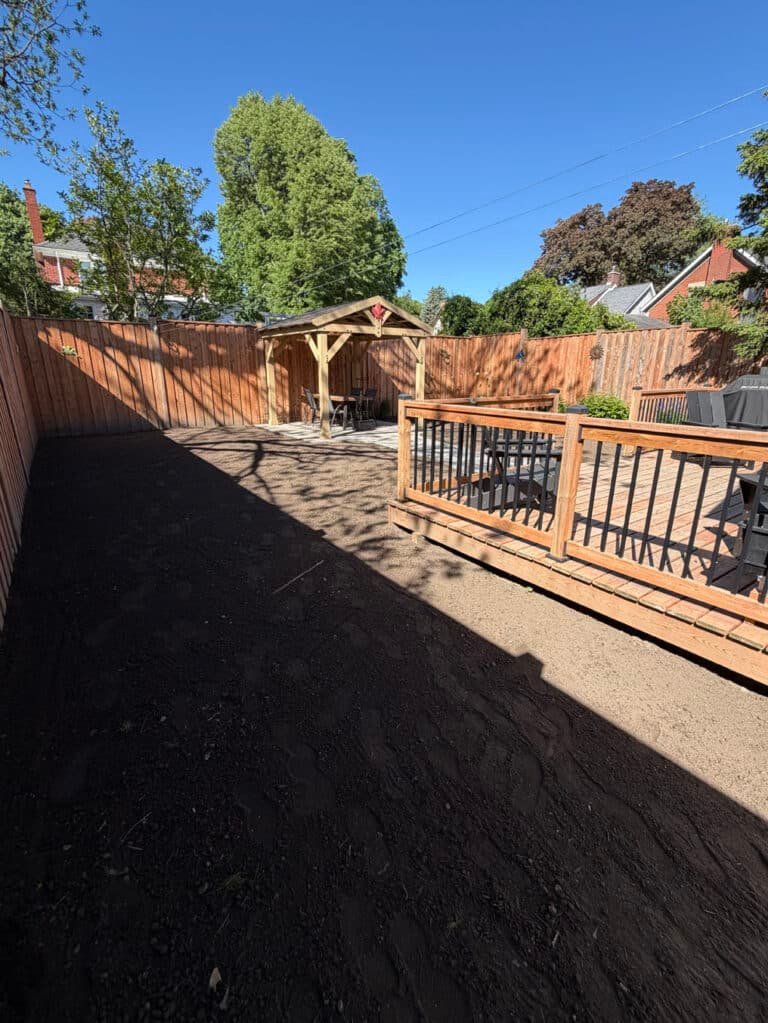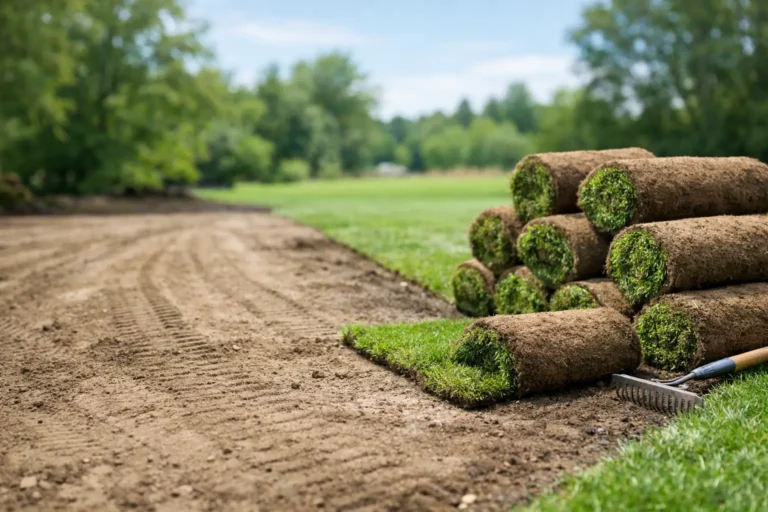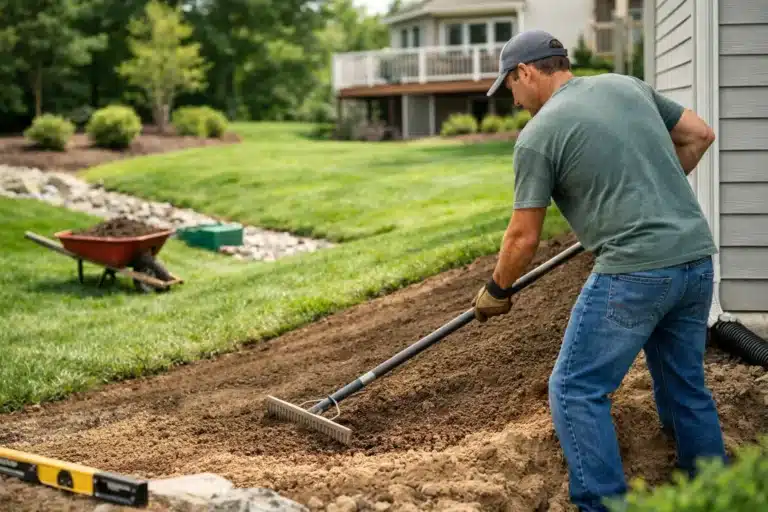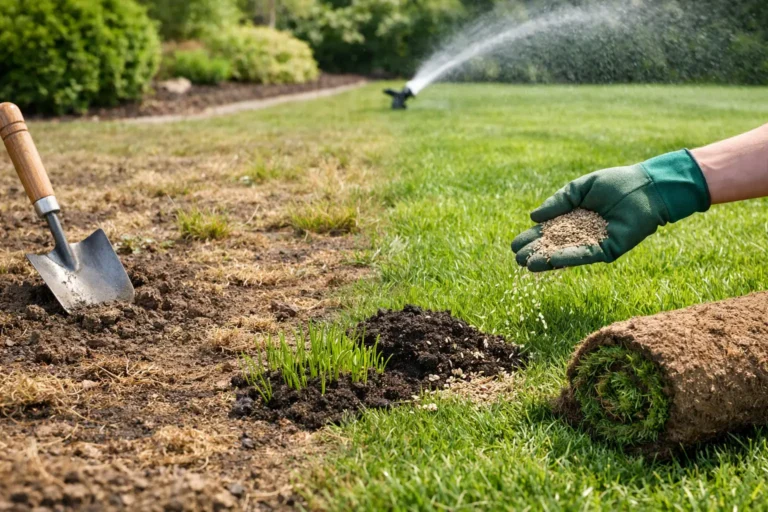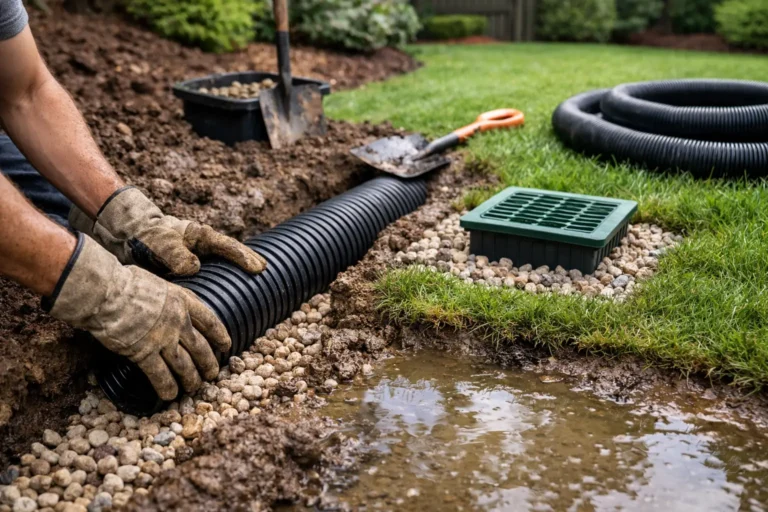

A beautiful new lawn can turn into a muddy mess fast when water has nowhere to go. Before ordering sod, taking 20 minutes to learn how to test lawn drainage can save you from soggy turf, weak rooting, standing water, and the frustrating feeling that your new lawn never had a fair shot.
Drainage is not just about whether a puddle disappears eventually. It is about how water moves through the soil, across the yard, and away from your home. In Kitchener, Waterloo, and Cambridge, heavy clay soil and spring thaw can make small grading issues very obvious. The good news: most trouble spots show themselves if you know where to look.
How to Test Lawn Drainage With a Simple Hole Test
The quickest at-home check is an infiltration test. It tells you how readily water can move down through the soil where your lawn will grow.
Choose a spot that represents the problem area. If one corner of the yard stays wet while the rest dries normally, test that corner, not the nicest patch of grass. Dig a hole roughly 12 inches wide and 12 inches deep. Remove loose soil from the bottom, then fill the hole with water and let it drain completely. This first fill wets the surrounding soil so the real test is more reliable.
Fill the hole again, this time measuring the water depth. Six inches is plenty. Check the depth after one hour and calculate how many inches of water have drained.
For a typical lawn, a drainage rate of around 1 to 3 inches per hour is generally workable. Less than 1 inch per hour suggests compacted soil, dense clay, or a drainage restriction below the surface. More than 3 inches per hour may sound great, but very fast drainage can also mean sandy soil that will struggle to hold moisture and nutrients once sod is installed.
One test hole does not tell the whole story. Run the test in several areas if the yard has different elevations, fill material from construction, or visibly different soil. A lawn can have decent drainage near the driveway and a swampy patch 20 feet away. Yards like to keep secrets.
Test After a Real Rainfall Too
A hole test measures downward drainage. A rainstorm shows surface drainage, which is just as important.
After a steady rain, walk the property and take notes. Look for standing water that remains longer than 24 hours, water flowing toward the foundation, soft footprints, runoff collecting along fences, or downspouts discharging directly onto the lawn. Pay close attention to low points, the bottom of slopes, and areas beside patios, walkways, and driveways.
A little temporary pooling during a hard storm is not automatically a disaster. If water clears within a few hours and the turf firms up, the lawn may be fine. Water that remains into the next day, especially during normal weather, deserves a closer look before sod goes down.
Check the Grade Before Blaming the Soil
Many drainage problems are not really soil problems. They are grading problems.
Water follows gravity. If the yard slopes toward the house, a drainage-friendly soil mix will not fix the basic issue. Similarly, a shallow depression in an otherwise well-graded lawn can collect enough water to damage sod roots and leave a brown, thin patch when summer heat arrives.
Start with a visual check. Stand at the edges of the lawn and look across it after rain. You are looking for flat bowls, abrupt dips, raised edges that trap water, and soil that sits too high against siding or hardscaping. A long straight board, string line, or laser level can help confirm what your eyes suspect.
The lawn should generally carry water away from the house. The exact grade depends on the property, retaining walls, lot lines, and existing drainage systems, but the goal is simple: no water should be encouraged to settle against the foundation. Do not add soil blindly to create slope, either. Raising a lawn too high against brick, siding, doors, or window wells can create a different and more expensive problem.
For new construction homes, inspect the whole route water takes from the back yard to the side yard and street. Builders often leave compacted subsoil, uneven fill, and low spots after equipment leaves. Fresh sod installed over that surface may look sharp on day one, but it cannot level a bad grade or repair compacted ground underneath.
Look for Compaction Below the Surface
A lawn can look dry on top and still have a hard layer below that blocks roots and water. This is common where construction equipment, repeated foot traffic, or heavy machinery has compressed the soil.
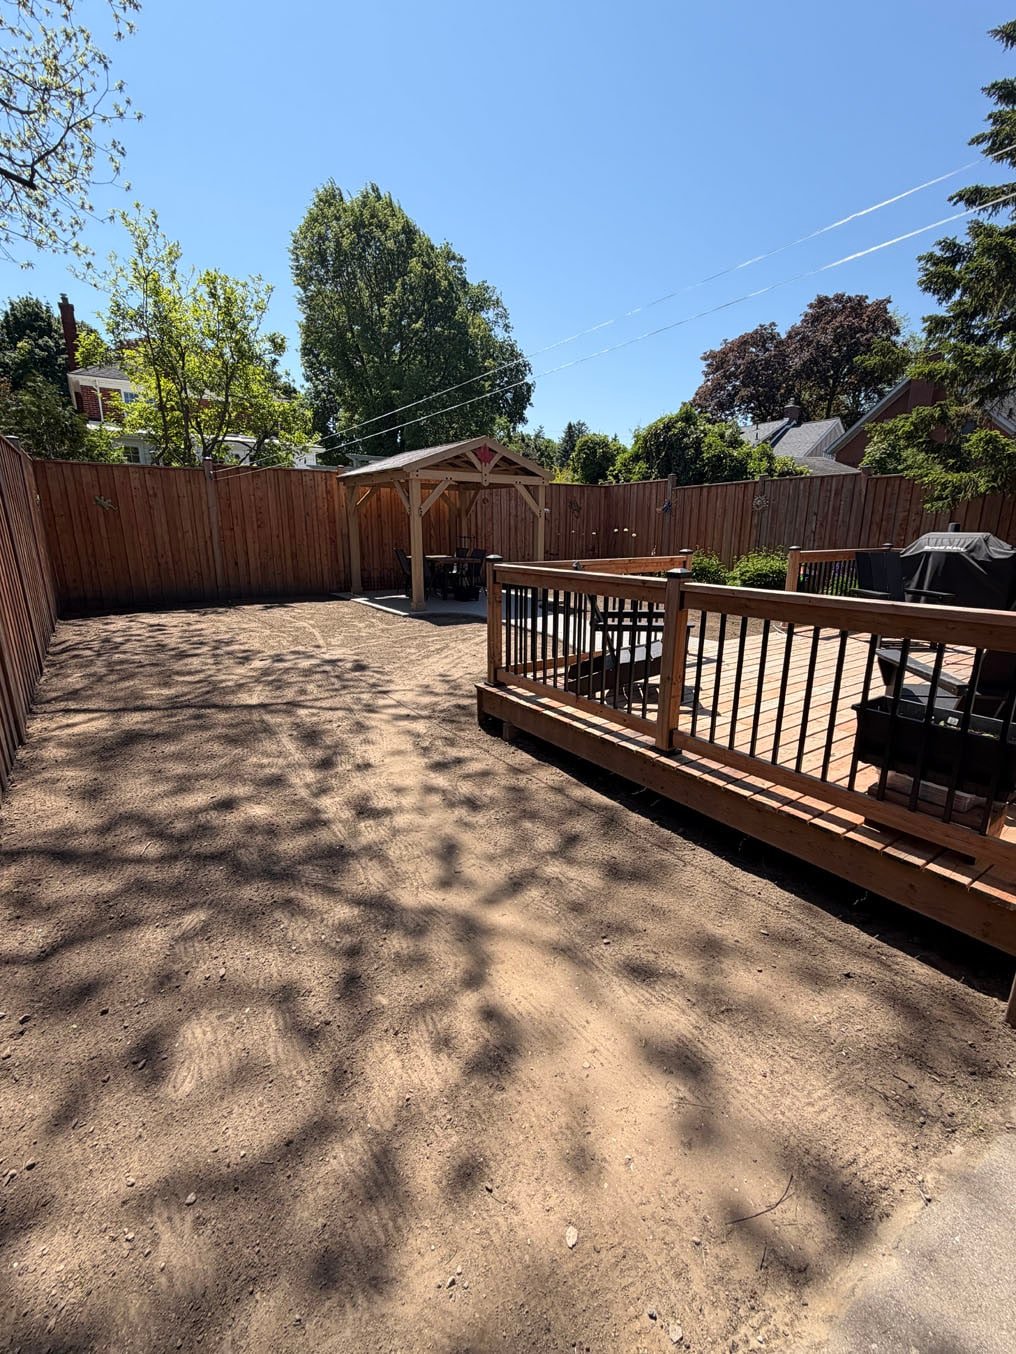
Try pushing a screwdriver, soil probe, or long stake into the ground in several locations. If it stops suddenly a few inches down, compaction may be part of the issue. Compare that result with a healthier area of the yard. You can also dig a small inspection hole and look for dense, layered soil, flattened roots, or water sitting above a tight clay layer.
Aeration can help mild surface compaction in an established lawn. It is not a cure-all for severe construction compaction or poor grading. If the soil is heavily packed, the better fix may involve loosening the subsoil, bringing in appropriate topsoil, reshaping the grade, and then installing sod on a properly prepared base.
That prep work is where shortcuts get expensive. Throwing a thin layer of topsoil over hard clay is a bit like putting a welcome mat over a locked door. Water and roots still hit the barrier underneath.
Test Your Downspouts and Runoff Sources
A yard may fail a drainage test because it is receiving more water than it should, not because the lawn itself is incapable of draining.
During rain, watch where each downspout releases water. If it empties onto a small section of lawn, that spot can become saturated even with good soil. Check sump pump discharge locations too, along with runoff from neighboring properties, patios, sheds, and sloped driveways.
Make sure downspout extensions are directing water where it can safely move away without flooding a neighbor or sending water back toward the house. The right solution depends on the site. Sometimes a simple extension solves the problem. Other situations call for regrading, a swale, catch basin, or a properly designed drain system.
Do not assume French drains are the answer to every wet lawn. They can be effective when installed at the right depth and outlet, but a drain without a place for water to exit is just an expensive trench full of gravel.
When Poor Drainage Needs Fixing Before Sod
Hold off on sod installation if your testing reveals water that stands for more than a day, slopes toward the home, compacted construction soil, or a low area that repeatedly collects runoff. Sod needs oxygen at the root zone to establish. Saturated soil pushes air out, slows rooting, and creates conditions where turf can yellow, thin out, or die back.
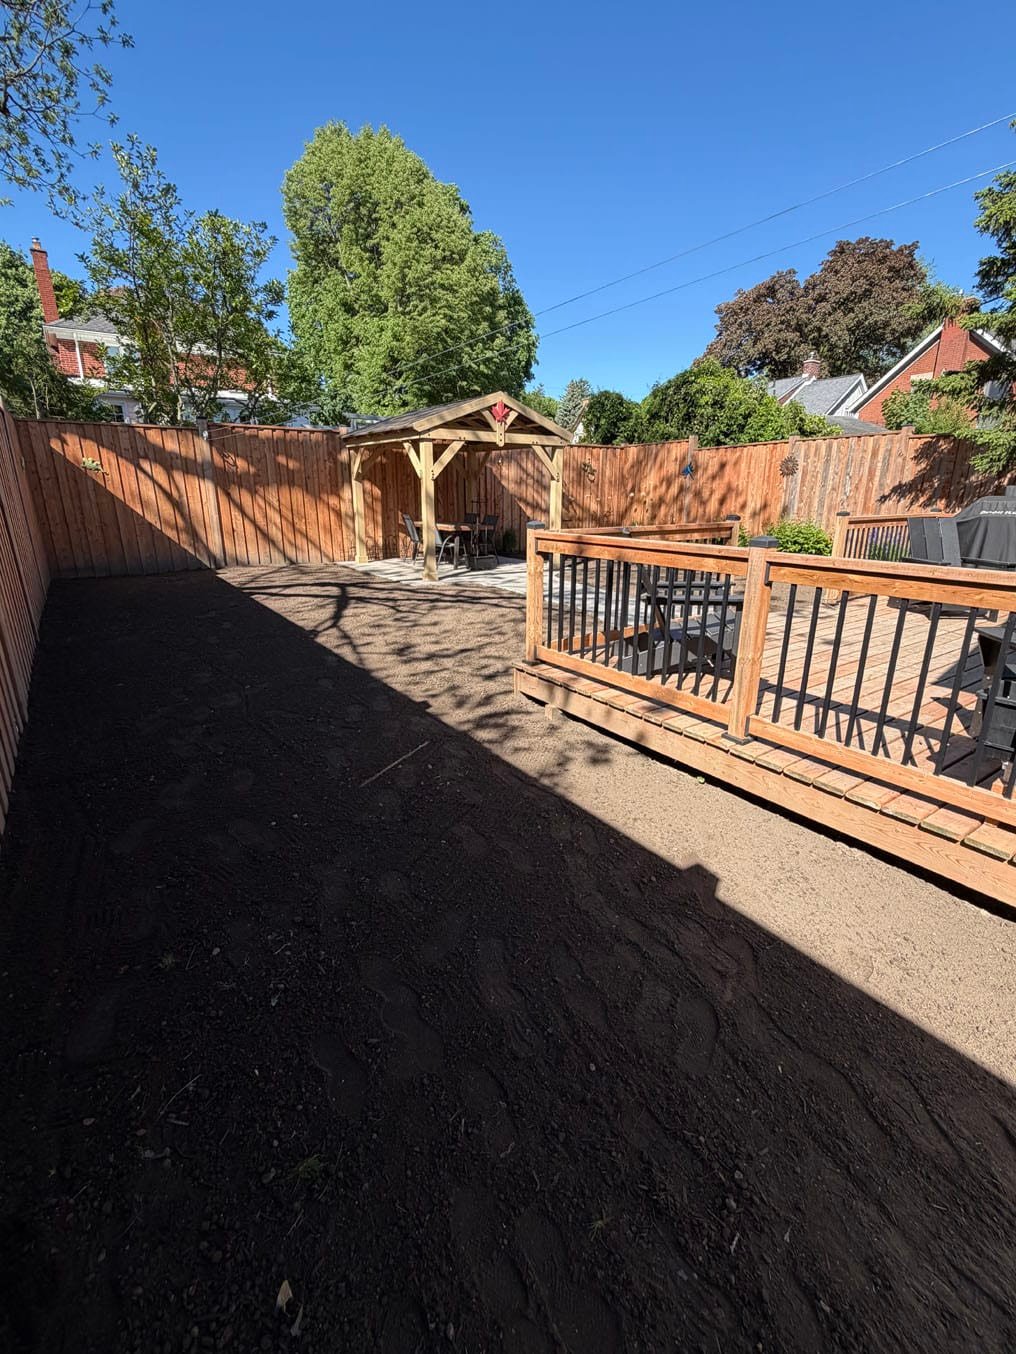
The fix may be modest. A few low spots can sometimes be corrected with proper topsoil and careful grading. More serious cases may require reshaping the lawn, improving drainage routes, or addressing soil compaction before the final soil bed is installed.
There is a trade-off here. Aggressive grading can solve water issues but may affect fences, patios, garden beds, and neighboring lots. Adding lots of soil can change drainage patterns. That is why the best approach is to solve the water path first, then build the finished lawn around it instead of hoping sod will hide it.
What Good Drainage Means for a New Lawn
Good lawn drainage does not mean bone-dry soil. Healthy sod needs consistent moisture while it roots, especially in the first few weeks. The goal is soil that holds enough water for roots but releases excess water before it becomes stagnant.
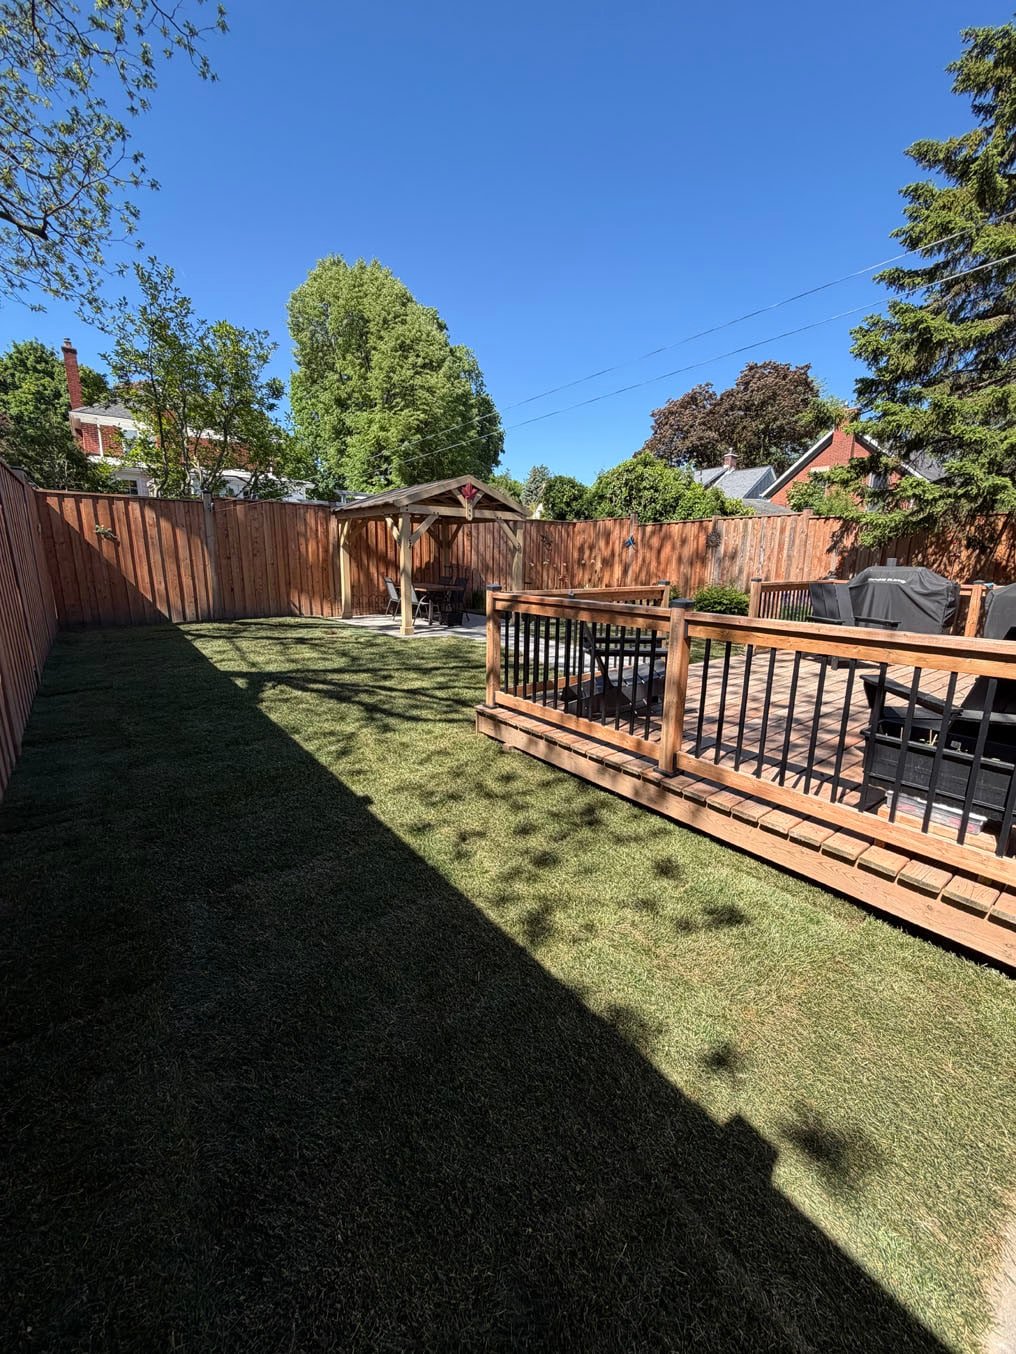
Once drainage and grading are right, watering new sod becomes much easier to manage. You can water deeply enough to support rooting without creating permanent soft spots. Mowing is cleaner, foot traffic causes less damage, and the lawn is better prepared for Ontario’s wet springs and humid summer storms.
If your tests point to a problem, get the grade and soil prep assessed before spending money on sod. Right On Sod can help homeowners identify what needs correcting and prepare a lawn base built for strong rooting, not just a good photo on installation day. Water will always find the low spot – make sure that low spot is not underneath your new lawn.