
A new sod lawn can look perfect by dinner and struggle by next month if the work underneath it is rushed. The best sod installation tips are not really about unrolling grass fast. They are about giving those fresh roots the soil contact, moisture, and drainage they need to take hold.
That is why a great-looking lawn starts before the first roll arrives. Whether you are replacing a grub-damaged yard, finishing a new build, or finally dealing with a patchy lawn that has had enough chances, preparation decides whether your sod thrives or becomes an expensive collection of brown seams.
Best Sod Installation Tips Start Below the Grass
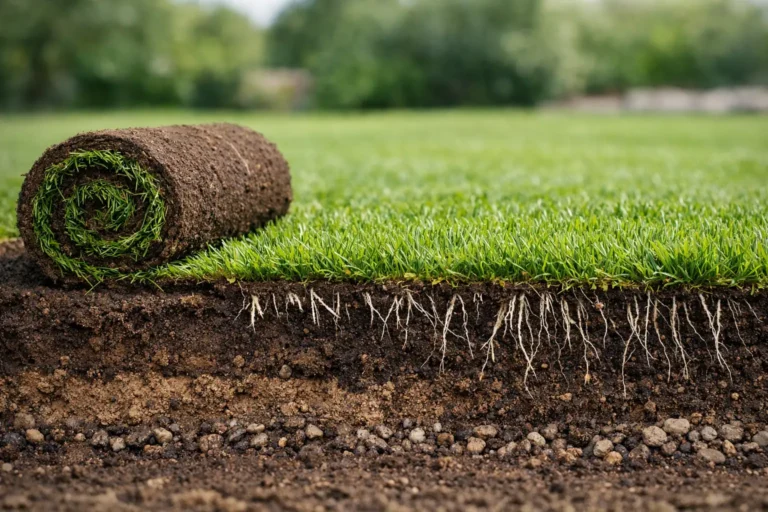
Sod is a living product, not green carpet. It arrives with a shallow root system that needs to grow into the soil below it quickly. If the base is compacted, uneven, full of debris, or poorly drained, watering alone will not solve the problem.
Remove the old lawn and debris completely
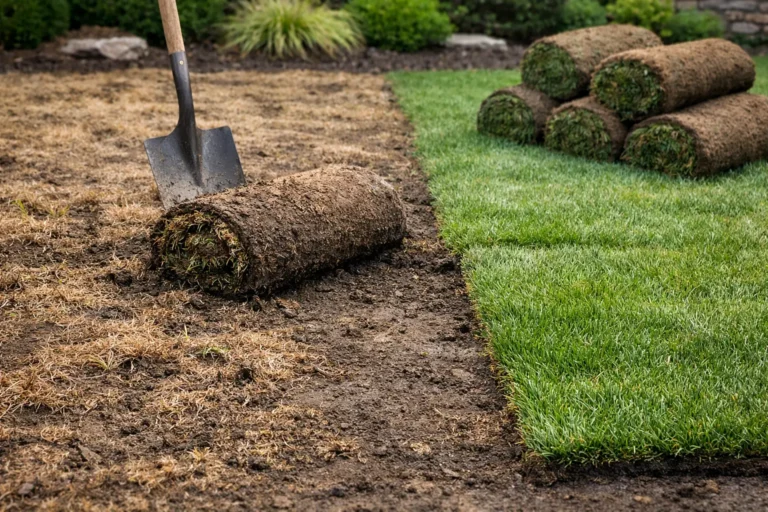
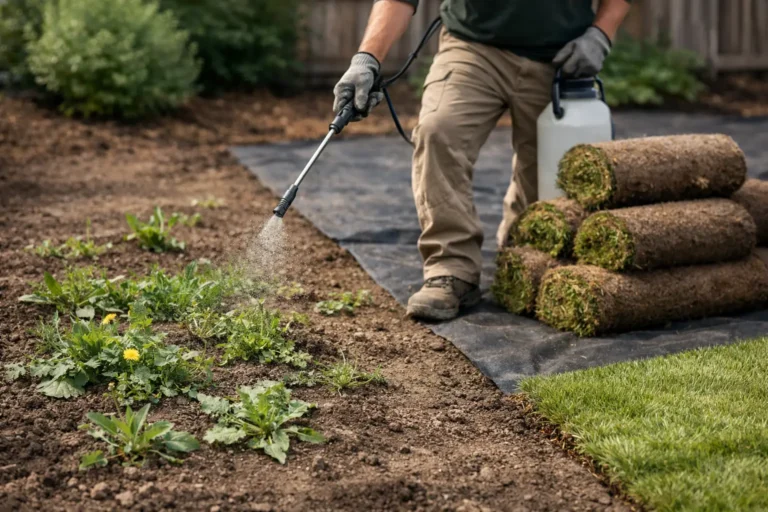
For a full lawn replacement, remove the existing turf, weeds, roots, rocks, construction scraps, and any other material that can interfere with grading or root growth. Laying sod over old grass is a shortcut with a short lifespan. The old turf breaks down unevenly, creates air pockets, and can bring weeds, pests, and disease right back to the surface.
On a new property, do not assume bare dirt is ready for sod. Builder lots often have compacted subsoil, buried stones, and low spots that collect water. A lawn may look level from the street while still having enough dips and hardpan to cause trouble after the first heavy rain.
Grade for drainage, not just appearance
A flat-looking lawn is not always a properly graded lawn. The surface should direct water away from the home, garage, and other structures while avoiding abrupt slopes that make mowing difficult or wash out in storms.
The right grade depends on the property. A backyard with a patio, retaining wall, or neighboring fence line needs a different approach than a wide-open front lawn. In Kitchener, Waterloo, and Cambridge, clay-heavy soils can make drainage problems especially obvious. If water is already pooling in the yard, fresh sod will not hide it. Fix the cause first.
Add quality topsoil where it is needed
Good soil gives roots room to move, holds enough moisture, and supplies the nutrients needed for establishment. If the existing soil is thin, compacted, rocky, or mostly fill, bring in quality screened topsoil and blend it into the upper layer instead of simply sprinkling a thin coat over hard ground.
More soil is not automatically better. Raising the grade too much can create issues around foundations, walkways, and drainage routes. The goal is a consistent, workable growing layer that supports the lawn without creating a new water problem.
Prepare a Firm, Smooth Seedbed
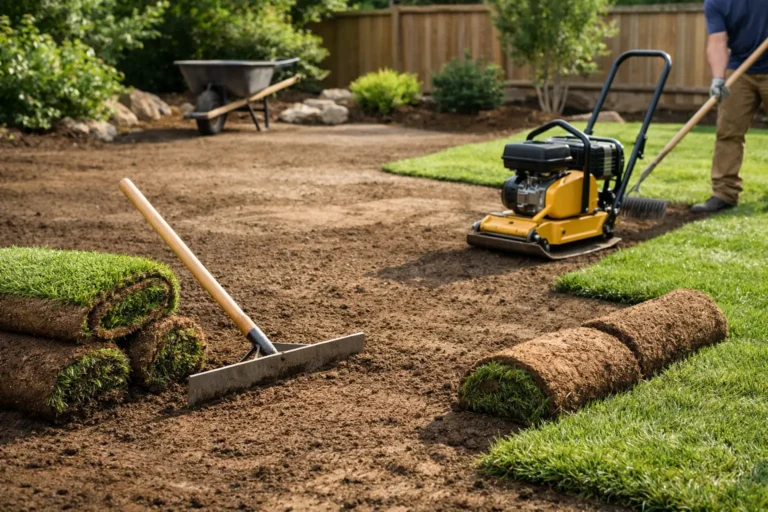
Before sod goes down, rake the soil smooth and remove stones, clumps, and roots. Then lightly firm the surface with a lawn roller or similar equipment. The soil should be firm enough that a footprint leaves a shallow impression, not a deep boot print.
This step gets skipped more often than it should. Loose soil settles after watering, leaving low spots, uneven seams, and a lawn that feels bumpy underfoot. On the other hand, rolling too aggressively can compact the soil and make root growth harder. Firm and level is the target, not packed like a driveway.
Apply a starter fertilizer only if it suits the soil conditions and product directions. A balanced starter product can support early rooting, but fertilizer cannot compensate for poor preparation or inconsistent watering. More is not better here. Too much fertilizer can stress fresh sod or encourage weak top growth before roots are established.
Install Fresh Sod Fast and Tight
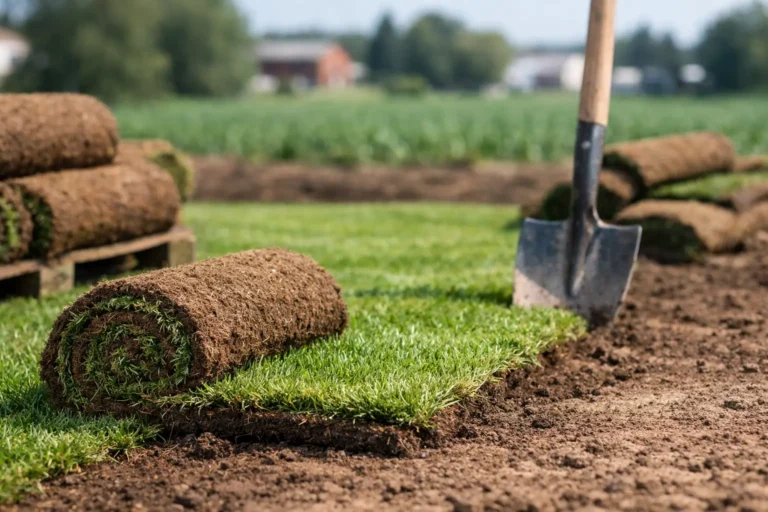
Fresh-cut sod should be installed as soon as possible, ideally the day it arrives. Warm weather, direct sun, and stacked pallets can heat up sod quickly. If a roll feels hot or smells sour, it has been sitting too long. That is not a minor inconvenience. It can reduce the lawn’s ability to establish.
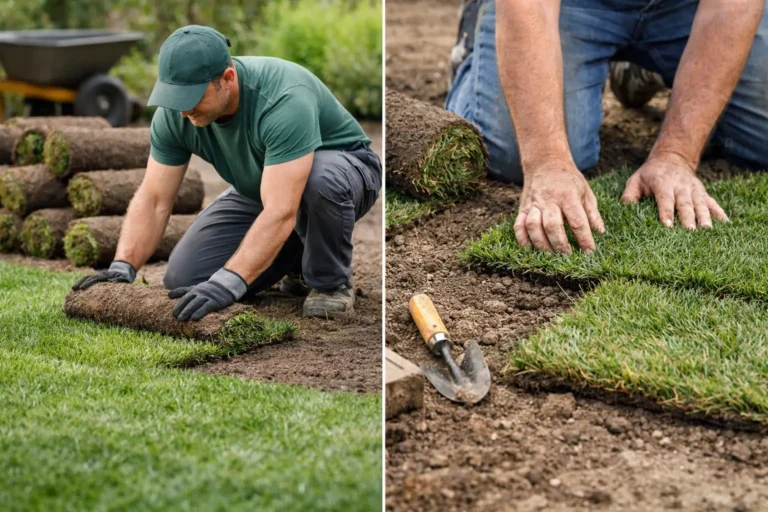
Start along a straight edge, such as a driveway, sidewalk, or patio. Unroll each piece tightly against the next, with no gaps and no overlaps. Stagger the seams in a brick-like pattern so they do not line up in long rows across the lawn. Long continuous seams can dry out and become visible weak points.
Use a sharp knife to trim around beds, trees, sprinkler heads, and curves. Small scraps are fine for filling compact spaces, but avoid creating a patchwork of tiny pieces throughout the lawn. Larger, well-fitted sections root more reliably and create a cleaner finished appearance.
Do not stretch sod to make it fit
Sod shrinks as it dries. If pieces are pulled or stretched to close a gap, they often pull back later and expose soil between seams. Place each roll naturally, press the edges together, and trim the final piece to fit. A few extra minutes with a knife beats a lawn full of cracks a week later.
Once the sod is installed, roll it lightly to press the roots into the soil. This improves soil contact and helps remove air pockets. It is especially useful on slightly uneven ground, but again, keep the pressure light. The lawn needs contact with the soil, not compaction.
Water on a Schedule, Not on a Guess
Watering is where many otherwise solid installations go sideways. Fresh sod needs consistent moisture at the root zone, not a quick surface sprinkle that disappears before it does any good.
Water immediately after installation, thoroughly enough to moisten both the sod and the soil beneath it. Lift a corner of a piece after the first watering. The underlying soil should be damp, not dusty and not muddy. That simple check tells you more than looking at the surface.
For the first one to two weeks, water often enough to keep the sod and its root zone consistently moist. The exact schedule depends on temperature, sun exposure, wind, rainfall, soil type, and whether the lawn sits on a slope. Hot, windy weather may require multiple shorter watering cycles in a day. Cool, wet conditions need less. A shaded yard can stay damp longer than a sunny front lawn, so do not treat every area exactly the same.
After the sod begins rooting, gradually water less frequently but more deeply. This encourages roots to grow down into the soil rather than staying near the surface waiting for the next light spray. Overwatering is not a sign of care. Constantly saturated soil can limit oxygen around the roots and invite disease.
Keep Traffic and Mowing Under Control
A fresh lawn is tempting. It looks finished, so people want to use it. Give it a little time. Keep children, pets, lawn games, and repeated foot traffic off the sod while it establishes. Walking across it occasionally to adjust a sprinkler is fine. Hosting a backyard football game is not.
Mow only after the sod has started to root and is tall enough for its first trim, usually when it reaches roughly 3 to 4 inches. Check by gently tugging a corner. If it resists lifting, roots are beginning to anchor.
Use a sharp mower blade and remove no more than one-third of the grass height in a single mowing. For most cool-season lawns, keeping the grass a little taller helps shade the soil, hold moisture, and build stronger roots. Do not scalp a brand-new lawn because you want that golf-course look. Your lawn is still on its probation period.
Watch for Problems Early
Drying seams, curled edges, gray-blue grass blades, and areas that feel light underfoot are signs that water is not reaching the root zone evenly. Address them immediately by adjusting sprinkler coverage or hand-watering the affected area. Do not wait for the entire lawn to look stressed.
Also watch for runoff on slopes, puddling in low spots, and sod that will not root after several weeks. Those issues often point to a grading, soil, or drainage problem rather than a simple watering mistake. The sooner it is diagnosed, the easier it is to correct.
For lawns dealing with grub damage, the timing of treatment matters too. Installing beautiful new sod without addressing an active pest issue is like replacing a roof while leaving the leak above it. A proper plan should protect the new lawn as it gets established.
A great sod lawn should feel like a real upgrade, not another weekend project that keeps asking for attention. If the ground needs repair before the grass goes down, getting the prep right is the fastest route to the clean, healthy lawn you wanted in the first place. Right On Sod can assess the soil, grading, and installation needs before a single roll is laid.