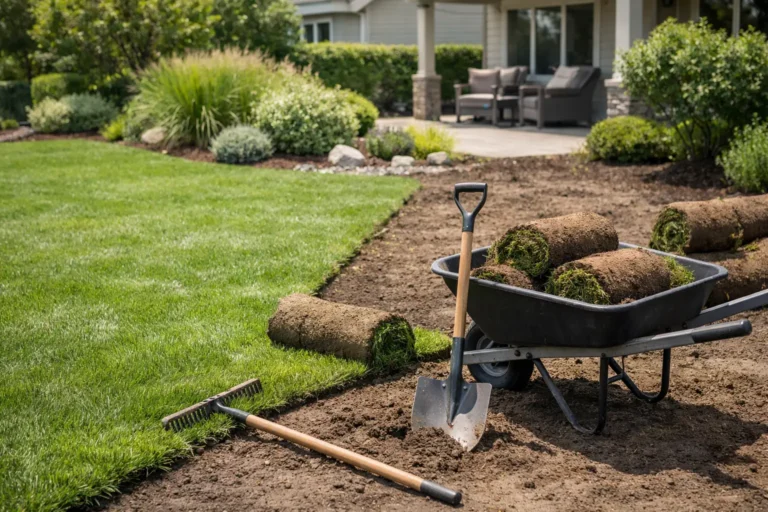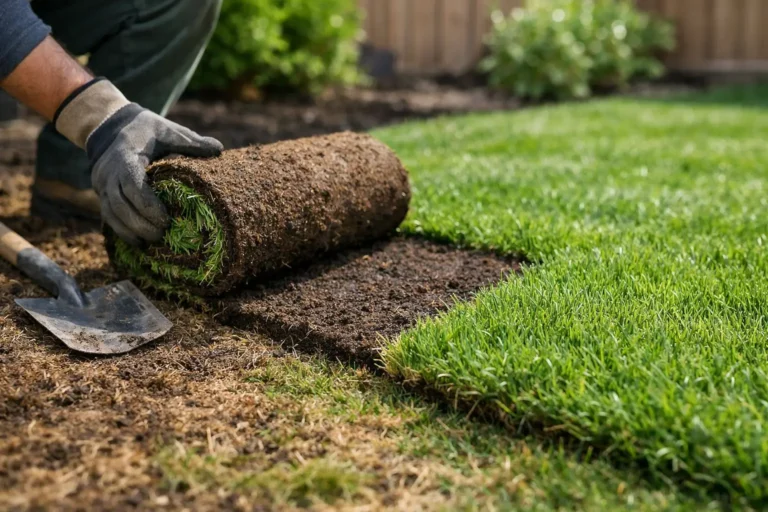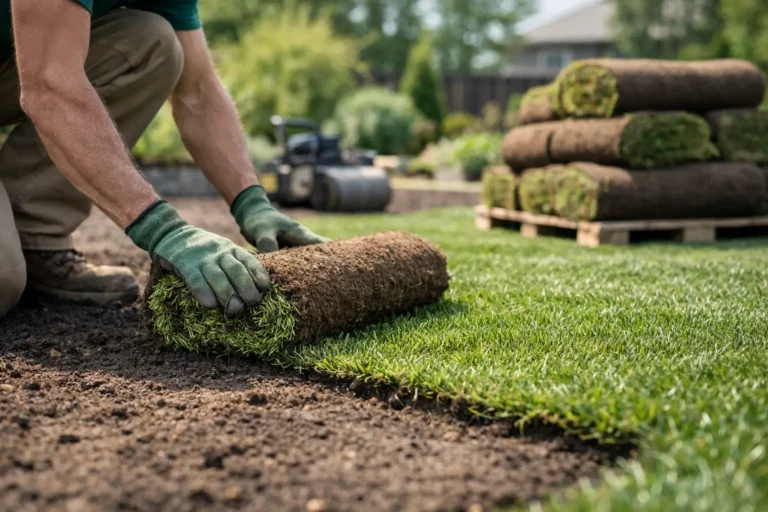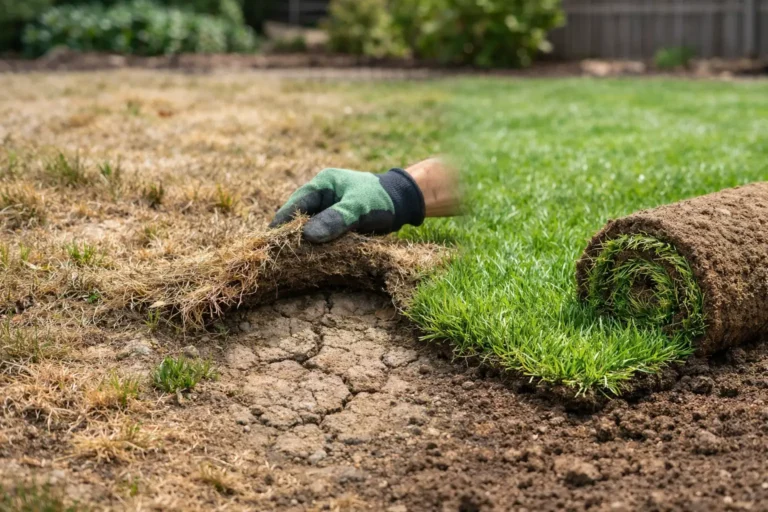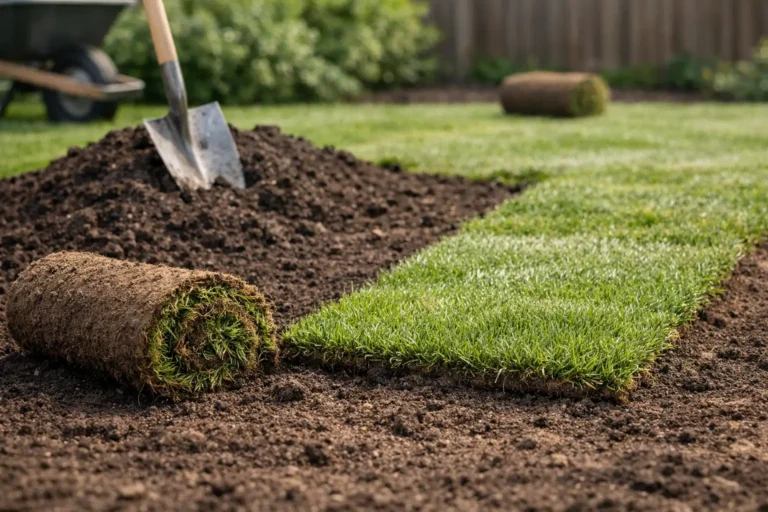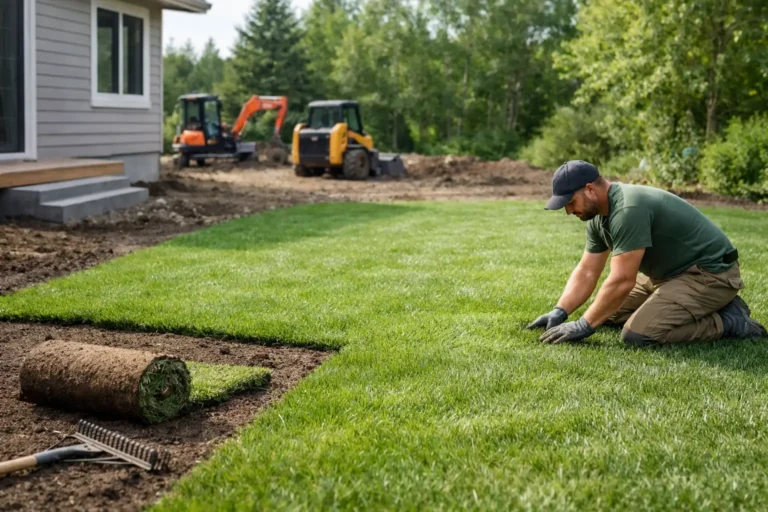

Construction crews pull out, the dust settles, and what should feel like the finish line often looks like a wrecked yard. If you need to replace grass after construction, the real issue usually is not just missing turf. It is compacted soil, poor grading, buried debris, and a surface that was never left ready to grow a healthy lawn.
That is why post-construction lawn work needs more than a quick seed spread and a hope-for-the-best approach. A lawn can look green for a few weeks and still fail if the base underneath is wrong. If you want fast results that actually last, the condition of the soil and grade matters as much as the grass itself.
Why grass fails after construction
Construction is hard on every part of a yard. Heavy equipment compresses the soil, foot traffic seals the surface, and leftover materials often end up mixed into the top layer. Even when the lot looks cleaned up, there may still be gravel, chunks of concrete, wood scraps, or subsoil sitting where good topsoil should be.
That creates a bad growing environment from day one. Grass roots need oxygen, moisture, and loose soil to establish. When the ground is compacted, water either sits on top or runs off too quickly. In some yards, the lawn struggles because it stays soggy. In others, it dries out fast because there is not enough quality soil to hold moisture.
New builds and major renovations also commonly leave behind grading problems. A yard may slope the wrong way, hold water near the foundation, or dip in low spots where puddles form after rain. If those issues are not corrected before grass goes down, the lawn becomes the visible symptom of a larger site problem.
When to replace grass after construction instead of repairing it
Some lawns can be patched. Others need a full reset. The difference usually comes down to how widespread the damage is and whether the soil underneath is worth saving.
If you are dealing with a few isolated bare spots, minor rutting, or surface disturbance from a small project, repair work may be enough. But if most of the yard is thin, uneven, compacted, full of weeds, or built on poor fill, replacing the lawn is often the better investment. It gives you the chance to fix the grade, improve the soil profile, and start with a uniform finish.
This is especially true when construction has disturbed more than half the lawn. Trying to blend patches into a heavily damaged yard can leave you with uneven color, inconsistent texture, and recurring trouble areas. Full replacement costs more upfront, but it usually saves time, frustration, and repeat work.
What proper lawn replacement actually includes
A good post-construction lawn replacement is a site preparation job first and a grass installation job second. That order matters.
The first step is clearing the area properly. Any leftover debris, stones, construction waste, and damaged material need to come out. If the surface is left contaminated, the new lawn may root unevenly or fail in patches.
Next comes grading. This is where many shortcuts happen, and it is one of the biggest reasons lawns underperform. Final grade should direct water away from structures while creating a smooth, usable yard. It also needs to account for how the sod will sit once installed. A lawn that looks level to the eye can still have drainage issues if the grade is off by only a small amount.
Then the soil has to be addressed. In many post-construction yards, the native surface is too compacted or poor quality to support strong rooting. Loosening the base and adding the right amount of quality topsoil gives the new lawn a better foundation. This is not about dumping soil randomly. It is about creating a consistent growing layer that supports drainage and root development.
Only after that does the grass itself become the focus. For most homeowners who want a fast turnaround and an immediate finished look, sod is the practical choice. It gives instant coverage, reduces erosion, and avoids the long wait and uncertainty that comes with seed on a disturbed site.
Sod vs. seed for post-construction lawns
Seed has a place, but post-construction yards are not usually where it performs best. Bare lots and newly reworked yards are more vulnerable to washout, inconsistent germination, weeds, and traffic damage. If the weather turns dry or wet at the wrong time, the results can be uneven fast.
Sod offers a more controlled finish. It establishes quicker, gives the property a clean appearance right away, and makes it easier to see whether grading and installation were done properly. For builders, property managers, and homeowners who want the exterior to look complete without waiting through a full grow-in cycle, sod is usually the stronger option.
That said, sod is not magic. It still depends on prep, watering, and timing. If it is laid over compacted ground or bad soil, the lawn may green up initially but struggle once the surface moisture is gone. Good installation is what turns sod into a long-term result.
The best time to replace grass after construction
The ideal window depends on weather, soil conditions, and how ready the site is. In Ontario, spring and fall are generally the most forgiving seasons for lawn replacement because temperatures are milder and moisture conditions are more favorable for root establishment.
Summer installation can still work well, but it requires more attention to watering, especially during heat. If the project timeline pushes lawn work into hot weather, the key is not to rush the prep just to get green on the ground. A properly prepared lawn installed in summer has a better chance than a rushed install done in a perfect season.
The worst time to replace a lawn is when the site is not actually ready. If final grading is unfinished, drainage is unresolved, or more trades still need yard access, waiting is often smarter than doing the job twice.
What homeowners should expect during the process
A professional lawn replacement should feel straightforward. First, the condition of the yard is assessed – not just the visible grass damage, but the grade, drainage, soil depth, and construction impact. From there, the scope becomes clear: remove damaged material, correct the base, add or improve topsoil, and install fresh sod.
For the property owner, the biggest variables are access, site size, and how severe the existing problems are. A small backyard with clean access moves differently than a tight lot with heavy compaction and standing water. That is why honest estimating matters. The right quote reflects the actual prep required, not just the square footage of sod.
Once the lawn is installed, watering becomes the immediate priority. New sod needs consistent moisture while roots knit into the soil below. Too little water slows establishment. Too much can create soft spots and disease pressure. The goal is steady moisture, not a swamp.
Mowing also needs patience. Cutting too early can shift seams and stress the new turf. Usually, the lawn is ready for its first mow once it has rooted enough to resist lifting and the height justifies a trim.
Common mistakes that cost people money
The most expensive mistake is treating grass replacement like a cosmetic fix. A lawn is not paint. If the underlying grade and soil are wrong, the appearance will not hold.
Another common issue is accepting the cheapest install without asking what prep is included. Two lawn replacement quotes can look similar on paper while covering very different levels of work. One may include proper grading, debris removal, and quality soil preparation. The other may only include laying sod over whatever is already there.
Timing mistakes also matter. Installing too early, before construction traffic is truly done, can destroy a brand-new lawn. Waiting too long, though, can let erosion, weeds, and soil crusting make the site harder to fix. There is a balance, and it depends on the project.
Choosing a contractor for post-construction lawn work
This is one of those jobs where specialization matters. A dedicated sod and lawn replacement company is more likely to catch grading flaws, soil issues, and rooting risks than a contractor who treats lawn work as an add-on service.
Ask how the site will be prepared, how grade will be handled, what soil work is included, and what kind of sod will be installed. If the answers are vague, that is a warning sign. Post-construction lawn replacement is won or lost in the prep.
For homeowners and builders in Kitchener, Waterloo, and Cambridge, that local experience also helps. Soil conditions, drainage patterns, and seasonal timing are not exactly the same everywhere. A crew that works these conditions regularly is better positioned to deliver a lawn that takes root quickly and holds up.
Right On Sod approaches these projects with that full-process mindset because the goal is not just to make a site look finished for a week. It is to install a lawn that roots properly, drains well, and gives the property the clean, complete finish it should have had when construction ended.
If your yard still looks like the job site never really left, that is usually a sign the lawn needs more than surface repair. The good news is that with the right prep and the right installation, a rough post-construction lot can turn into a finished lawn surprisingly fast.